Method 1 – Reverse the Order of the Worksheets by Dragging them
Steps:
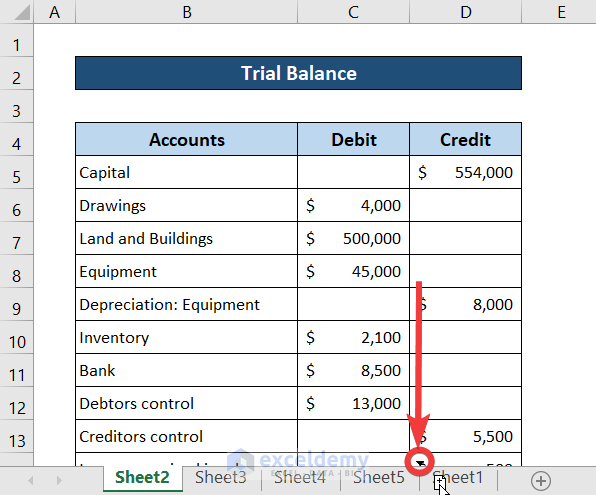
- Place the cursor at the bottom-left corner of the Excel workbook.
- Click and hold until the downward-facing arrow is displayed.
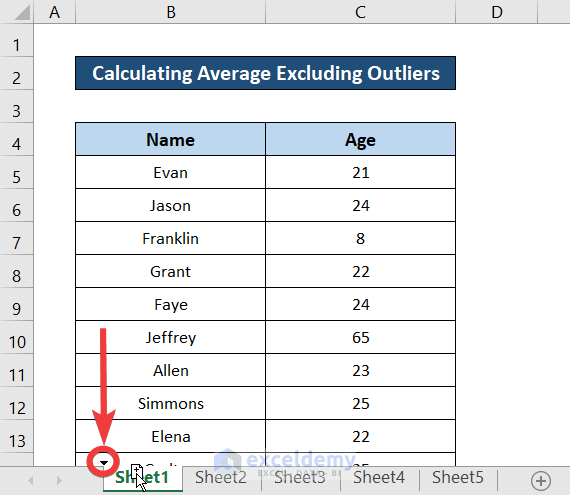
- Drag the cursor to the end of all the sheets.
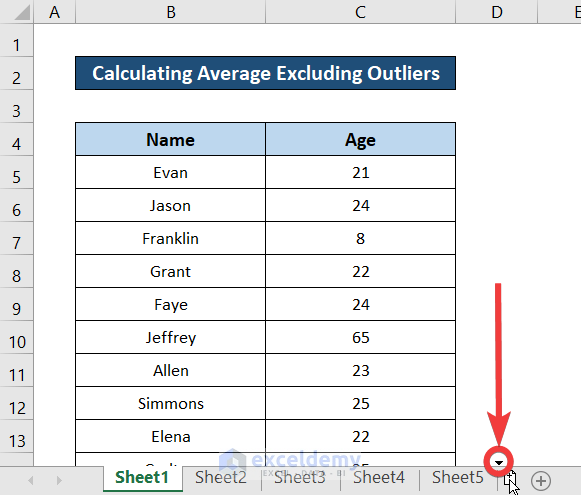
- Release the mouse button.
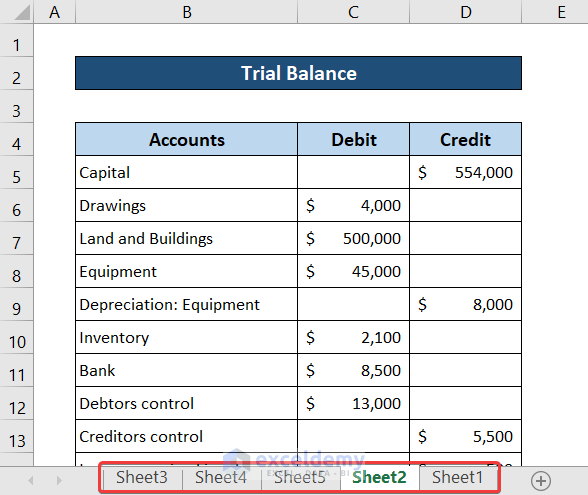
The first sheet moved to the end.
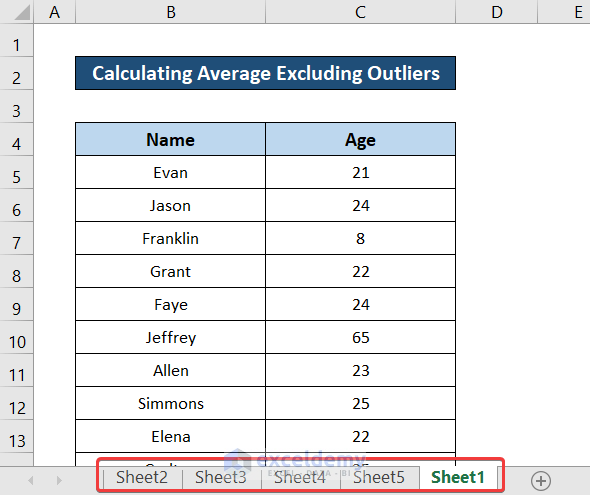
- Follow the same steps to move Sheet2.
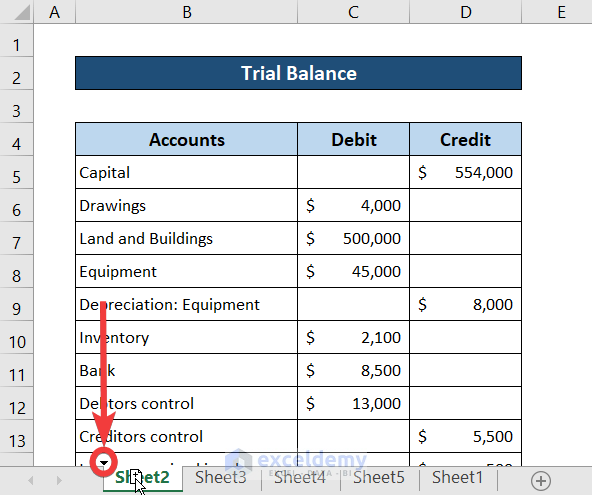
- Drag and place it between Sheet5 and Sheet1.
This is the output.
- Place Sheet3 between Sheet5 and Sheet2.
- Place Sheet4 between Sheet5 and Sheet3.
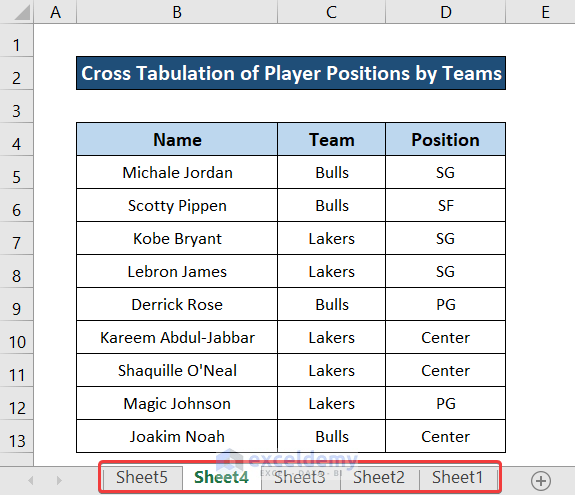
This is the output.
Method 2 – Using the Context Menu
Steps:
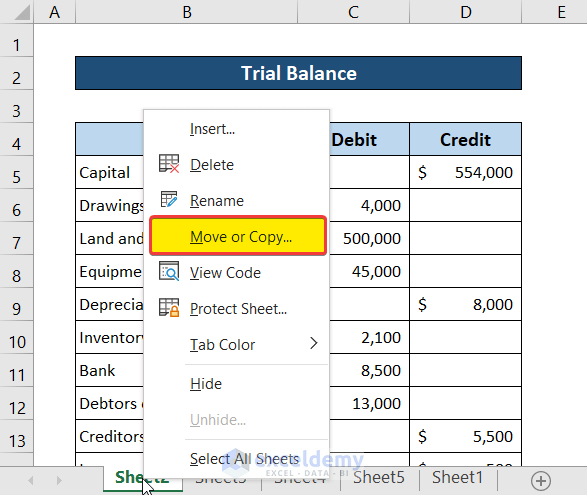
- Right-click the name of the worksheet.
- Select Move or Copy.

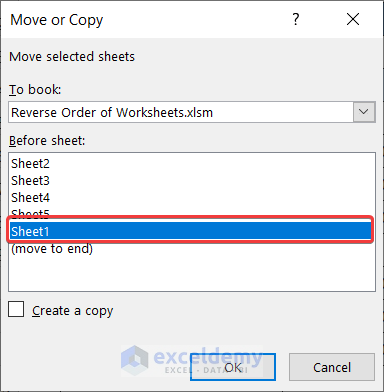
- Place the sheet after Sheet5. (Make sure the current workbook is selected. Otherwise, Sheet1 will move to a new workbook.)
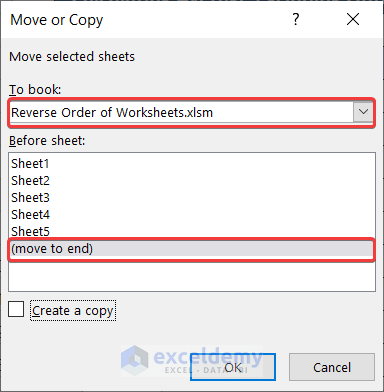
- Click OK.
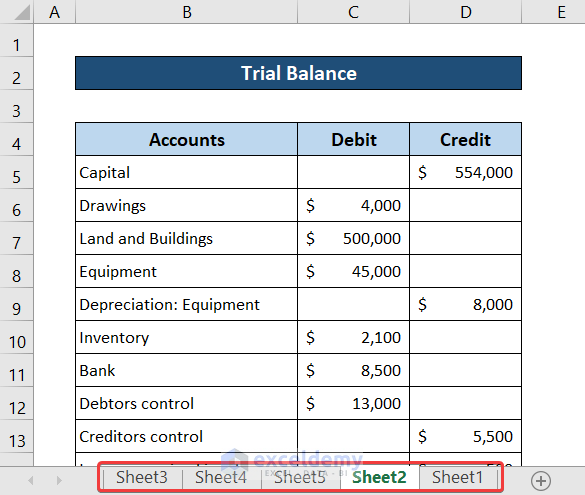
This is the output.

- Right-click Sheet2 and select Move or Copy.
- Place it before Sheet1.
- Click OK.
- Place Sheet3 between Sheet5 and Sheet2.
- Place Sheet4 between Sheet5 and Sheet3.
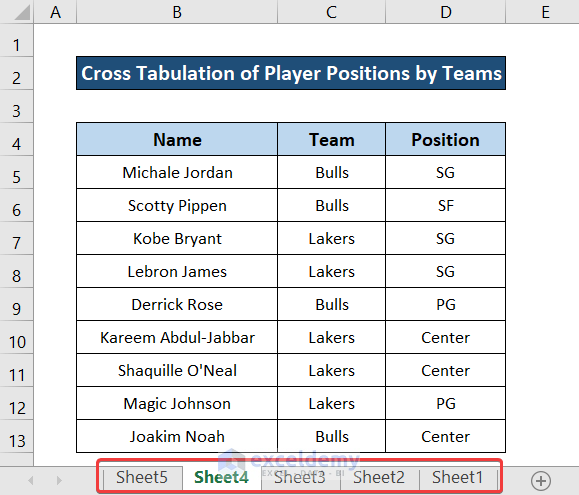
This is the output.
Method 3 – Using a VBA Code
Steps:
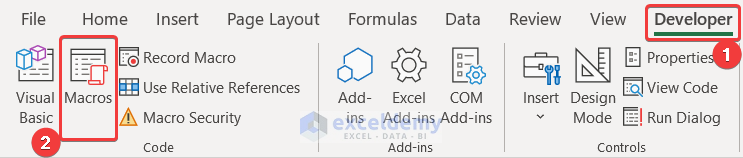
- Go to the Developer tab.
- Select Visual Basic in Code.

- Go to the Insert tab and click Module.
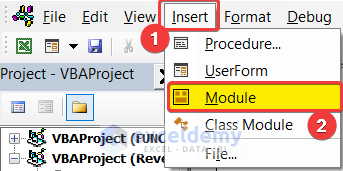
- Enter the following code:
Sub Reverse_WorkSheets()
Dim Sheets_Count As Integer
Sheets_Count = Application.ActiveWorkbook.Worksheets.Count
For i = 1 To Sheets_Count - 1
    Application.Worksheets(1).Move After:=Application.Worksheets(Sheets_Count - i + 1)
Next
End Sub- Save and close the window.
- Go to the Developer tab and select Macros in Code.
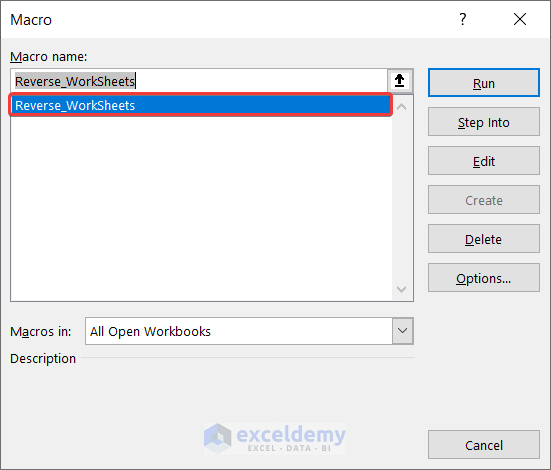
- Select the Macro and click Run.
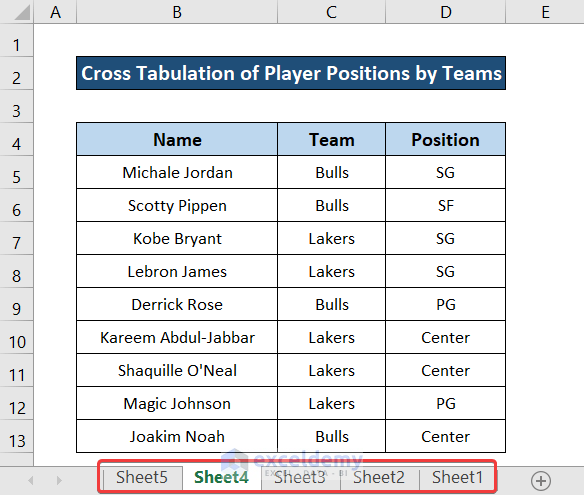
The VBA code will reverse the order of the worksheets:
Download Practice Workbook
Download the sample workbook.
Related Article
<< Go Back to Organize Sheets in Excel | Excel Worksheets | Learn Excel
Get FREE Advanced Excel Exercises with Solutions!
