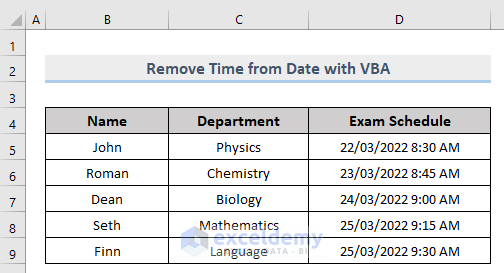
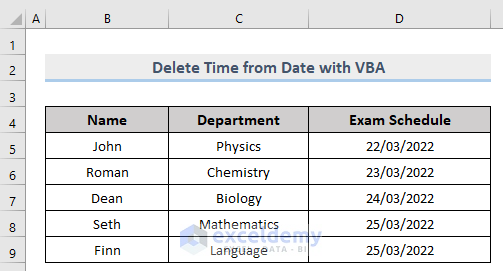
The above image is the sample dataset.
Method 1 – Embed VBA to Delete Time from Dates in a Column in Excel
Remove time in Column D.
Steps:
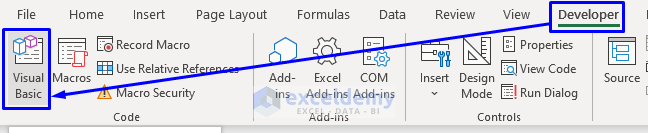
- Press Alt + F11 or go to Developer -> Visual Basic to open Visual Basic Editor.
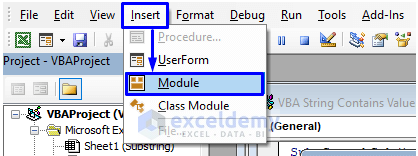
- Click Insert -> Module.
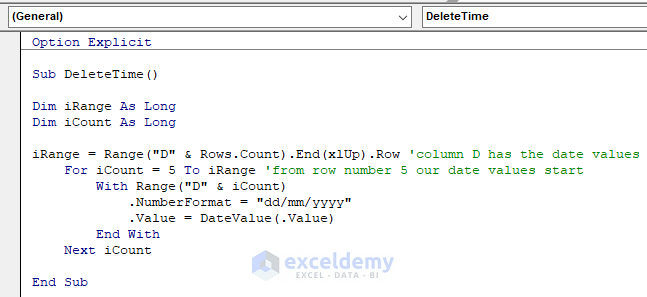
- Enter the following code into the code window.
Option Explicit
Sub DeleteTime()
Dim iRange As Long
Dim iCount As Long
iRange = Range("D" & Rows.Count).End(xlUp).Row 'column D has the date values
    For iCount = 5 To iRange 'from row number 5 our date values start
        With Range("D" & iCount)
            .NumberFormat = "dd/mm/yyyy"
            .Value = DateValue(.Value)
        End With
    Next iCount
End Sub
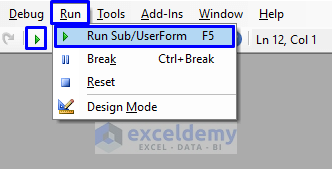
- Press F5 or click Run -> Run Sub/UserForm. You can also click the small Run icon to run the macro.
This is the output.
Read More: Date Variable in VBA Codes
Method 2 – Applying a VBA Macro to Remove Time from a Range of Dates
Steps:
- Open the Visual Basic Editor in the Developer tab and Insert a Module in the code window.
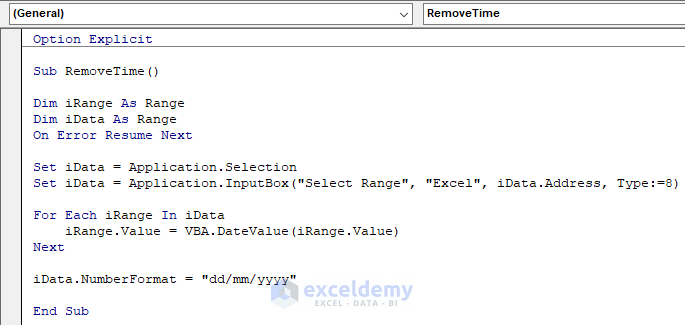
- Enter the following code:
Option Explicit
Sub RemoveTime()
Dim iRange As Range
Dim iData As Range
On Error Resume Next
Set iData = Application.Selection
Set iData = Application.InputBox("Select Range", "Excel", iData.Address, Type:=8)
For Each iRange In iData
    iRange.Value = VBA.DateValue(iRange.Value)
Next
iData.NumberFormat = "dd/mm/yyyy"
End Sub
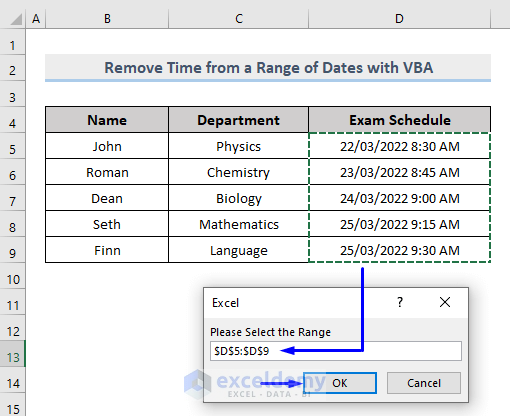
- Run the macro.
- A pop-up box will ask you to enter the range. Drag the whole range. Here, D5:D9.
- Click OK.
This is the output.

Read More: Excel VBA Textbox to Format Date
Method 3 – Using a Macro to Separate Date from Time in Excel
Consider the following image.
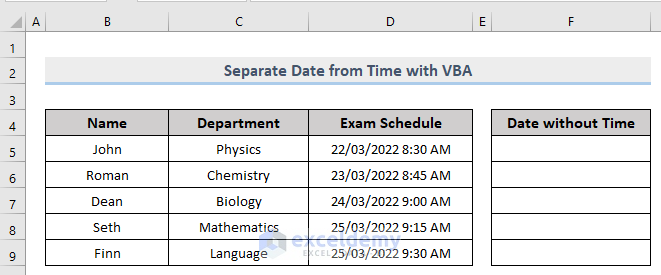
To separate the dates in Column D and place them in Column F:
Steps:
- Open the Visual Basic Editor in the Developer tab and Insert a Module in the code window.
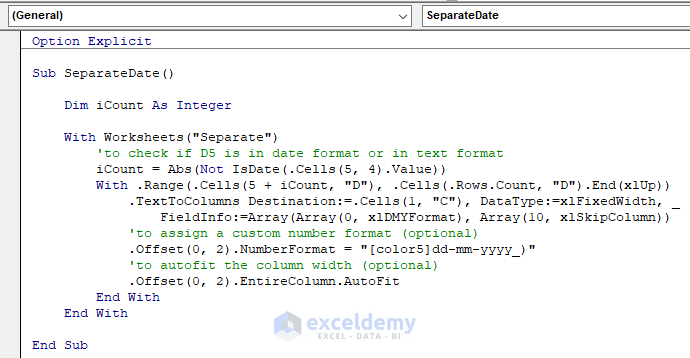
- Enter the following code:
Option Explicit
Sub SeparateDate()
    Dim iCount As Integer
    With Worksheets("Separate")
        'to check if D5 is in date format or in text format
        iCount = Abs(Not IsDate(.Cells(5, 4).Value))
        With .Range(.Cells(5 + iCount, "D"), .Cells(.Rows.Count, "D").End(xlUp))
            .TextToColumns Destination:=.Cells(1, "C"), DataType:=xlFixedWidth, FieldInfo:=Array(Array(0, xlDMYFormat), Array(10, xlSkipColumn))
            'to assign a custom number format (optional)
            .Offset(0, 2).NumberFormat = "[color5]dd-mm-yyyy_)"
            'to autofit the column width (optional)
            .Offset(0, 2).EntireColumn.AutoFit
        End With
    End With
End Sub
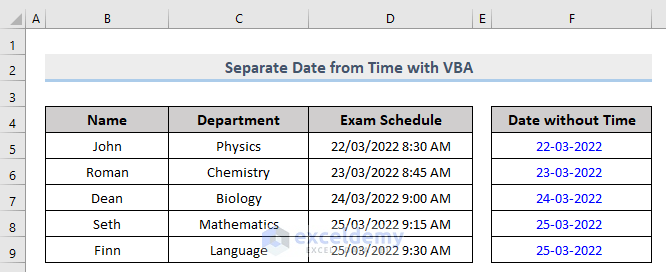
- Run the macro.
This is the output.
Download Practice Workbook
Download the free practice Excel workbook.
Get FREE Advanced Excel Exercises with Solutions!

