Method 1 – Flash Fill Not Working in Excel If It Is Turned Off
Steps:
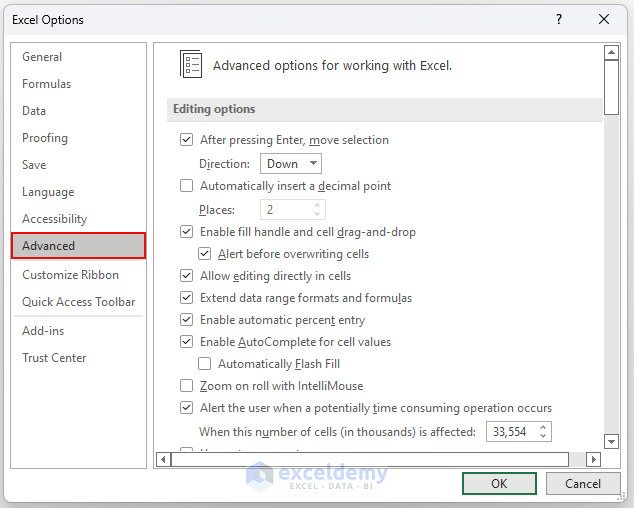
- Press ALT + F, then T to bring up the Excel Options window.
- Go to the Advanced tab.
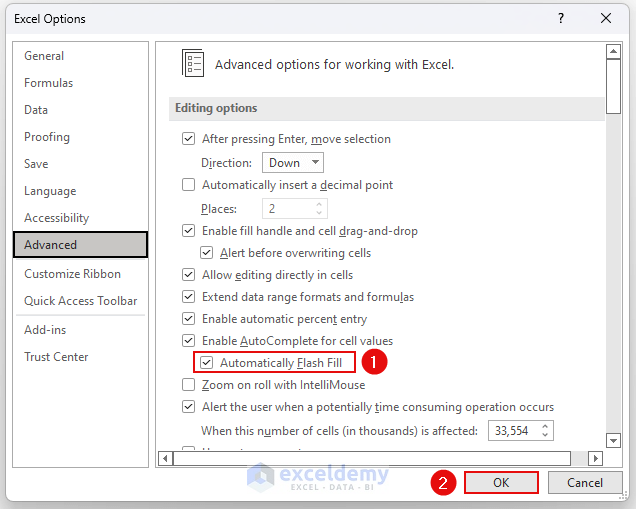
- Put a tick mark on “Automatically Flash Fill”.
- Press OK.
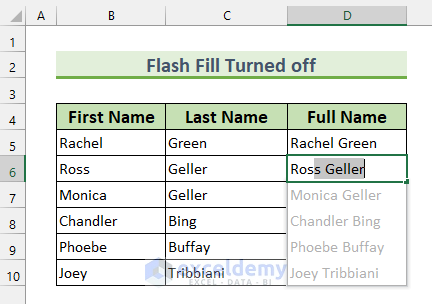
Type the second name we’ll see the Flash Fill prompt.
- Press ENTER.
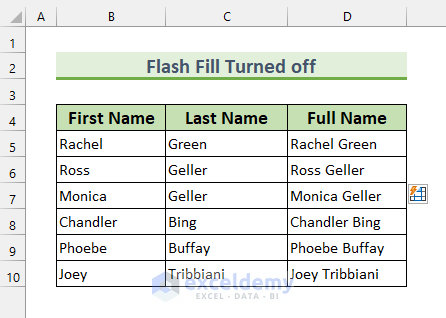
Make the Flash Fill work in Excel.
Method 2 – Flash Fill Not Working When Dataset in Horizontal Orientation
Steps:
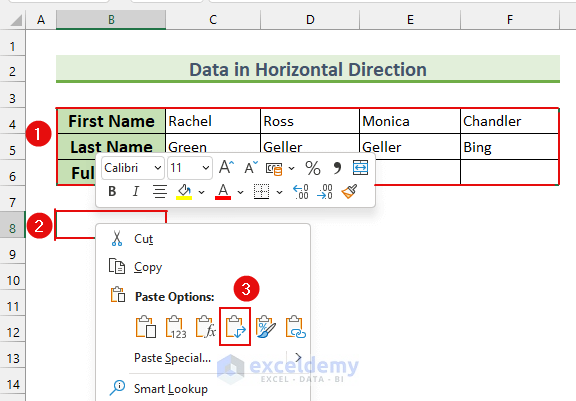
- Remove the values from cells C6 and D6.
- Select the cell range B4:F6 and copy it.
- Right Click on cell B8 to bring up the Context Menu.
- From the Paste Options >>> select Transpose.
Prepare the dataset to use Flash Fill.
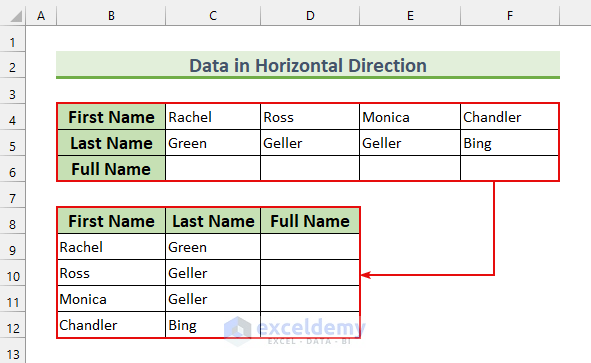
- Type the first one and half of the data and the Flash Fill will work.
- Press ENTER.

We showed you the second reason for Flash Fill not working and the solution.

Method 3 – If Spelling Error Occurs Flash Fill Will Not Work in Excel
Steps:
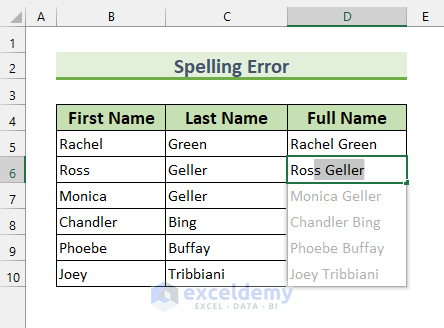
- Correct the spelling mistake by removing the extra “e”.
- Start typing on cell D6.
- Press ENTER when the Flash Fill feature kicks in.
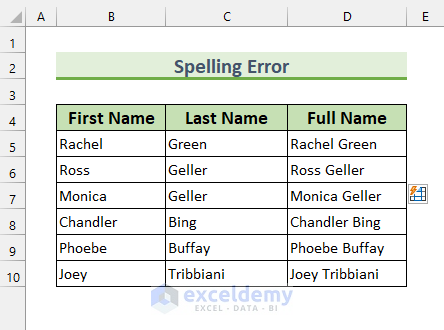
We showed you another method of solving our problem.
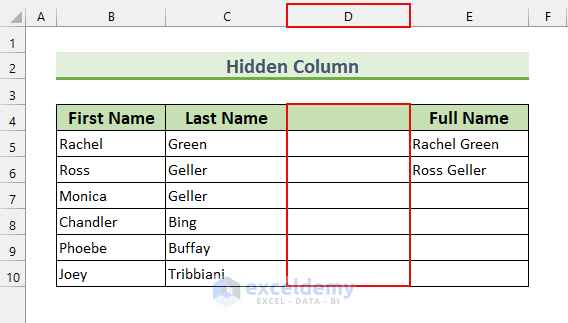
Method 4 – Flash Fill Not Working in Excel When There Is a Hidden Column
Steps:
- Select columns C, D, and E.
- Right-Click to bring up the Context Menu.
- Select Unhide.

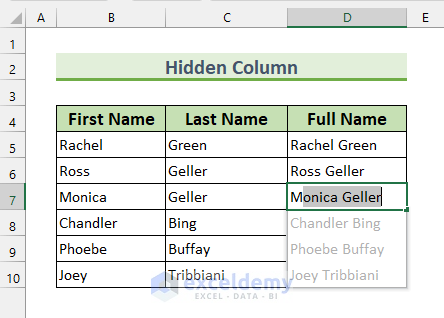
This will show column D. Then, we’ll delete the extra column.
- Delete column D.
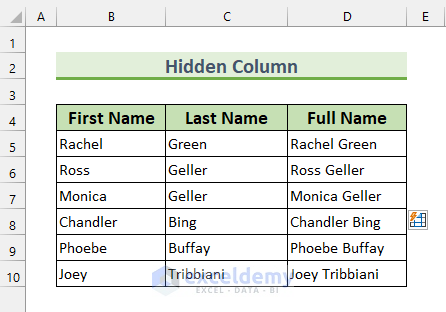
- You can start typing and Flash Fill will start working.
- Press ENTER.
This is another reason and solution for Flash Fill not working.
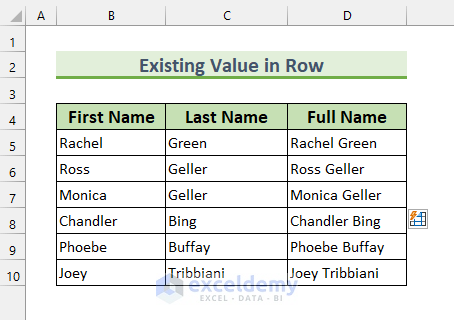
Method 5 – Existing Value in Row Will Prevent Flash Fill From Working
Steps:
- Remove the value from cell D8.
- Start typing the pattern, and the Flash Fill will work.
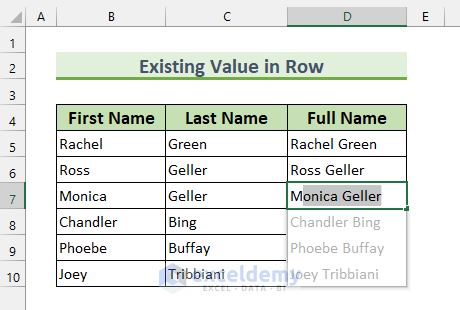
- Press ENTER.
In conclusion, our Flash Fill will start working in Excel.
Things to Remember
- This feature was introduced in Excel 2013. It cannot be used with an older version.
Download Practice Workbook
Related Articles
- How to Use Flash Fill in Excel to Split Data
- Flash Fill Not Recognizing Pattern in Excel
- Creating Email Addresses from a Single Column with Flash Fill, TEXT Formulas & Commentator’s Text Formula Suggestions
<< Go Back to Flash Fill Excel | Learn Excel
Get FREE Advanced Excel Exercises with Solutions!
