Example 1 – Insert a Single Column with a Name in Excel Using VBA
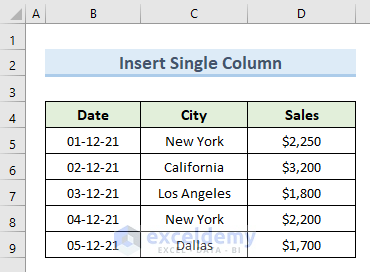
The following dataset showcases sales data in different cities and in different dates.
STEPS:
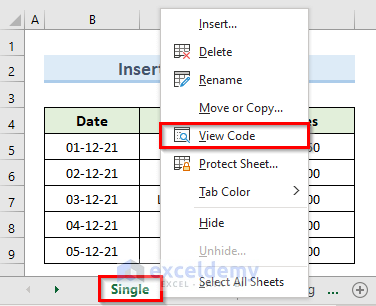
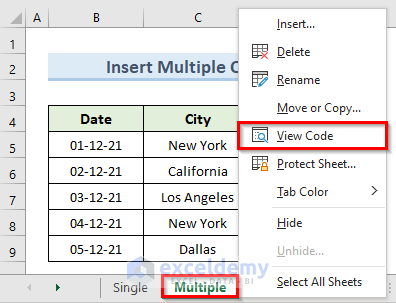
- Right-click the active sheet (Single).
- Select ‘View Code’.
- A blank VBA code window for that worksheet will be displayed (you can also open the code window pressing Alt + F11).
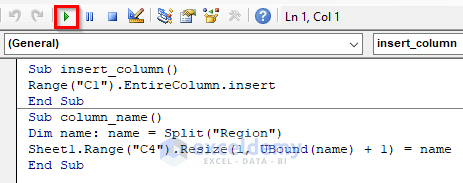
- Enter the 2 codes below in the code window:
Sub insert_column()
Range("C1").EntireColumn.insert
End Sub
Sub column_name()
Dim name: name = Split("Region")
Sheet1.Range("C4").Resize(1, UBound(name) + 1) = name
End Sub- Click Run or press F5 to run both codes.
This is the output.

The first code creates a new column and the second code names it.
Read More: Excel VBA: Cut and Insert Column
Example 2 – Use VBA to Add Multiple Columns with Names in Excel
STEPS:
- Right-click the active sheet (Multiple).
- Select ‘View Code’.
- A blank VBA code window for that worksheet will be displayed (you can also open the code window pressing Alt + F11).
- Enter the 2 codes below in the code window:
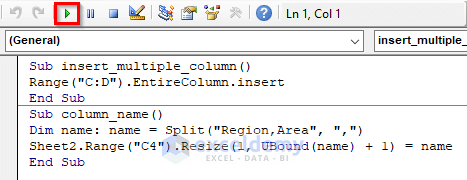
Sub insert_multiple_column()
Range("C:D").EntireColumn.insert
End Sub
Sub column_name()
Dim name: name = Split("Region,Area", ",")
Sheet2.Range("C4").Resize(1, UBound(name) + 1) = name
End Sub- Click Run or press F5 to run both codes.
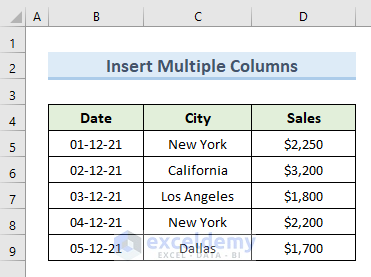
This is the output.
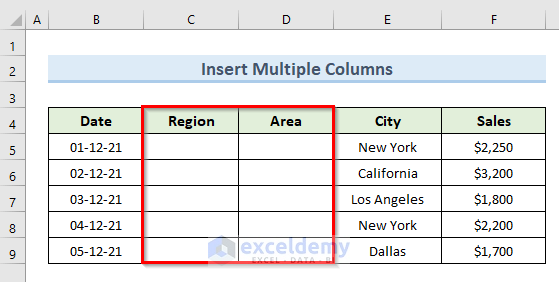
The first code inserts two columns and the second code names the columns.
Example 3 – Using VBA to Remove Formatting While Inserting a Column with a Name

STEPS:
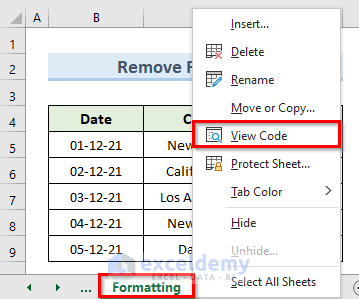
- Right-click the active sheet (Formatting).
- Select ‘View Code’.
- A blank VBA code window for that worksheet will be displayed (you can also open the code window pressing Alt + F11).
- Enter the 2 codes below in the code window:
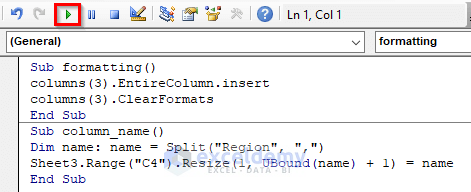
Sub formatting()
columns(3).EntireColumn.insert
columns(3).ClearFormats
End Sub
Sub column_name()
Dim name: name = Split("Region", ",")
Sheet3.Range("C4").Resize(1, UBound(name) + 1) = name
End Sub- Click Run or press F5 to run both codes.
The dataset has a new column, but it does not include formatting.
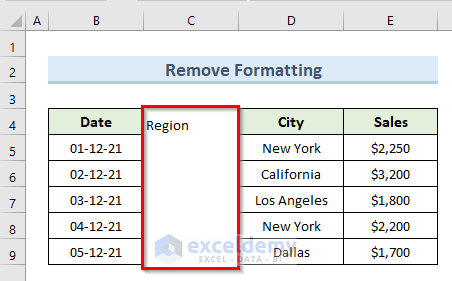
The first code creates a new column and the second code names the new column and removes its formatting.
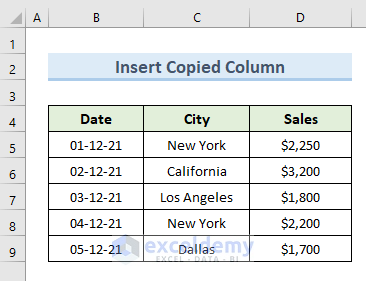
Example 4 – Applying VBA to Add a Copied Column with a Name in Excel
STEPS:
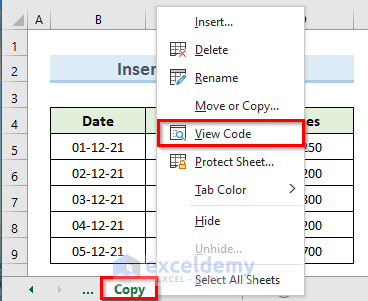
- Right-click the active sheet (Copy).
- Select ‘View Code’.
- A blank VBA code window for that worksheet will be displayed (you can also open the code window pressing Alt + F11).
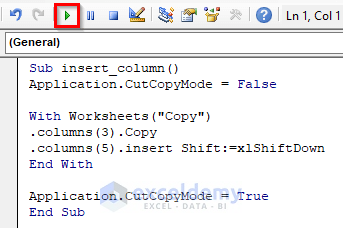
- Enter the code below in the code window:
Sub insert_column()
Application.CutCopyMode = False
With Worksheets("Copy")
.columns(3).Copy
.columns(5).insert Shift:=xlShiftDown
End With
Application.CutCopyMode = True
End Sub- Click Run or press F5 to run the code.
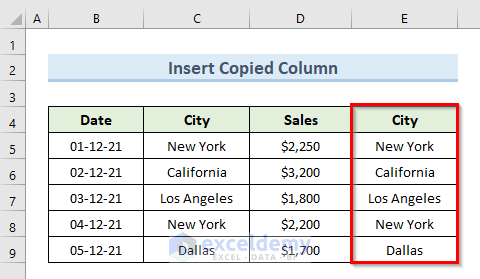
This is the output.
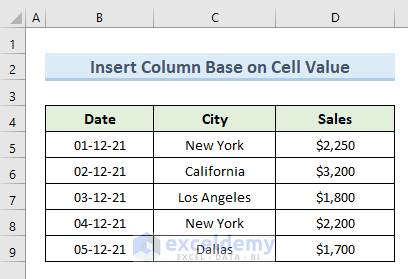
Example 5 – Insert a Column with a Name Based on Cell Value
Insert a new column (Region). It will be placed before the Sales column.
STEPS:
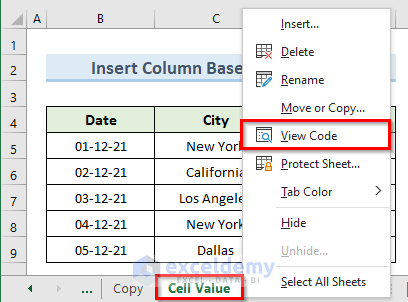
- Right-click the active sheet (Cell Value).
- Select ‘View Code’.
- A blank VBA code window for that worksheet will be displayed (you can also open the code window pressing Alt + F11).
- Enter the 2 codes below in the code window:
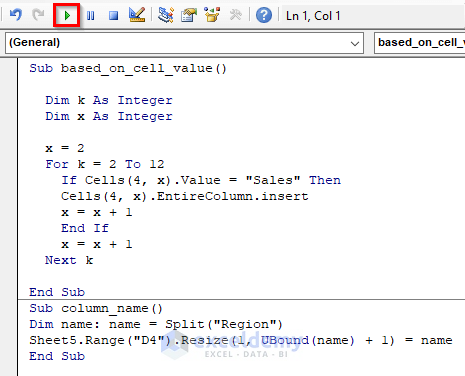
Sub based_on_cell_value()
Dim k As Integer
Dim x As Integer
x = 2
For k = 2 To 12
If Cells(4, x).Value = "Sales" Then
Cells(4, x).EntireColumn.insert
x = x + 1
End If
x = x + 1
Next k
End Sub
Sub column_name()
Dim name: name = Split("Region")
Sheet5.Range("D4").Resize(1, UBound(name) + 1) = name
End Sub- Click Run or press F5 to run both codes.
This is the output.

The first code inserts a new column before the column that contains a specific cell value. The second code names the column.
Download Practice Workbook
Download the practice workbook.
Get FREE Advanced Excel Exercises with Solutions!
