We’ll use the Range.Cut method to cut single or multiple columns and then the Range.Insert method to insert into the worksheet.
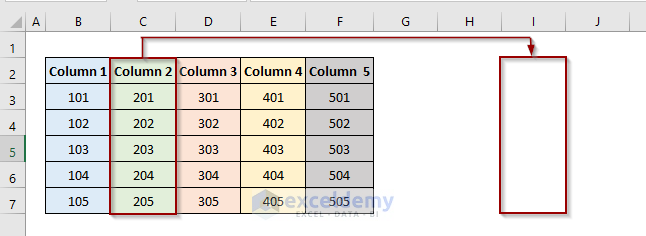
We’re going to use the following dummy dataset with 5 differently colored columns.

How to Write Code in the Visual Basic Editor
- Go to the Developer tab from the Excel ribbon.
- Click the Visual Basic option.

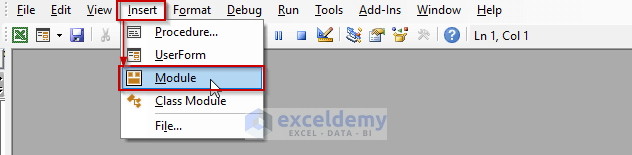
- In the Visual Basic for Applications window, click the Insert dropdown to select the New Module option.
- Put your code inside the visual code editor and press F5 to run it.
Example 1 – Cut and Insert a Single Column Using VBA in Excel
Task: We want to cut Column C (Column 2 in the dataset) and show it in column I.
Code: Use this VBA code in the Visual Basic Editor and press F5 to run it.
Sub CutInsertColumn()
    Columns("C:C").Cut
    'Alternatively use
    'Columns(3).Cut
    Columns("J:J").Insert
End Sub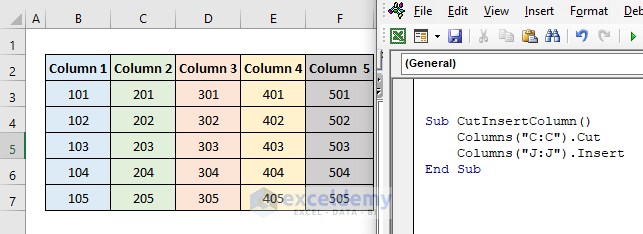
Code Explanation: Although we want to show Column C (Column 2) in Column I, we need to input Column J in the Range.Insert method argument. If we cut Column C and then insert it into another place, it’ll leave a blank space. To fill this blank space the columns right to the black space will shift one column left automatically.
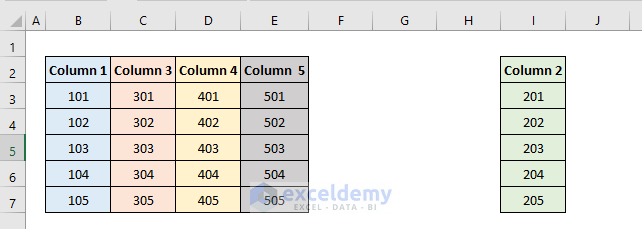
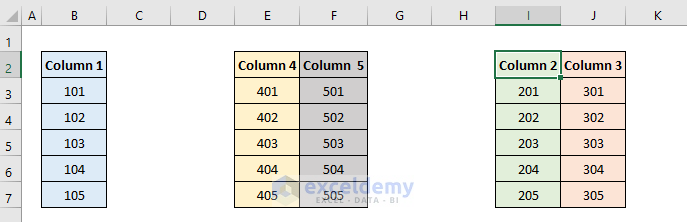
Output: The above code has successfully shifted column C to column I.
Another Case: To get a clear understanding of the above code, we’re going to illustrate another example. Here we cut Column C (Column 2 in the dataset) to Column F.
Sub CutInsertColumn()
Range("C:C").Cut
Range("G:G").Insert
End Sub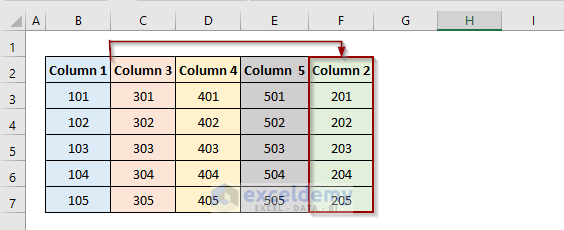
Example 2 – VBA Code to Cut and Insert Multiple Columns in Excel
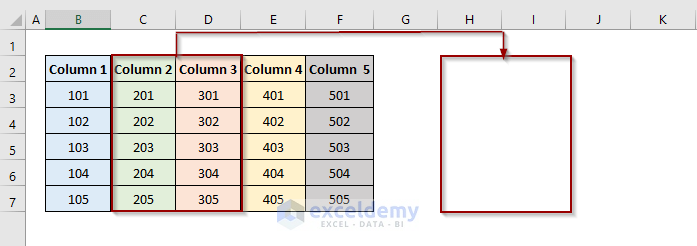
Task: We want to cut columns C, and D (columns 2, and 3 in the screenshot) and show them in columns H and I.
Code: Copy and paste this VBA code into the Visual Basic Editor and press F5 to run it.
Sub CutInsertColumn()
    Columns("C:D").Cut
    Columns("J:J").Insert
End Sub
Output: The above code has successfully cut and inserted columns C and D into columns H and I. Here, Column 4 and Column 5 have shifted to the left and filled the blank spaces left by Column 2 and Column 3.
Example 3 – Cut and Insert to Replace Single Column Using VBA in Excel
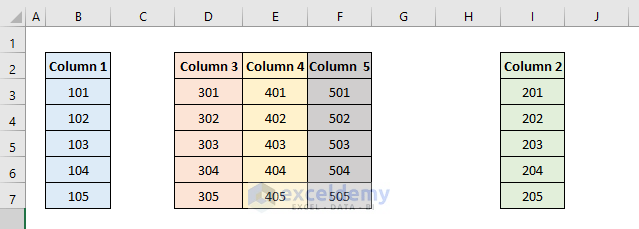
Task: We want to cut Column C (Column 2 in the dataset) and insert it in Column I. This time, the blank space left by Column C will not be filled by other columns.
Code: Copy and paste this VBA code into the Visual Basic Editor and press F5 to run it.
Sub CutInsertColumn()
Range("C:C").Cut Range("I:I")
End Sub
Output: The above code has successfully shifted column C to column I.
Another Case: Run the following code to replace Column 4 with Column 2 in the dataset.
Sub CutInsertColumn()
Range("C:C").Cut Range("E:E")
End Sub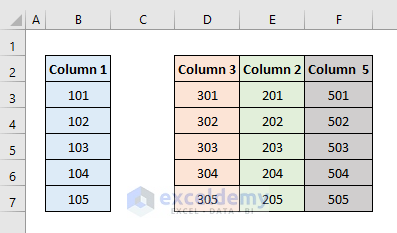
Example 4 – Run a VBA Code to Cut and Insert to Replace Multiple Columns
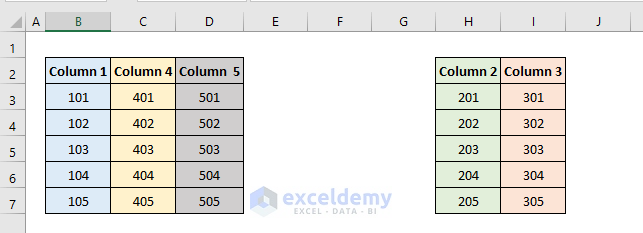
Task: We want to cut columns C and D (columns 2 and 3 in the dataset) and insert them in columns I and J. This time, the blank space left by columns C and D will not be filled by other columns.
Code: Copy and paste this VBA code into the Visual Basic Editor and press F5 to run it.
Sub CutInsertColumn()
Range("C:D").Cut Range("I:I")
End Sub
Output: The above code has successfully cut and inserted columns C and D into columns H and I.
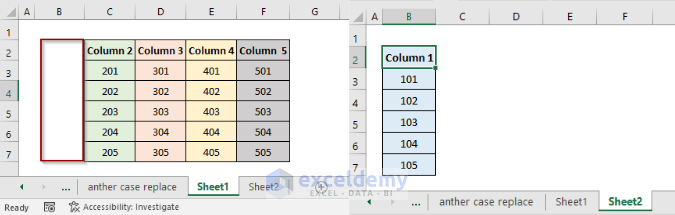
Example 5 – Cut and Insert a Column Into Another Sheet with Excel VBA
Task: We want to cut Column B (Column 1 in the dataset) from the worksheet named Sheet1 and insert it in Column B in the worksheet named Sheet2. This time the blank space left by Column C will remain as it is.

Code: Copy and paste this VBA code into the Visual Basic Editor and press F5 to run it.
Sub CutInsertColumn()
Sheets("Sheet1").Range("B:B").Cut Sheets("Sheet2").Range("B:B")
End Sub
Output: The above code has successfully cut and inserted Column B from Sheet1 into Column B of Sheet2.
Read More: Insert Column with Name in Excel VBA
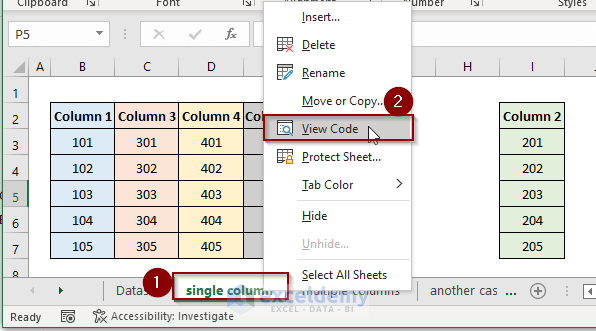
Notes
To view the code associated with each example, right-click on the sheet name and select the View Code option.
Download the Practice Workbook
Get FREE Advanced Excel Exercises with Solutions!
