Method 1 – Using the Add Method
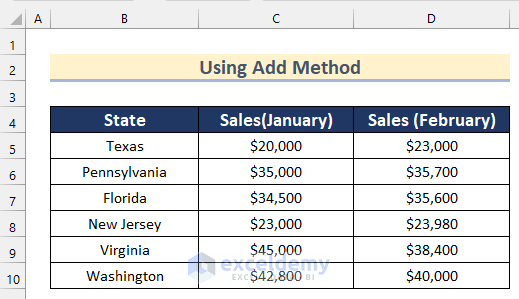
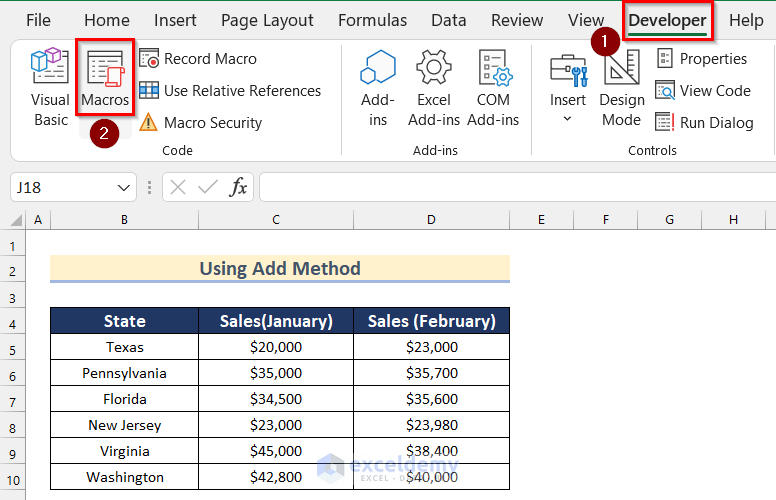
We’ll use the below workbook with several Worksheets. In the first method, we will create a new workbook and name it using the Add Method in Excel VBA.
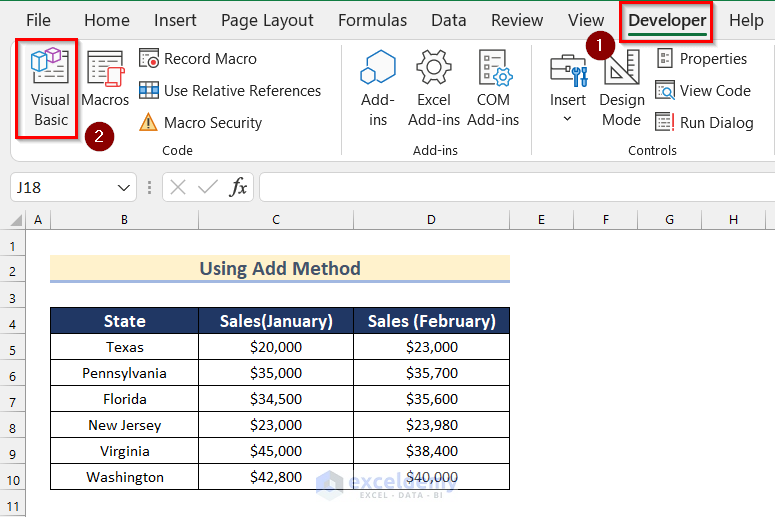
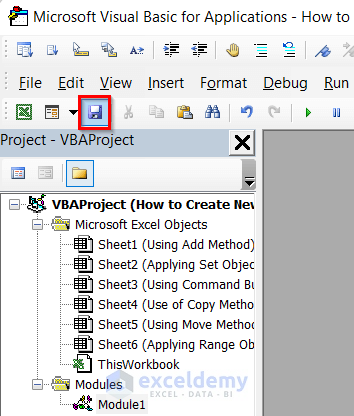
Open the Visual Basic Editor:
- Go to the Developer tab and select Visual Basic.
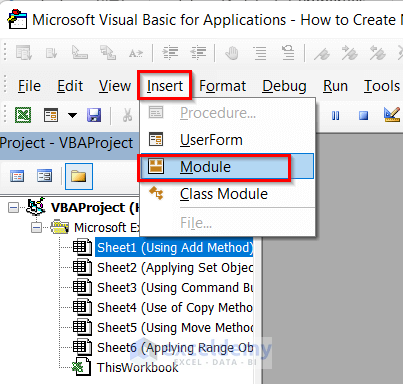
Insert a New Module:
- Insert a new module from the Insert menu.
Enter the Code:
- Copy and paste the following code into the module:
Sub Using_Add_Method_Create_New_Workbook_With_Name()
    Workbooks.Add
    ActiveWorkbook.SaveAs Filename:="F:\Using Add Method.xlsx"
End Sub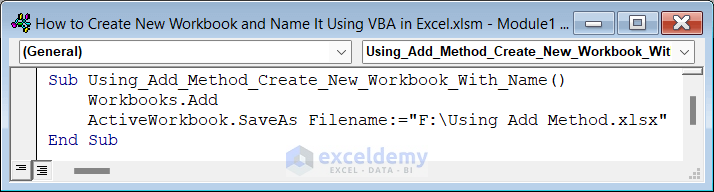
Code Breakdown
-
- We created a Sub Procedure as Using_Add_Method_Create_New_Workbook_With_Name().
- Used the Add Method and created a new workbook.
- Saved the workbook using the SaveAs Method where I declared the Folder name and named it Using Add Method.
- Click Save and go back to your worksheet.
Run the Macro:
- Go to the Developer tab and click on Macros.
- Select Using_Add_Method_Create_New_Workbook_with_Name.
- Press F5 to execute the macro.
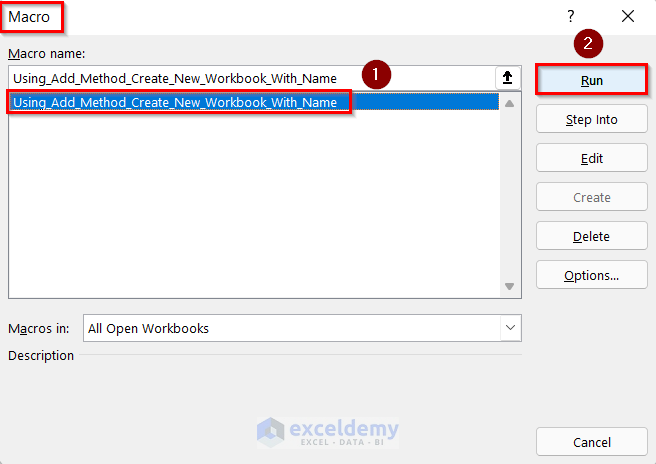
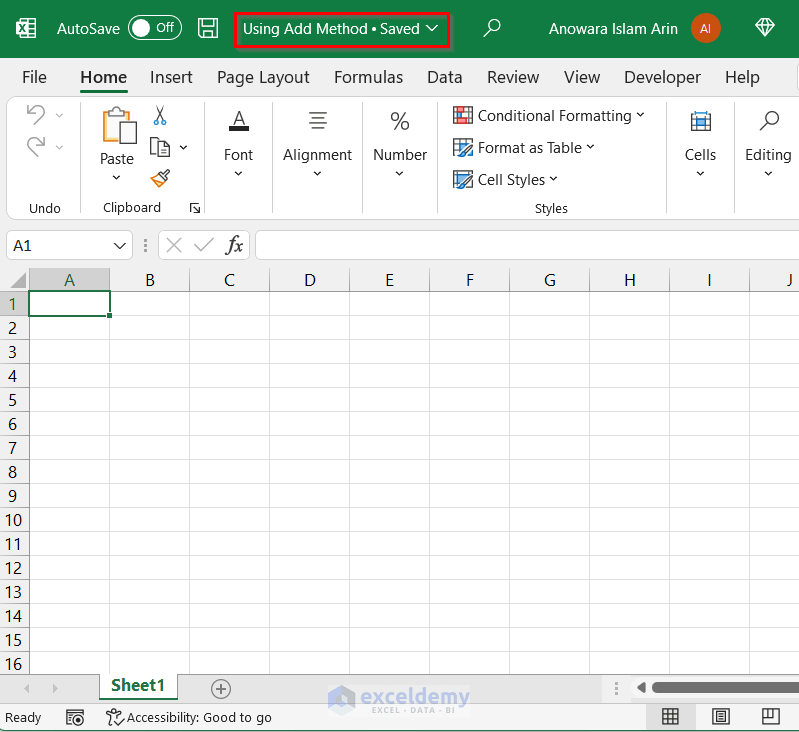
- A new workbook will be created and saved as Using Add Method.xlsx in the specified folder.
Method 2 – Applying the Set Object
Open the Visual Basic Editor:
- Go to the Developer tab and select Visual Basic.

Insert a New Module:
- Insert a new module following the same steps as in Method 1.
Enter the Code:
- Copy and paste the following code into the module:
Sub Applying_Set_Object_Create_New_Workbook_With_Name()
    Dim New_Workbook As Workbook
    Set New_Workbook = Workbooks.Add
    New_Workbook.SaveAs Filename:="F:\Applying Set Object.xlsx"
End Sub
Code Breakdown
-
- We created a Sub Procedure as Applying_Set_Object_Create_New_Workbook_With_Name().
- Declared New_Workbook as Workbook.
- Created a new workbook using the Add Method and set it as New_Workbook.
- Saved the workbook using the SaveAs Method where I also mention the Path and named it Applying Set Object.
- Save and go back to your worksheet.
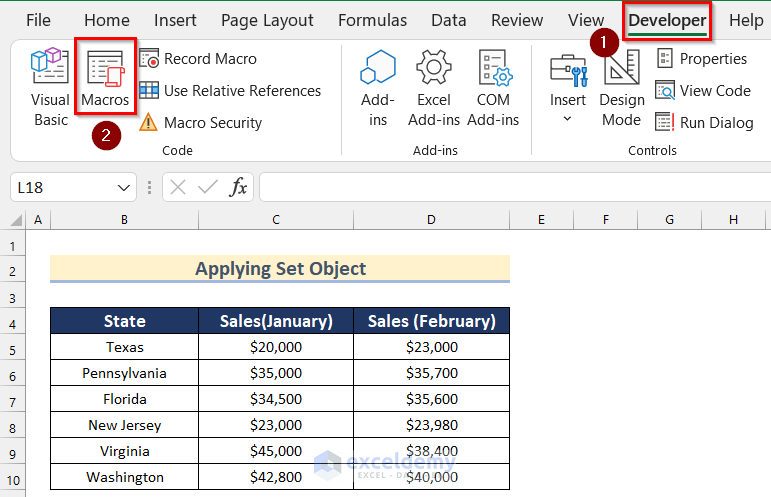
Run the Macro:
- Go to the Developer tab and click on Macros.
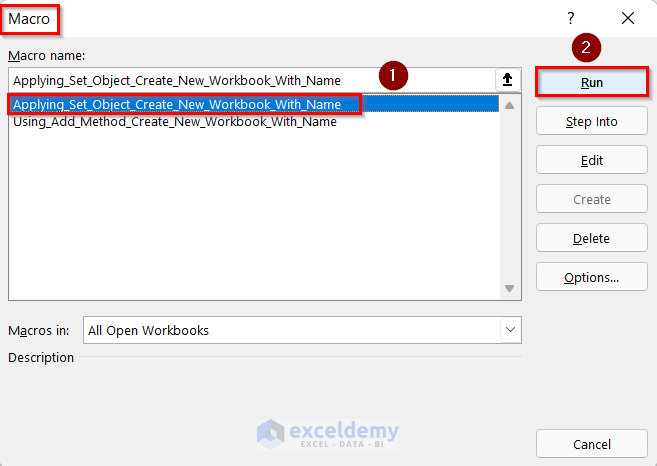
- The Macros box will appear.
- Select Applying_Set_Object_Create_New_Workbook_with_Name.
- Execute the macro by clicking the Run button.
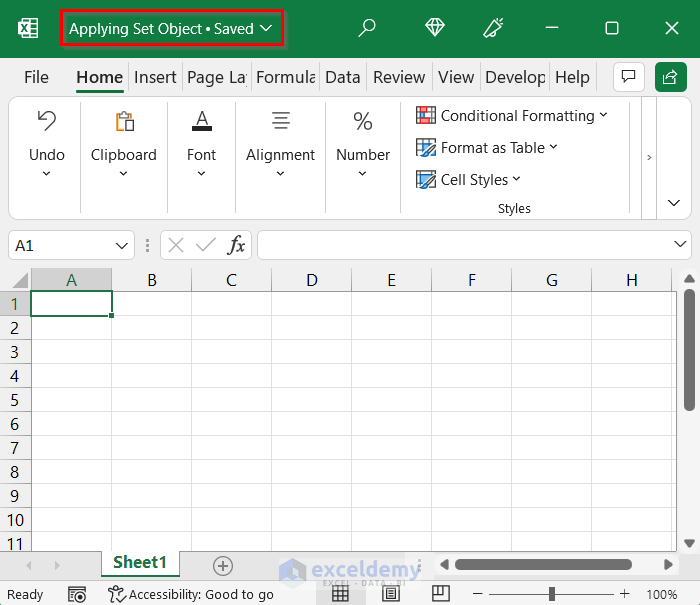
- A new workbook will be created and saved as Applying Set Object.xlsx in the specified folder.
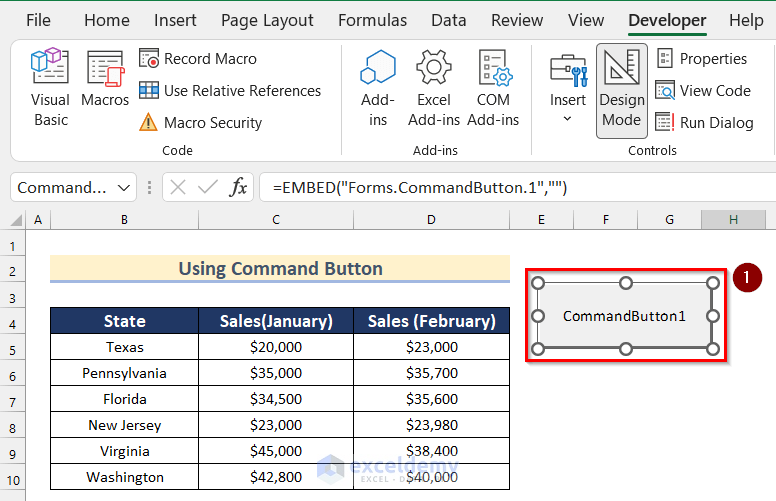
Method 3 – Creating and Naming a New Workbook Using a Command Button
- Go to the Developer tab in Excel.
- Click Insert and select Command Button from the ActiveX Controls.

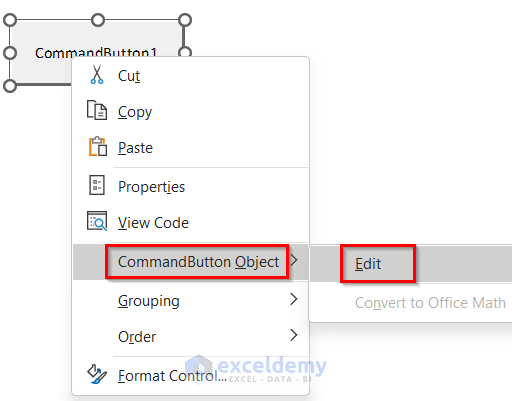
- Insert the Command Button into your worksheet and Right-click on it.
- Choose CommandButton Object and then select Edit.
- Rename the Command Button to Create New Workbook.
- A Command Button is added to your worksheet.
- Right-click on the Command Button again and click View Code.
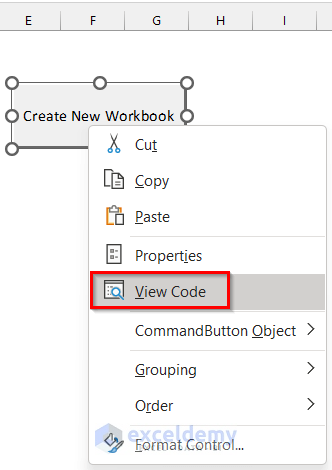
- Enter the following code:
Private Sub CommandButton1_Click()
Dim New_Workbook As Workbook
Set New_Workbook = Workbooks.Add
    New_Workbook.SaveAs Filename:="F:\Using Command Button.xlsx"
End Sub
Code Breakdown
- We created a Private Sub Procedure called CommandButton1_Click().
- Declared New_Workbook as a Workbook.
- Created a new workbook using the Add Method and set it as New_Workbook.
- Saved the workbook using the SaveAs Method, specifying the path and naming it Using Command Button.
- Click the Save button and return to your worksheet.

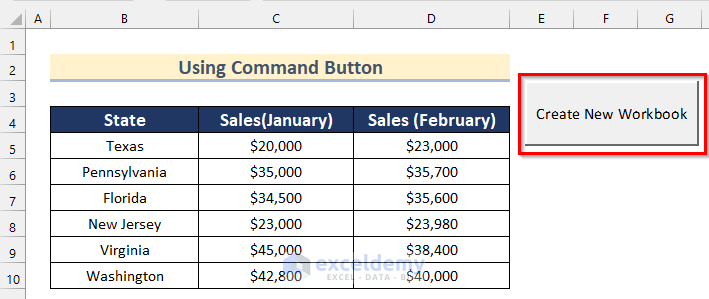
- Click Design Mode from the Developer tab.
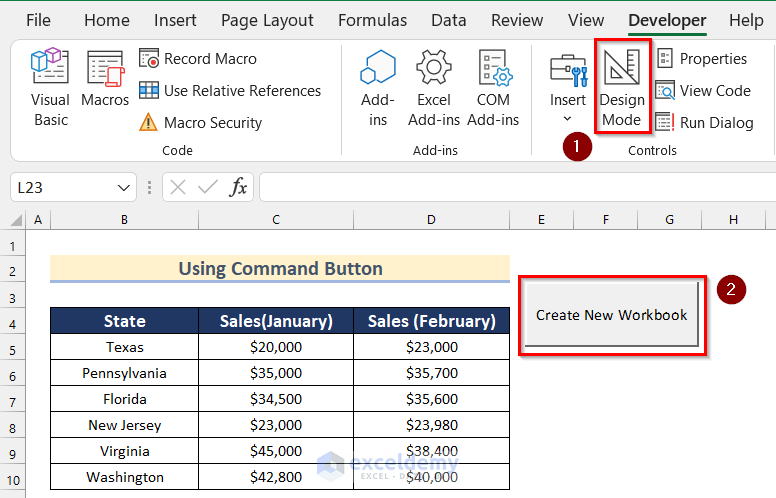
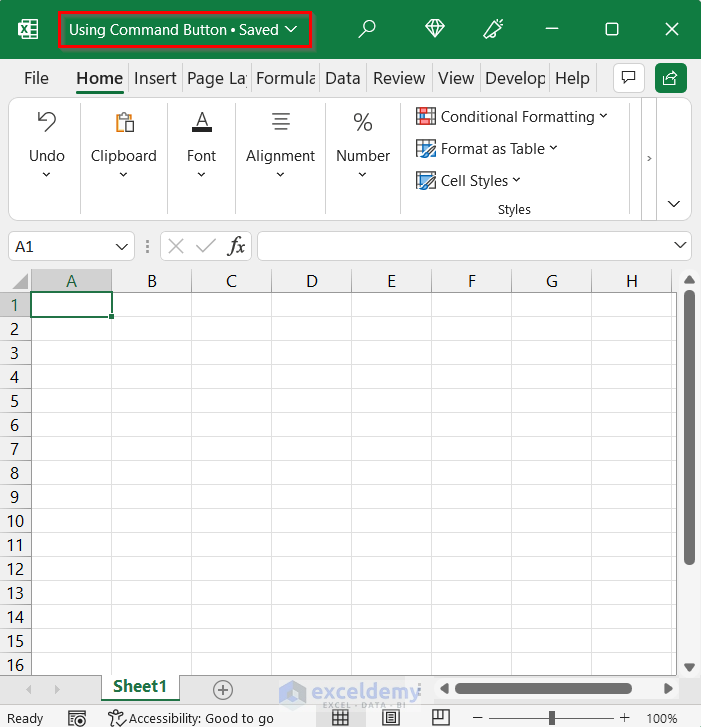
- Click the Command Button to create a new workbook named Using Command Button.
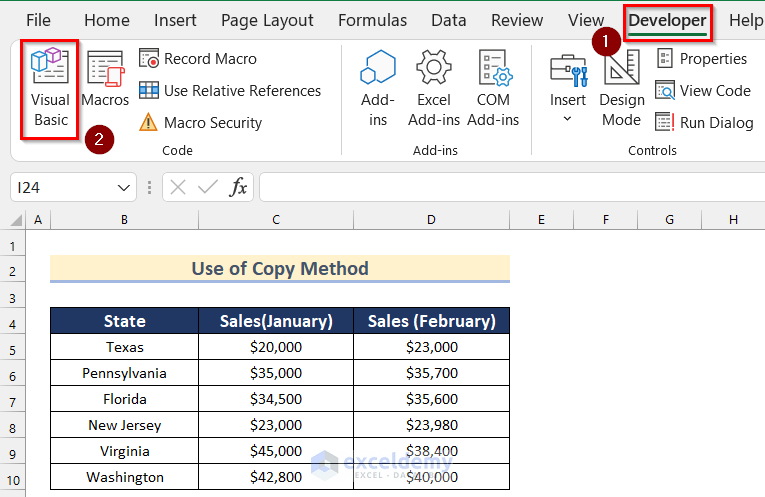
Method 4 – Creating a New Workbook by Copying an Existing Worksheet
- Go to the Developer tab and select Visual Basic.
- Insert a module (following the step shown in Method 1).
- Enter the following code in your Module:
Sub Use_of_Copy_Method()
    Dim New_Workbook As Workbook
    Worksheets("Use of Copy Method").Copy
    Set New_Workbook = ActiveWorkbook
    New_Workbook.SaveAs Filename:="F:\Use of Copy Method.xlsx"
End Sub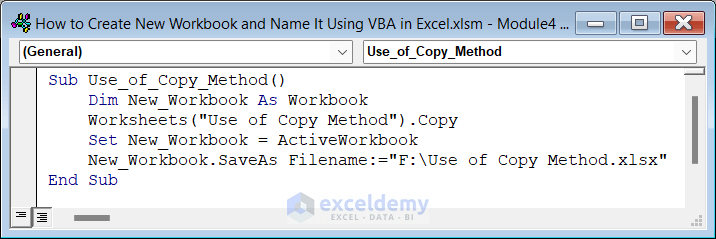
Code Breakdown
-
- We created a Sub Procedure as Use_of_Copy_Method().
- Declared New_Workbook as Workbook.
- Copied the worksheet using the Copy Method.
- Set the New_Workbook as Active Workbook .
- Saved the workbook with the path and name Use of Copy Method.
- Save the module (following the step shown in Method 1) and return to your worksheet.
- Go to the Developer tab and click on Macros.
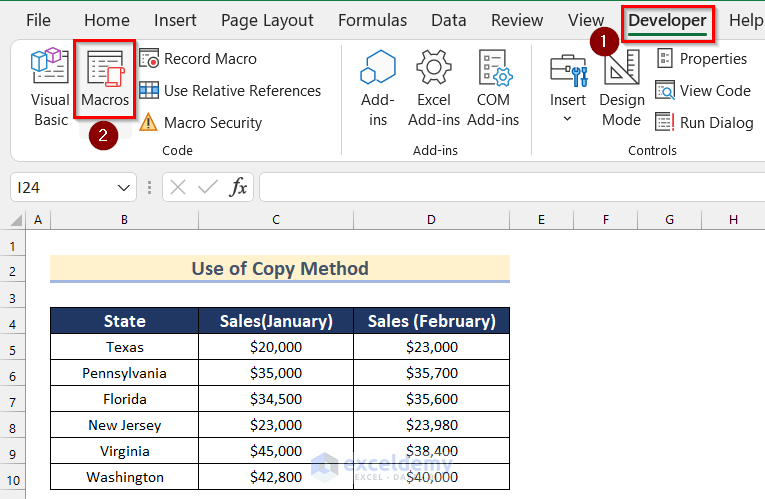
- Select Use_of_Copy_Method.
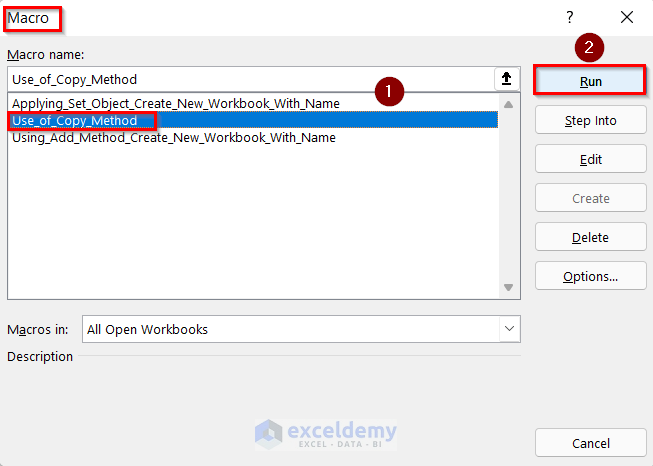
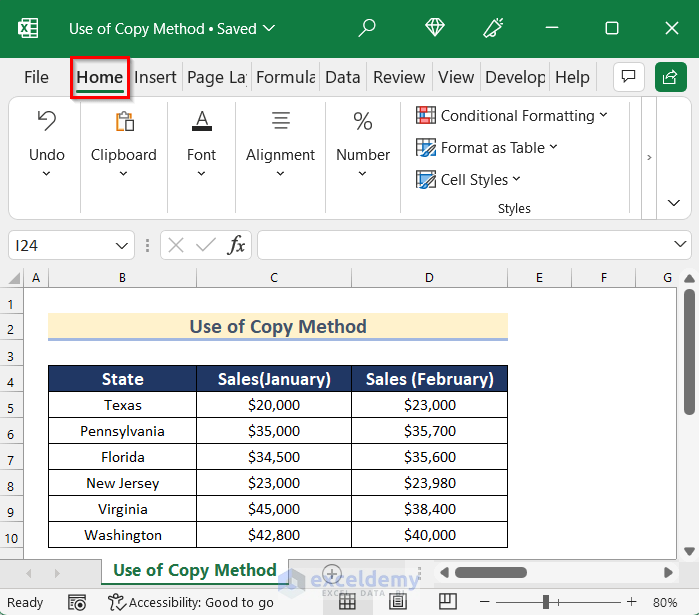
- Click Run to create a new workbook named Use of Copy Method.
Method 5 – Using Move Method to Create New Workbook by Moving an Existing Worksheet
- Open Excel and go to the Developer tab.
- Select Visual Basic to open the VBA editor.

- Insert a module (following the step shown in Method 1).
- Enter the following code in your Module.
Sub Using_Move_Method()
    Dim New_Workbook As Workbook
    Worksheets("Using Move Method").Move
    Set New_Workbook = ActiveWorkbook
    New_Workbook.SaveAs Filename:="F:\Using Move Method.xlsx"
End Sub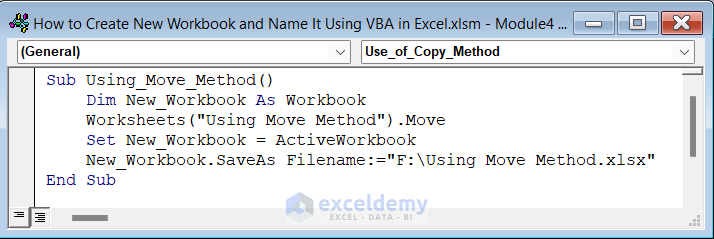
Code Breakdown
- We created a Sub Procedure as Using_Move_Method().
- Declared New_Workbook as Workbook.
- Used the Move Method to move this worksheet.
- Set the New_Workbook as Active Workbook .
- Saved the workbook with the Path and name Using Move Method.
- Save the module (following the step from Method 1) and return to your worksheet.
- Go to the Developer tab and click on Macros.
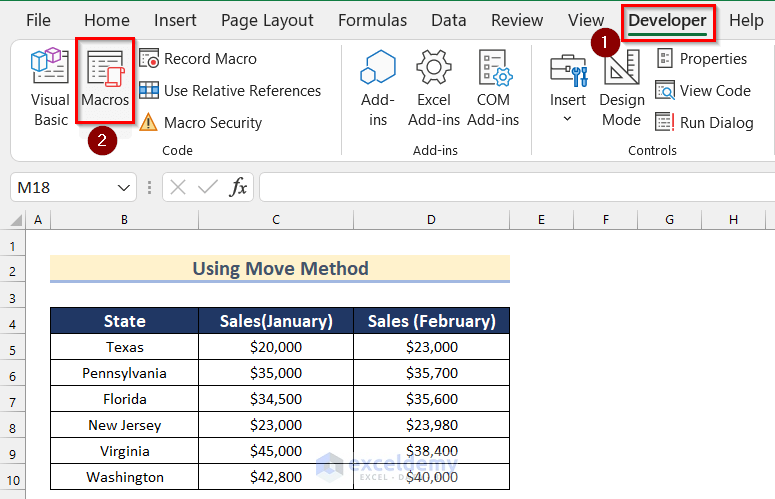
- Select Using_Move_Method.
- Click Run.
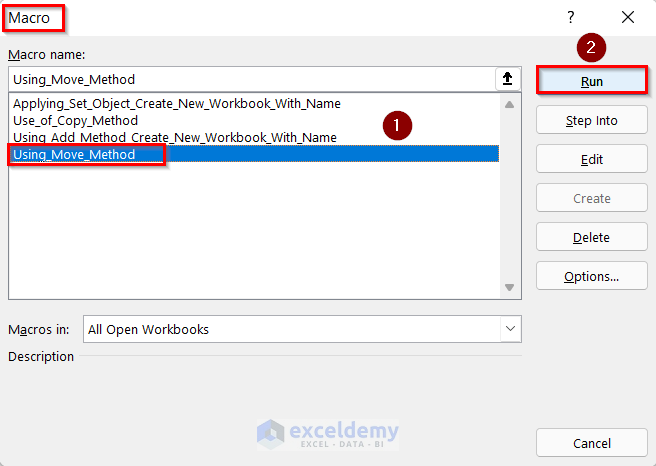
- A new workbook named Using Move Method will be created.

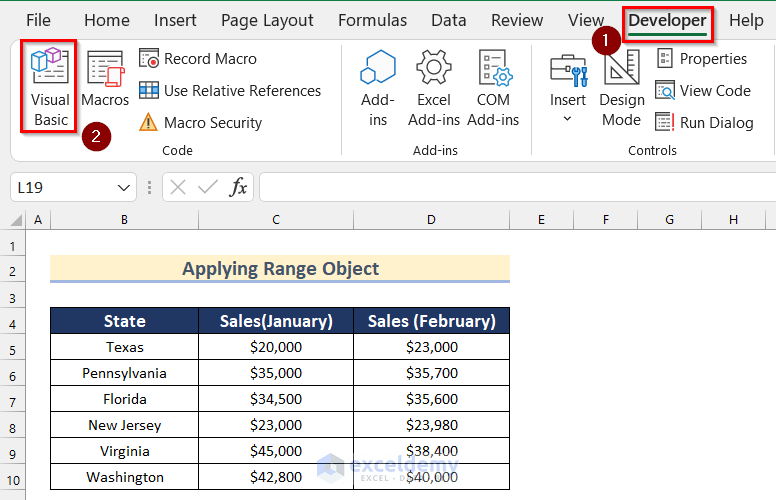
Method 6 – Creating a New Workbook Using the Range Object
- Go to the Developer tab and select Visual Basic.
- Insert a module (following the step from Method 1).
- Enter the following code in your Module:
Sub Applying_Range_Object()
Dim New_Workbook As String
New_Workbook = ActiveWorkbook.Sheets(6).Range("B2").Value
Workbooks.Add
ActiveWorkbook.SaveAs Filename:=New_Workbook & ".xls"
End Sub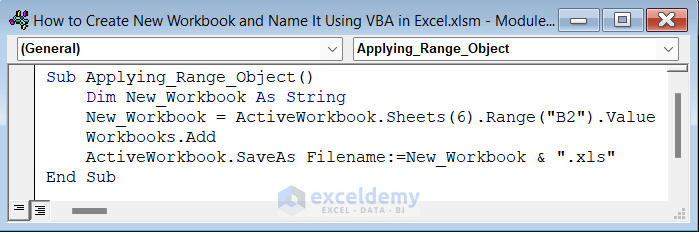
Code Breakdown
- We created a Sub Procedure calles Applying_Range_Object().
- Declared New_Workbook as a String.
- Set New_Workbook value as the content of Cell B2 from the Active Workbook.
- Added a new workbook using the Add Method.
- Saved the workbook with the name based on the value in Cell B2
- Save the module (following the step from Method 1) and return to your worksheet.
- Go to the Developer tab, click on Macros.

- Select Applying_Range_Object.
- Click Run.
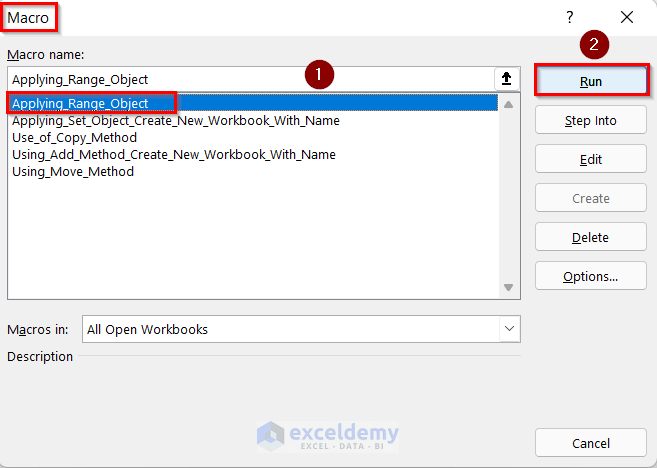
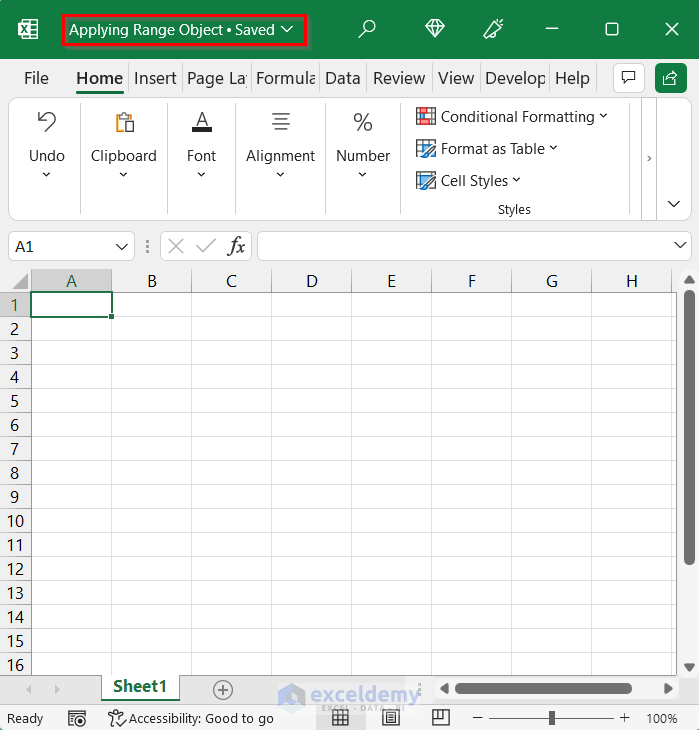
- A new workbook named according to the text in Cell B2 from the active sheet will be created.
Read More: Excel VBA Calculate Workbook
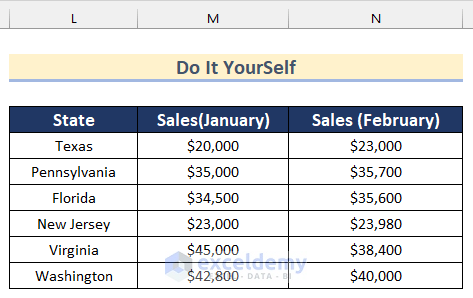
Practice Section
Use this dataset to practice and learn how to use these methods.
Download Practice Workbook
You can download the practice workbook from here:
Get FREE Advanced Excel Exercises with Solutions!

