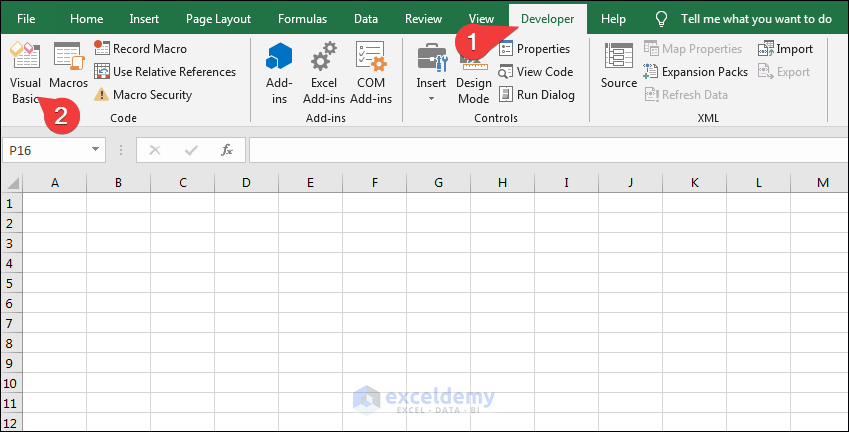
Step 1 – Launch VBA Editor
- Go to the Developer tab.
- Select Visual Basic.
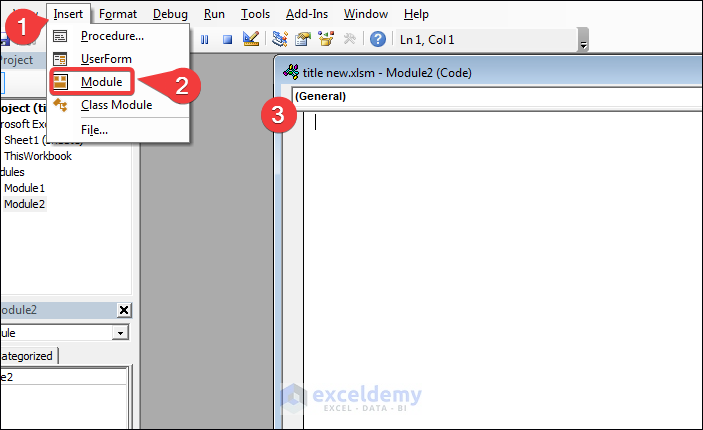
Step 2 – Insert a Module
- Select Insert,
- Select Module.
- A new Module will be created.
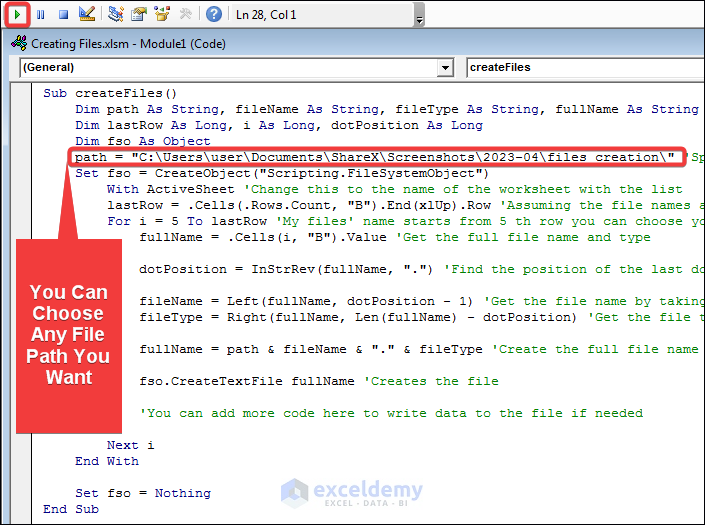
Step 3: Insert the Code in Module
Enter the following code in the module.
Sub createFiles()
    Dim path As String, fileName As String, fileType As String, fullName As String
    Dim lastRow As Long, i As Long, dotPosition As Long
    Dim fso As Object
    path = "C:\Users\user\Documents\ShareX\Screenshots\2023-04\files creation\" 'Specify the folder path here
    Set fso = CreateObject("Scripting.FileSystemObject")
        With ActiveSheet 'Change this to the name of the worksheet with the list
        lastRow = .Cells(.Rows.Count, "B").End(xlUp).Row 'Assuming the file names and types are in column A
        For i = 5 To lastRow 'My files' name starts from 5 th row you can choose your row to satrt
            fullName = .Cells(i, "B").Value 'Get the full file name and type
            dotPosition = InStrRev(fullName, ".") 'Find the position of the last dot
            fileName = Left(fullName, dotPosition - 1) 'Get the file name by taking the characters to the left of the last dot
            fileType = Right(fullName, Len(fullName) - dotPosition) 'Get the file type by taking the characters to the right of the last dot
            fullName = path & fileName & "." & fileType 'Create the full file name and type
            fso.CreateTextFile fullName 'Creates the file
            'You can add more code here to write data to the file if needed
        Next i
    End With
    Set fso = Nothing
End Sub
Code Explanation
Sub createFiles()This line defines the start of the VBA sub-procedure that will create the files.
Dim path As String, fileName As String, fileType As String, fullName As StringDeclares four string variables that will be used to store the path, file name, file type, and full file name of each file to be created.
Dim lastRow As Long, i As Long, dotPosition As LongThis line declares three long integer variables that will be used to store the last row number of the Excel list, the current row number, and the position of the last dot in the file name.
Dim fso As ObjectDeclares an object variable for the FileSystemObject, which will be used to create the files.
path = "C:\Users\user\Documents\ShareX\Screenshots\2023-04\files creation\"This line sets the folder path where the files will be created. You should replace this path with the actual path where you want the files to be created.
Set fso = CreateObject("Scripting.FileSystemObject")Creates an instance of the FileSystemObject.
With ActiveSheetStarts a With block for the ActiveSheet, which is the worksheet with the list of file names and types.
lastRow = .Cells(.Rows.Count, "B").End(xlUp).RowThis line sets the value of lastRow to the last non-blank row in column B of the ActiveSheet.
For i = 5 To lastRowThis line starts a loop that will iterate through each row in the list, starting from row 5.
fullName = .Cells(i, "B").ValueGets the value of the file name and type in column B for the current row.
dotPosition = InStrRev(fullName, ".")Finds the position of the last dot in the file name and type.
fileName = Left(fullName, dotPosition - 1)Extracts the file name from the full name and type by taking the characters to the left of the last dot.
fileType = Right(fullName, Len(fullName) - dotPosition)This line extracts the file type from the full name and type by taking the characters to the right of the last dot.
fullName = path & fileName & "." & fileTypeThis line creates the full file name and type by concatenating the path, file name, and file type.
CreateTextFile fullNameCreates the file using the full file name and type.
Next iThis line ends the loop.
End WithEnds the With block.
Set fso = NothingThis line releases the FileSystemObject.
Overall, this code takes a list of file names and types in an Excel worksheet, creates a folder path where it will create the files and uses VBA to loop through each row of the list and create a file for each row using the file name and type in that row. We have used the FileSystemObject to create the files and the file name as well as the extracted type from the full name using the position of the last dot in the name.
Read More: How to Use Macro to Create Folders from Excel List
Step 4 – Run Code in Module
Press the Run button or press the F5 key.

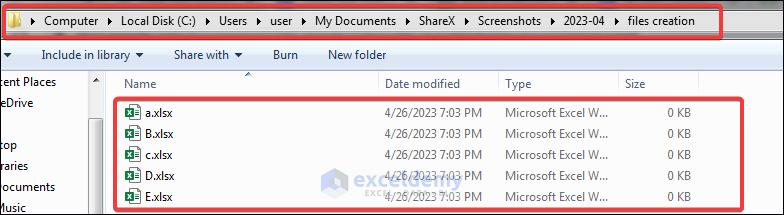
Step 5 – Creating The Files in Destined Folder
The final result to create files in the destination folder is shown below.
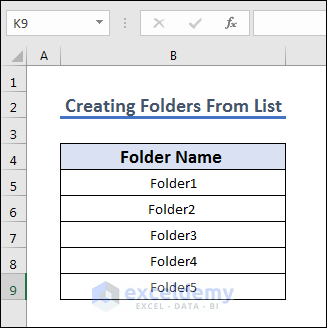
How to Create a Folder From Excel List
We will create a folder from an Excel List with the help of Notepad.
- We have to create a Make Directory column using =”MD ” & B5, drag and drop the fill button, copy the column elements to Notepad after creating a new Notepad and save it by pressing Ctrl+S.
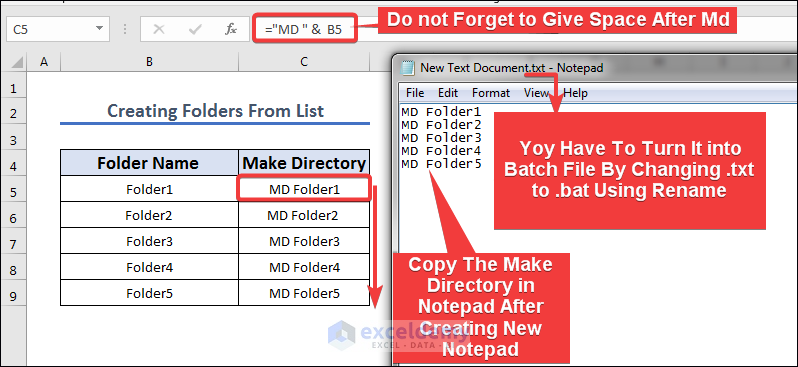
- We have to change the file extension to create a batch file by changing .txt to .bat. Select the batch, New Text Document.bat.
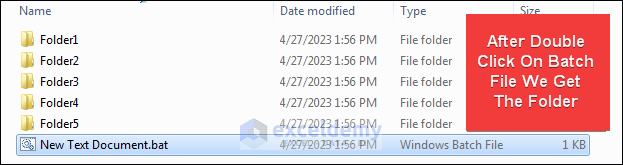
- Double-click the file and it will create the folders.
Read More: How to Create Multiple Folders at Once from Excel
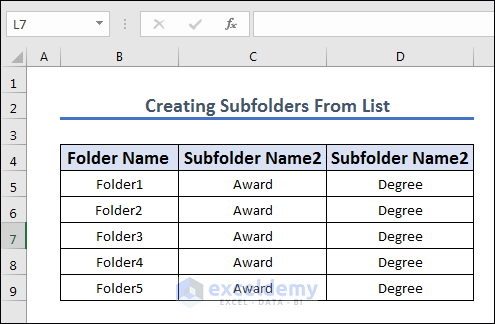
How to Create Subfolders From Excel Lists
We will create subfolders from an Excel list. The following dataset will be used for illustration.
- We have to create a Make Directory Column using the function given below and Copy the Make Directory column elements to Notepad after creating a new Notepad.
- Change the notepad text file into a batch file i.e. changing the file extension .txt to .bat by renaming.
="MD """&B5&"/"&C5&""" """&B5&"/"&D5&""""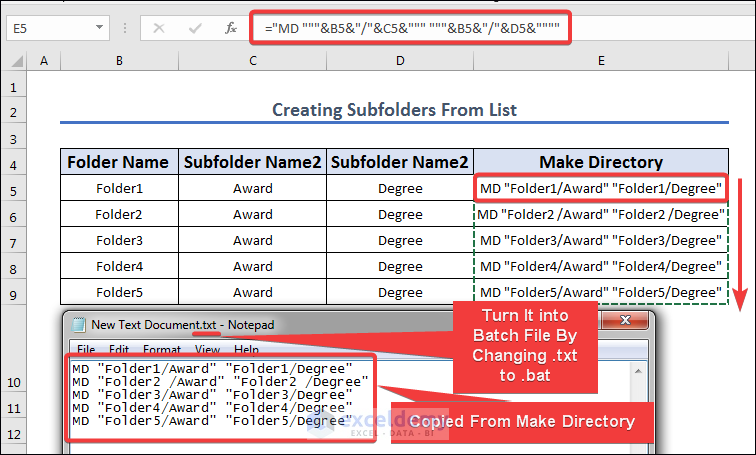
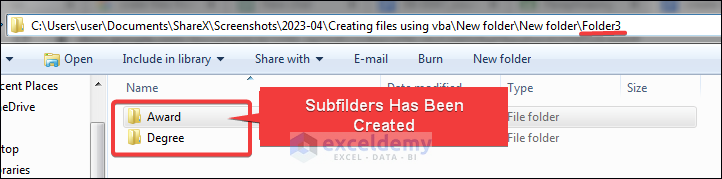
- After changing it into a batch file, double-click the batch file, New Text Document.bat.
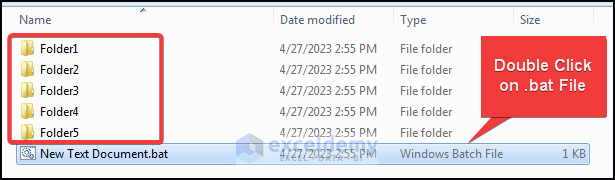
- You will see that it has created subfolders.
Formula Explanation
=”MD “””&B5&”/”&C5&””” “””&B5&”/”&D5&””””
The formula concatenates values in cells B5, C5, and D5.
Things to Remember
There are a few considerations to keep in mind when using VBA to create files from Excel lists:
- Test your code: To make sure your VBA code functions as intended, test it on a tiny sample of data before running it. This can assist you in identifying any flaws or problems before you apply the code to a huge amount of data.
- Check for accuracy: Before creating files, make sure that the information in your Excel list is correct and up to date. Verifying your data again will help you avoid file mistakes.
- Pick file names wisely: It’s crucial to use descriptive and relevant file names when producing files from Excel lists. This can make it simpler for you to keep organized and to Backup your data: Be sure to create a backup of your data before editing or creating any new files in your Excel list. In the event that something goes wrong, this can save you from losing important data.
- Keep your code organized: It’s crucial to be organized and maintain documentation when writing VBA code. This may ease future comprehension and modification.
Download Practice Workbook
<< Go Back to Create Folder in Excel | Excel Files | Learn Excel
Get FREE Advanced Excel Exercises with Solutions!
