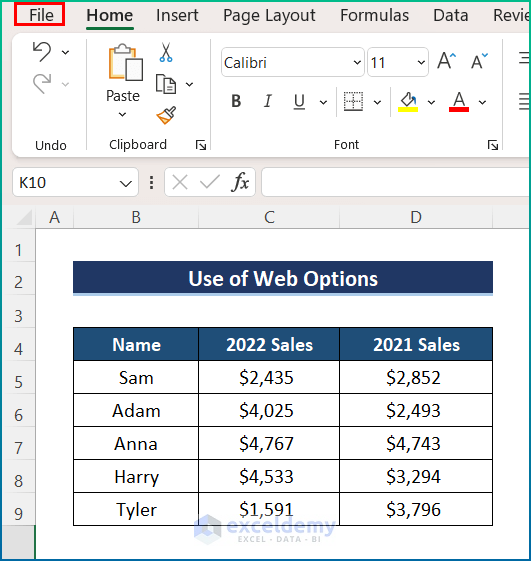
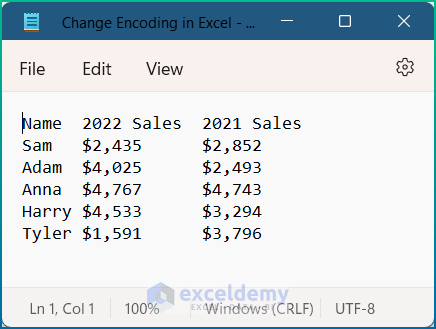
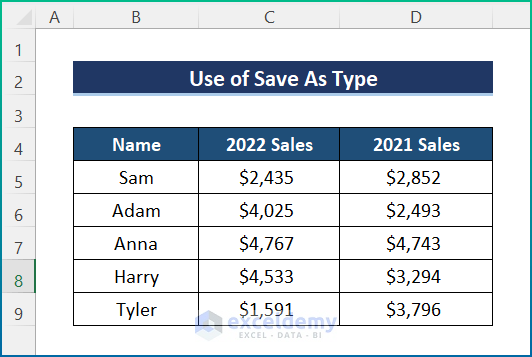
This is the sample dataset.

Method 1 – Changing the Encoding by using the Web Options in Excel
Steps:
- Select the File tab.
- Choose Options.

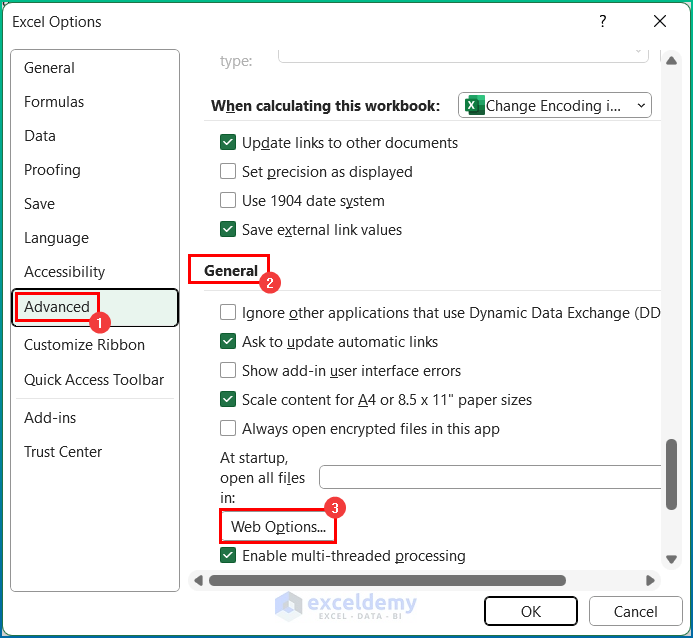
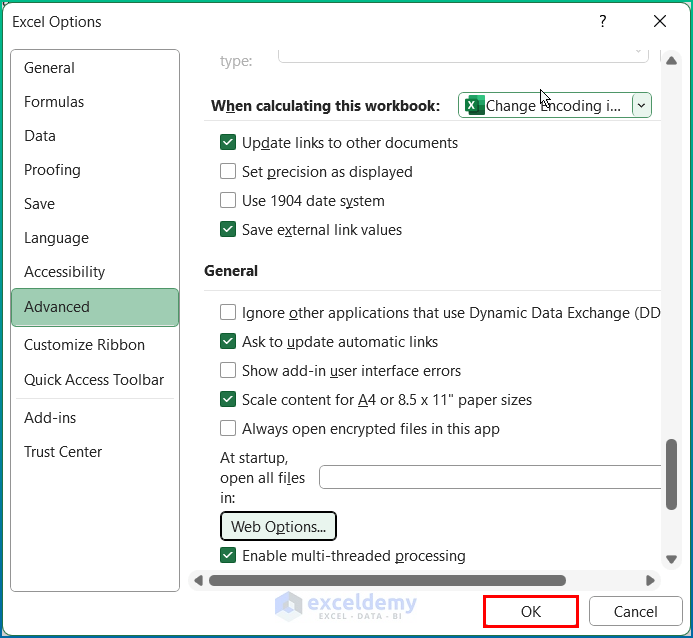
- In Advanced, choose General
- Click Web Options to change the encoding.
- A dialog box will open.
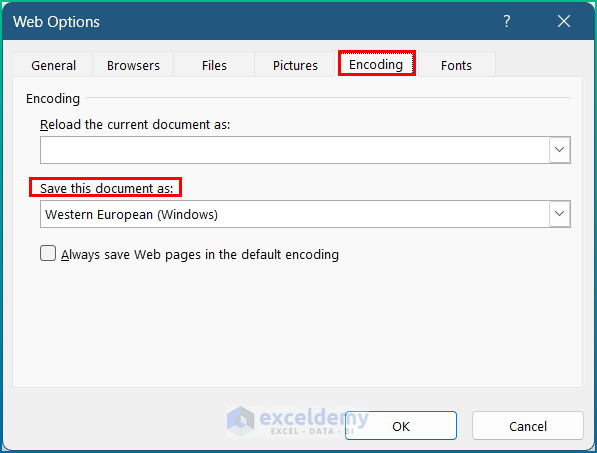
- In Save this document as, change the encoding and click OK.
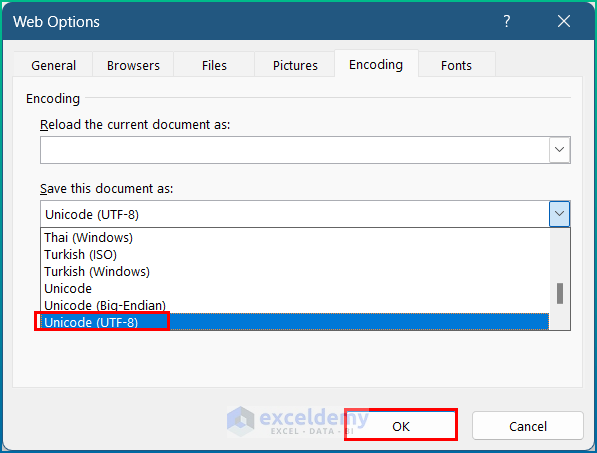
- Click OK again.
- The encoding of your Excel file is changed.

Read More: How to Apply UTF 8 Encoding on CSV File in Excel
Method 2 – Using the Text Import Wizard to Change the Encoding
This is the sample dataset.
Steps:
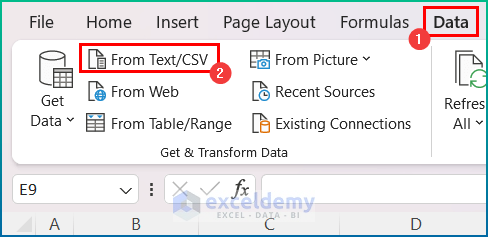
- Go to the Data tab and select From Text.
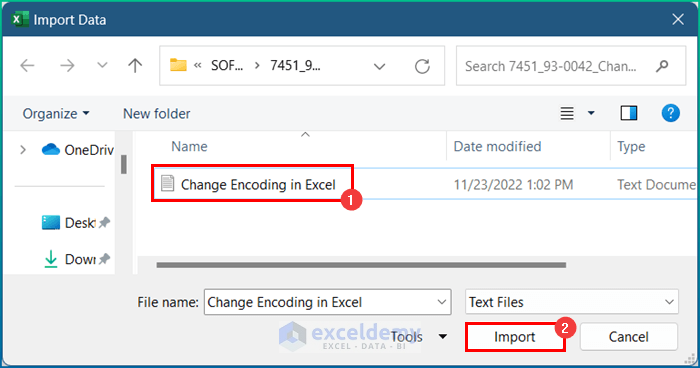
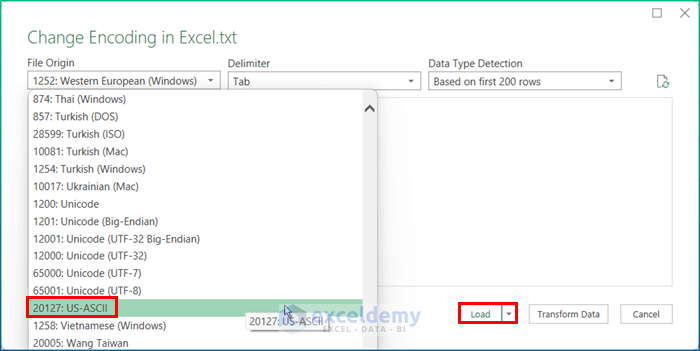
- Select the text file and click Import.
- Select the encoding from File Origin and click Load.
This is the output.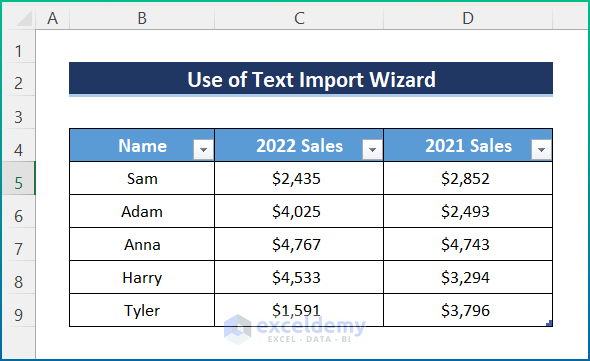
Method 3 – Changing the Encoding While Saving the Excel File
Steps:
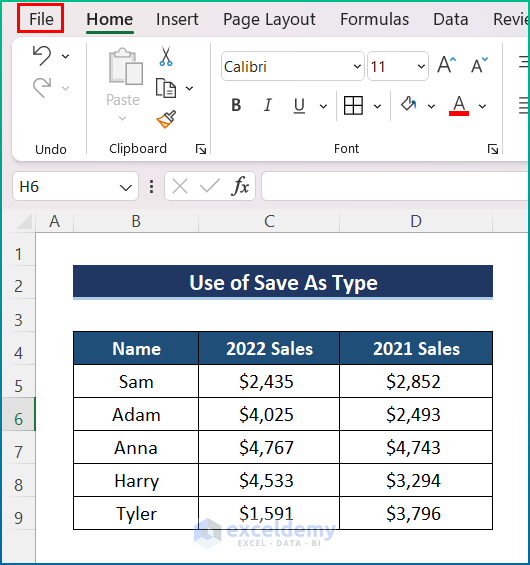
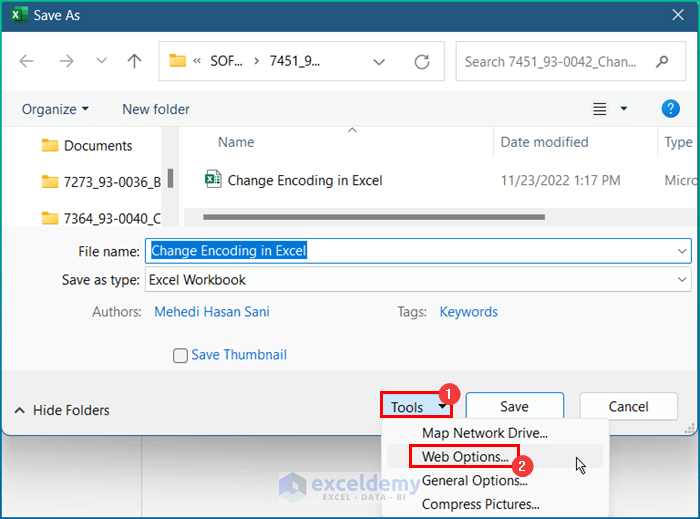
- Go to the File tab.
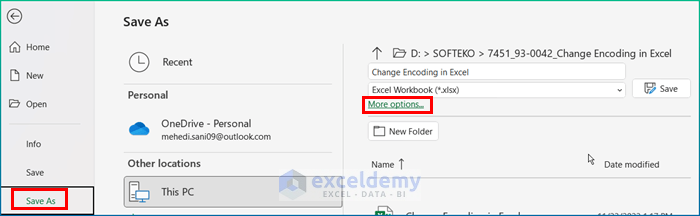
- In Save As, select More Options.
- In Tools, choose Web Options.
- In Encoding, select the encoding.
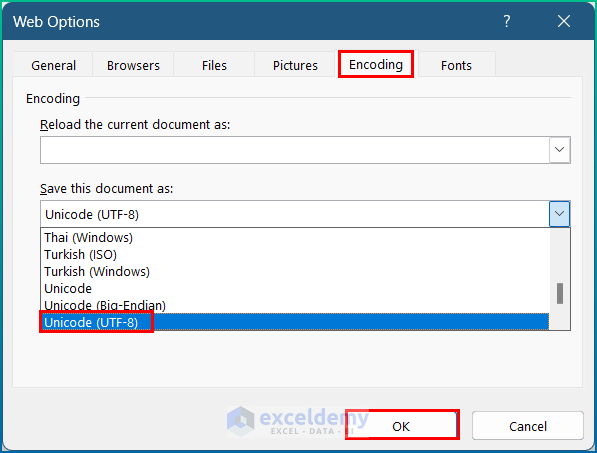
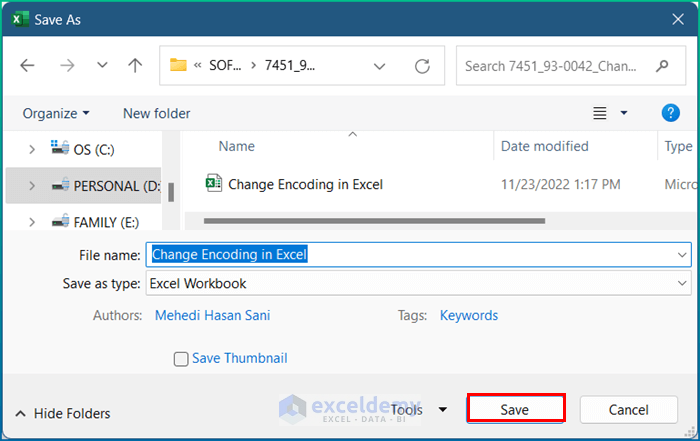
- Click Save.
- This is the output.
Read More: How to Check Encoding of Excel File
Download Practice Workbook
Download the workbook here.
Related Articles
<< Go Back to Excel Encoding | Excel Files | Learn Excel
Get FREE Advanced Excel Exercises with Solutions!
