Sometimes, you need to share some sensitive Excel files. Being sensitive, it is essential that the excel file is not changed or edited by someone else. So, it would be a great help, if you know how to protect a worksheet in Excel. In this article, I will show you how to protect a worksheet in Excel using 6 effective ways.
Practice Workbook
You can download and practice from our workbook here.
6 Effective Ways to Protect a Worksheet in Excel
1. Protect a Spreadsheet with Password
You can protect your spreadsheet with a password. This will make your file protected from edits. And, you can also edit your file later with the password. Follow the steps below to do this:
Steps:
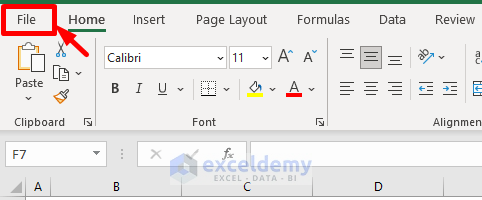
- At first, click on the File tab from the ribbon.

- At this time, click on the Info button from the expanded File tab.

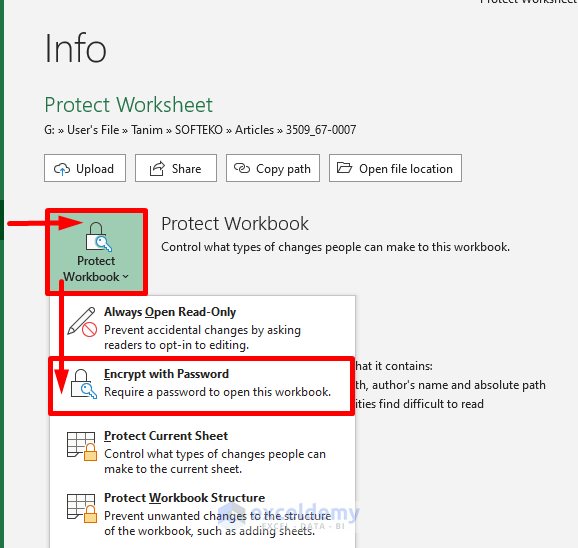
- Subsequently, the Info window will open. Now, click on Protect Workbook >> click on Encrypt with Password.
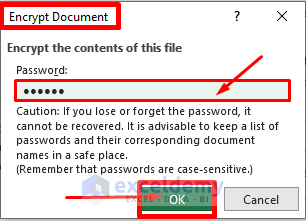
- At this time, the Encrypt Document window will open. It will ask you to set a password. Enter your password in the text box and click on the OK button.
- Now, the Confirm Password window will open. Reenter your password inside the text box and click on the OK button.

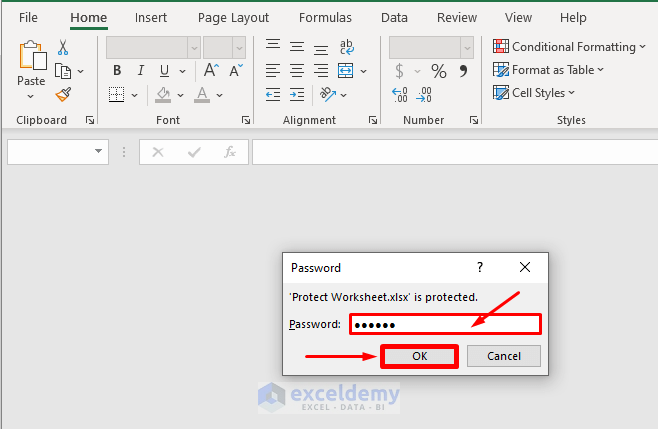
Thus, every worksheet of your workbook will be encrypted with a password. You will see the following things afterward. 👇 You will see that anybody who opens the file now, will be asked to enter the password. And only after giving the password, the file will open.
Read More: How to Protect Excel Sheet with Password
2. Make a Spreadsheet as Read-Only
You can protect your workbook by making it a Read-Only file. Doing this will result in a prompt message warning you to open this file as read-only. Follow the steps below to do so:
Steps:
- At first, click on the File tab from the ribbon.
- At this time, click on the Info option from the expanded File tab.

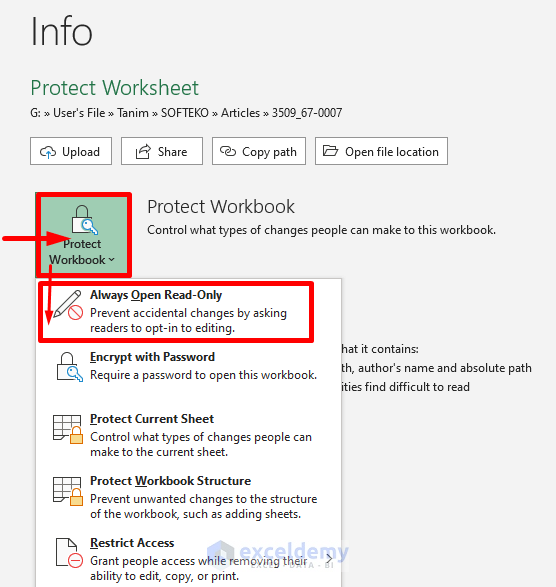
- Now, the Info window will open. Now, click on Protect Workbook >> click on Always Open Read-Only.
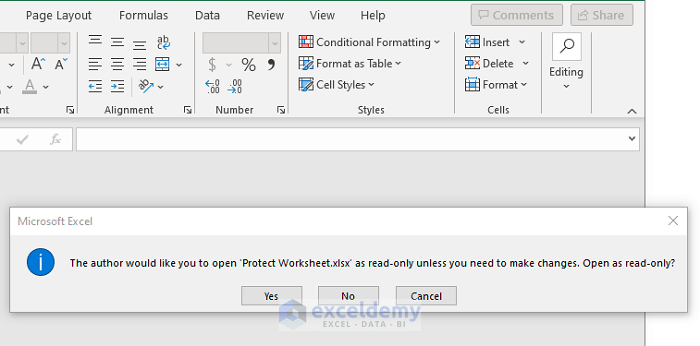
Thus, your file will be protected in Read-Only mode. You will see, when opening the file again, it will show you a message warning you to open the file as a read-only file.
3. Protect Excel Worksheets from Modifying
If you want to open your file, but don’t want to modify it, you can use the following steps below:
Steps:
- At first, click on the File tab from the ribbon.

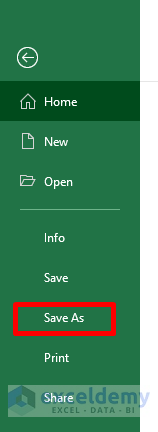
- Click on the Save As option from the expanded File tab.
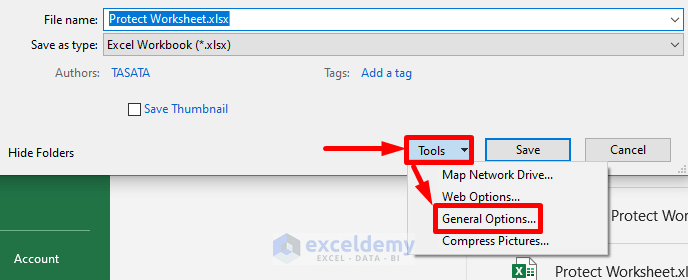
- Now, click on the Tools option from the Save As window and select General Options… from the listed options.
- Subsequently, the General Options window will open. Here, you can set a password to open and modify. Now, enter your password inside the Password to modify the text box.

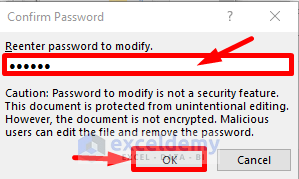
- At this time, the Confirm Password window will open. Reenter your password inside the text box.
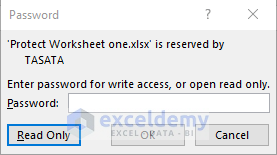
Now, If you open the file, you will see that the file wants a password for modification. If you don’t have the password, you can view the file as Read Only.
Read More: How to Protect Excel Sheet from Editing
4. Protect a Worksheet with Customized Permissions
You can also allow specific permissions and protect your workbook. Follow the steps below to do so.
Steps:
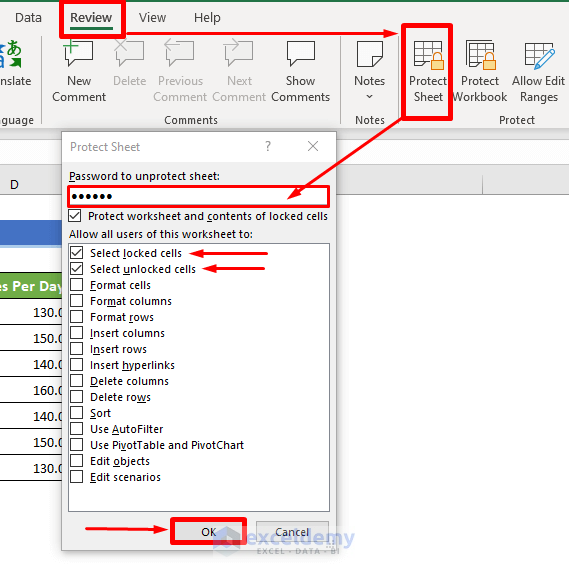
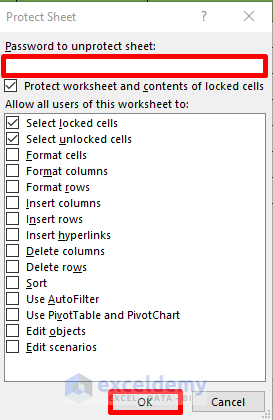
- Go to the Review tab from the ribbon >> Click on Protect Sheet >> Enter your password in the text box and click on the checkboxes according to your desired allowable permissions >> Click on the OK button.
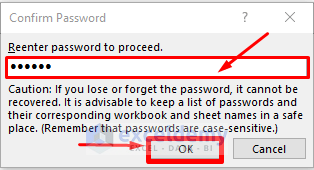
- At this time, the Confirm Password window will open. Reenter your password and click on the OK button.
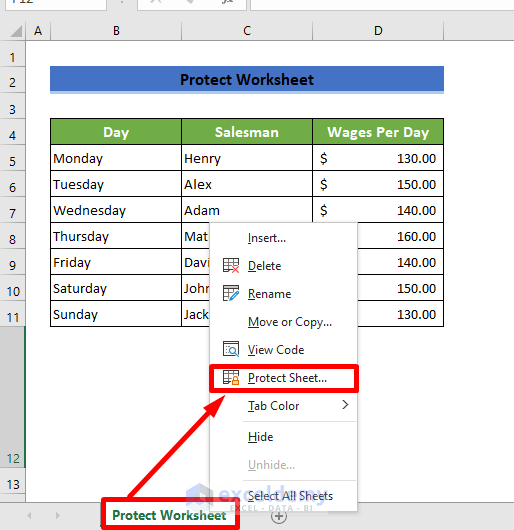
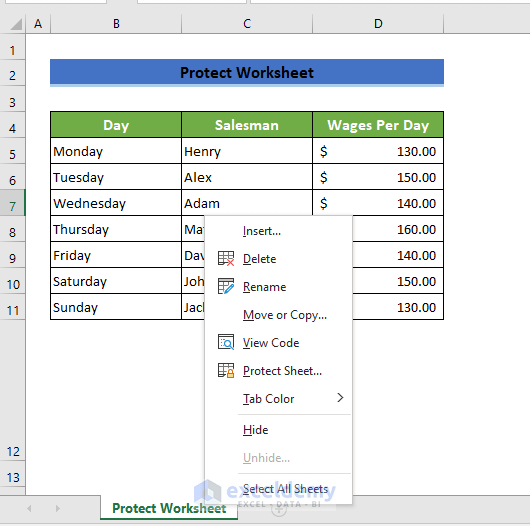
- You can also right-click on the Worksheet tab below and select Protect Sheet from the context menu.
- Subsequently, the Protect Sheet window will open. And, you can select the allowable permissions and set a password like the 1st step’s last part.
Thus, your worksheet will be protected with allowable permissions.
Read More: Excel VBA: Protect Sheet with Password and Allow Filter
5. Protect Specific Cells in an Excel Worksheet
You can also protect specific cells of a worksheet. Follow the steps below:
Steps:
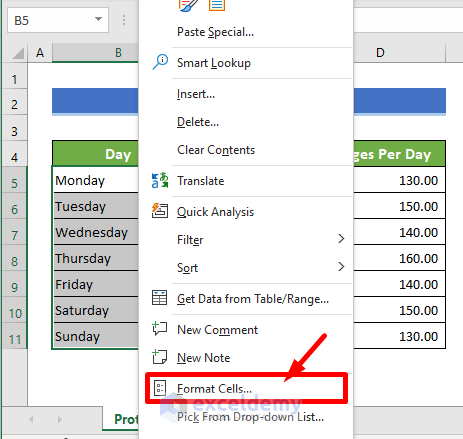
- At first, select the cells you want to remain editable. Then right-click on the mouse and choose Format Cells… from the context menu.
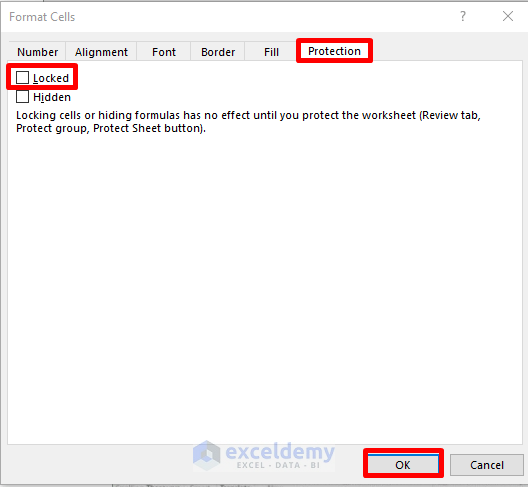
- Go to the Protection tab from the Format Cells window. Now, uncheck the locked option tick.
- Now, you can protect your worksheet following the other ways described here. But, the selected cells will remain editable.
Finally, your worksheet is protected without your selected cells.
Read More: How to Protect an Excel Sheet Except for Certain Cells
6. Protect a Spreadsheet with ‘Mark as Final’ Feature
You can also use Mark as the Final feature to protect your worksheet. Follow the steps below to do so.
Steps:
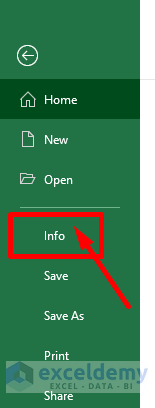
- At first, click on the File tab from the ribbon.

- At this time, click on the Info option from the expanded File tab.
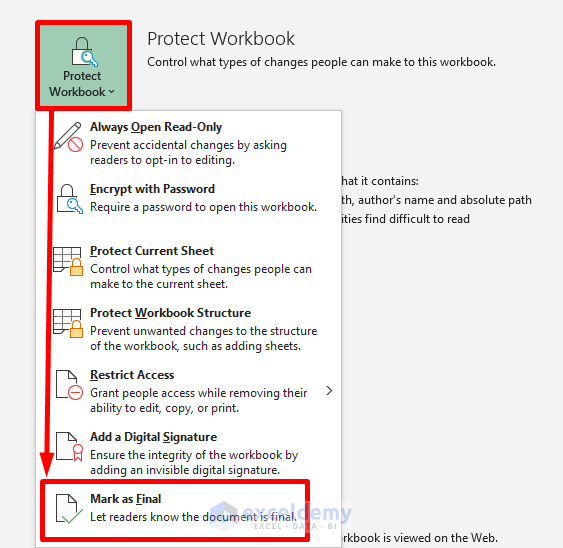
- Subsequently, the Info window will open. Now, click on Protect Workbook >> click on Mark as Final.
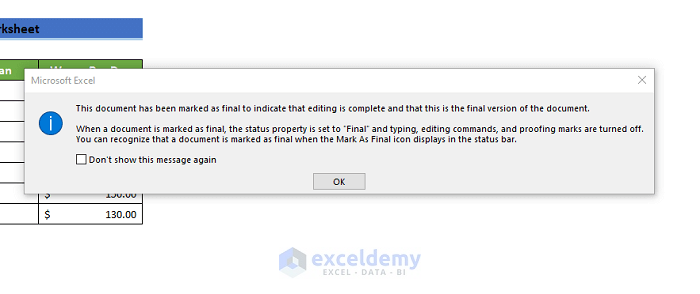
- Now, A dialogue box will warn you if you want your worksheet to mark as final. Click on the OK button.
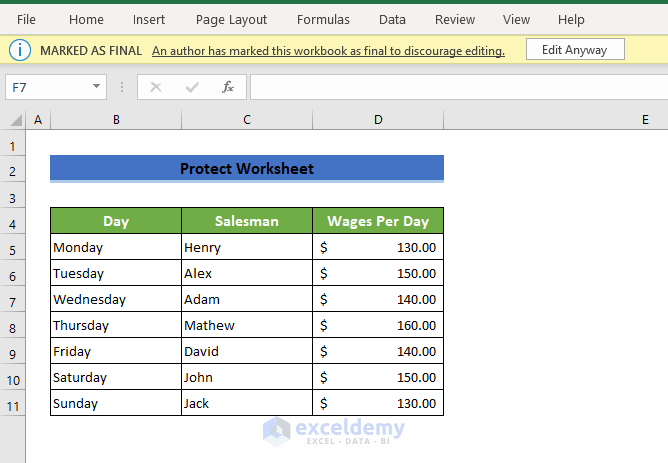
 Thus, your worksheet is protected. You will be warned that this file is marked as final, whenever you open the file.
How to Protect a Workbook Structure
You can also protect your workbook structure. In this way, you can still edit the values of cells, but you can not access the structural commands. Follow the below steps to do so:
Steps:
- At first, click on the File tab from the ribbon.

- At this time, click on the Info option from the expanded File tab.

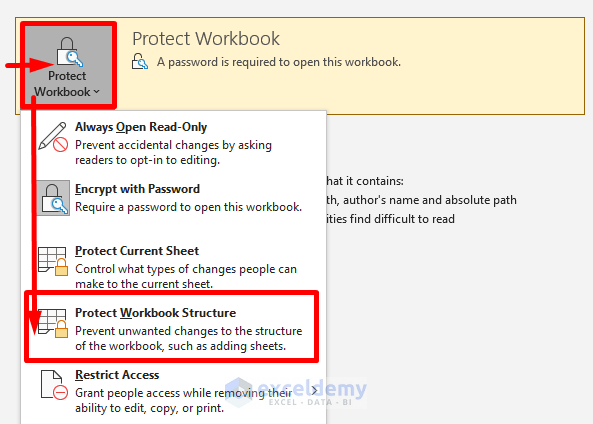
- Subsequently, the Info window will open. Now, click on Protect Workbook >> click on Protect Workbook Structure.
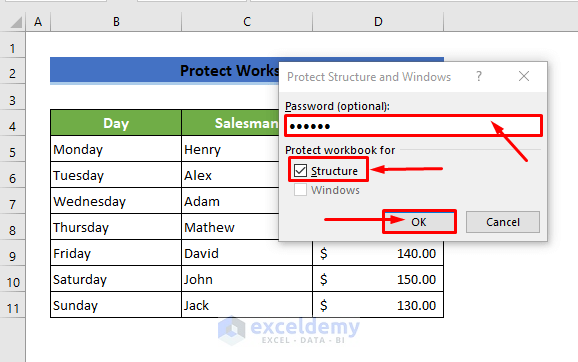
- Now, Protect Structure and Windows window will open. Here, you can see, that the tick mark is on the Structure option only. Now, you can enter a password in the text box and click on the OK button. It is optional to put a password in this approach.
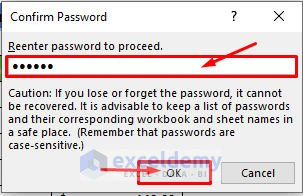
- If you set a password, then Confirm Password window will open. Reenter your password in the text box and click on the OK button.
Thus, your workbook structure will be protected. You will face the following things when opening the file. 👇
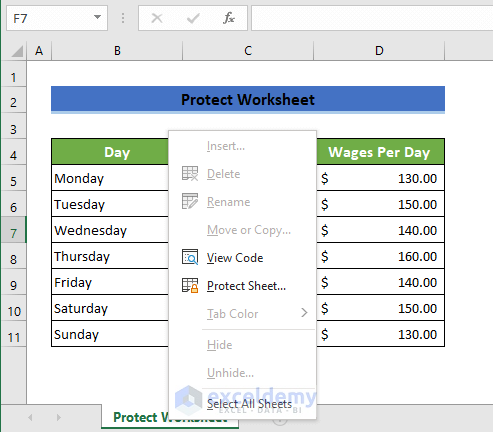
- If you open the file, you will see, that the structural commands are greyed out. So, you can not access these.
- To access these commands again, you have to go to the Review tab on the ribbon >> Click on Protect Workbook >> Enter the password in the Password text box and click on the OK button.
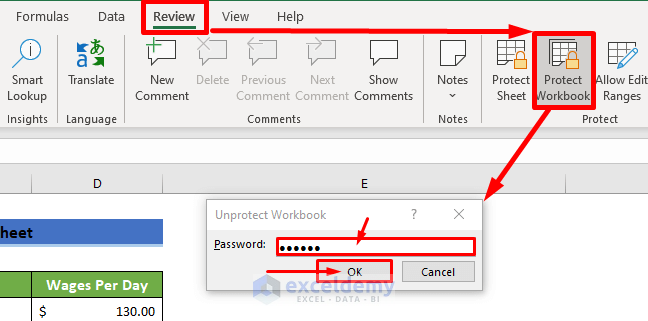
- Now, you can see, that the structural commands can be accessed. But remember, once you do this, you will have to protect the workbook again.
Conclusion
So, here I have shown you how to protect an Excel worksheet in 6 effective ways. You can use any of these ways to protect your Excel cells, worksheets, or whole workbook according to your needs. I hope, you find this information informative and helpful. If you have any further queries or recommendations, please feel free to contact me.
Protect Excel Sheet: Knowledge Hub
<< Go Back to Excel Protect | Learn Excel
Get FREE Advanced Excel Exercises with Solutions!
