As the use of Excel increases on a daily basis, we may need to have a printed hardcopy of our Excel spreadsheet. Varying on your work, you may want to print the entire workbook or print selected cells in Excel. The objective of this article is to explain how to print selected cells in Excel.
It is easy for you to print an entire sheet since Microsoft Excel will print all the data on a worksheet by default, regardless of the versions (Excel 2010, Excel 2013, Excel 2016, Excel 2019). But, for printing a specific selection of cells you have to make some adjustments prior to printing. This article will show two very easy and simple ways to print a selected range of cells.
Watch Video – Print Selected Cells in Excel
How to Print Selected Cells in Excel: 6 Effective Ways
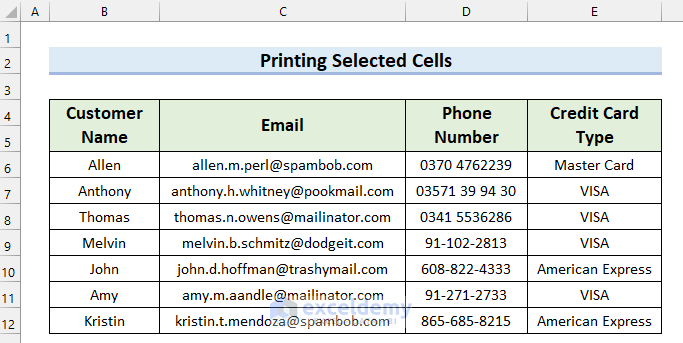
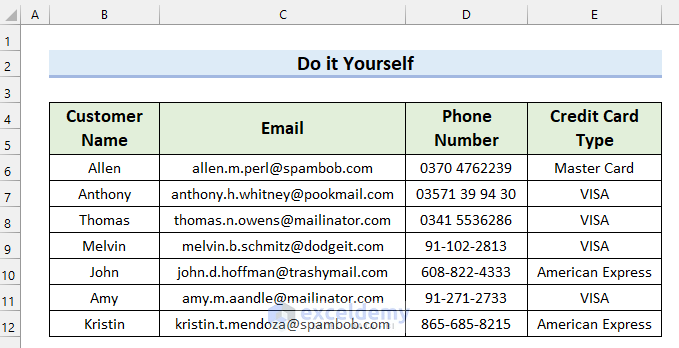
First things first, let’s know about the Excel sheet first, which has been used as the example for this article. This Excel sheet is about customer details and pursuing credit cards. There are 4 columns, Customer Name, Email, Phone Number, and Credit Card Type. We will use this Excel sheet to explain how to print selected cells.
1. Use Print Option to Print Selected Cells
The first method is easy as the name suggests, you select your desired cells and then use the Print Option to print. Let’s begin,
Steps:
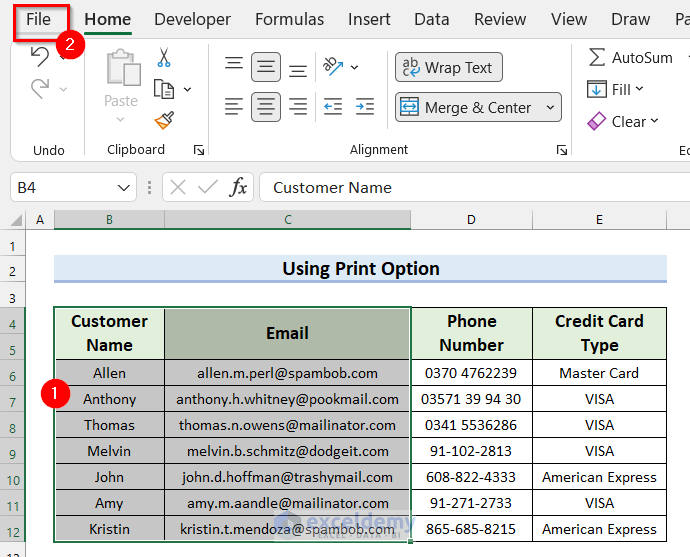
- First, select the range of cells you want to print, let’s assume you want to print the Customer Name, Address and Email only. So select that portion.
- Next, Click on the File tab (on the top left of Microsoft Excel).
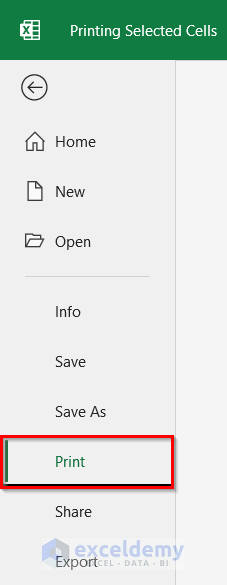
- Then, select Print or simply press Ctrl + P.
- After that, on the Excel Print Settings option click on the list icon of print area settings.
- Next, you will find a couple of options. Select the last one Print Selection.

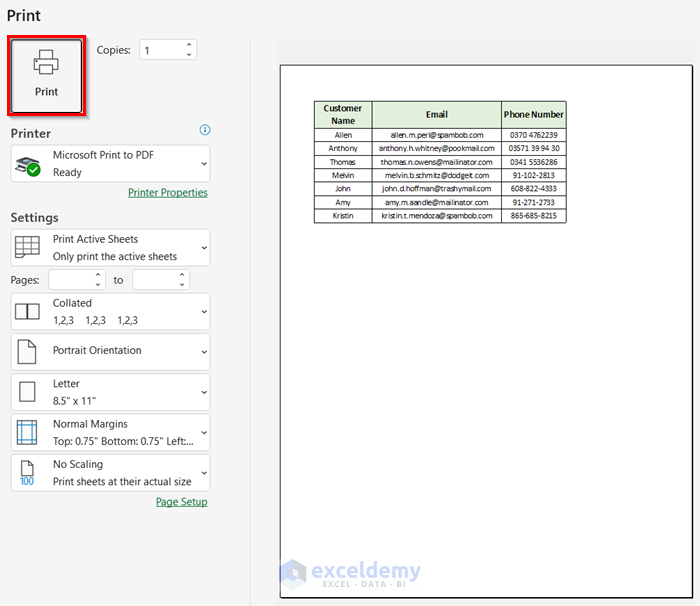
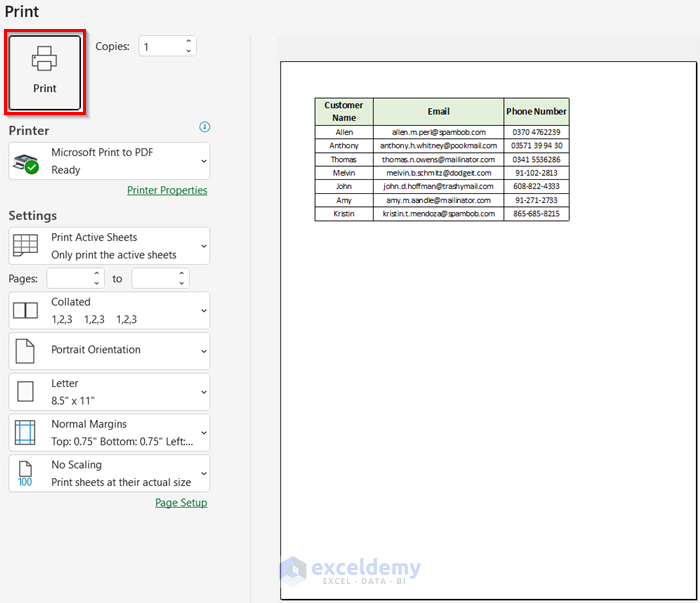
- Finally, you will see the preview area showing only the selected cells. Click “Print” to wrap up the process.

2. Employ Print Area Command in Excel
In this way, we will set up a printing area before triggering the print. This method can be very handy if you print a selected area frequently. You can set print area in excel very easily. If you explore the Excel ribbon, you will find Page Layout. We are going to use the Print Area feature of that tab.
Steps:
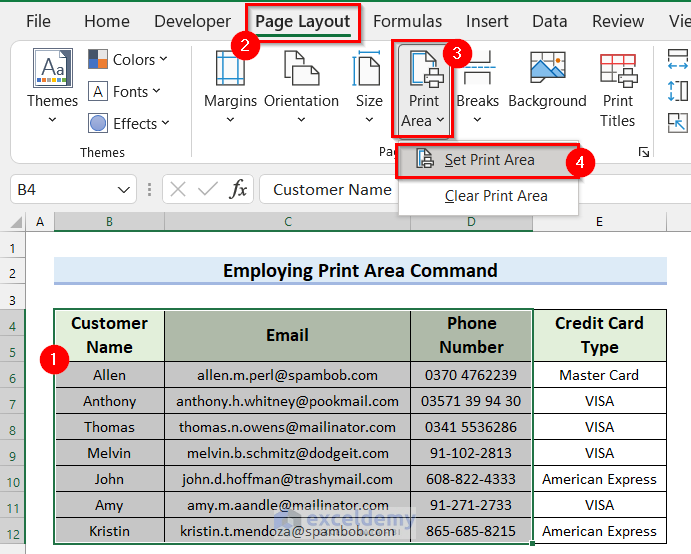
- Firstly, select the area (cells) on the sheet.
- Secondly, on the Page Layout tab, you will see an option called Print Area.
- Click on the list icon of the Print Area.
- Next, click on Set Print Area.
That will do the task for you. Your printing area has been selected. Now you can print the selected portion.
- Finally, press Ctrl + P.
- After that, you will see the preview area showing only the selected cells. Click “Print” to print the selected cells.
3. Print Selected Cells in Excel with Print Titles Command
In this method we will select the area, to be defined as the print area in the Page Setup dialog. To accomplish the task, you are in need of the Print Titles feature. Let’s see the steps.
Steps:
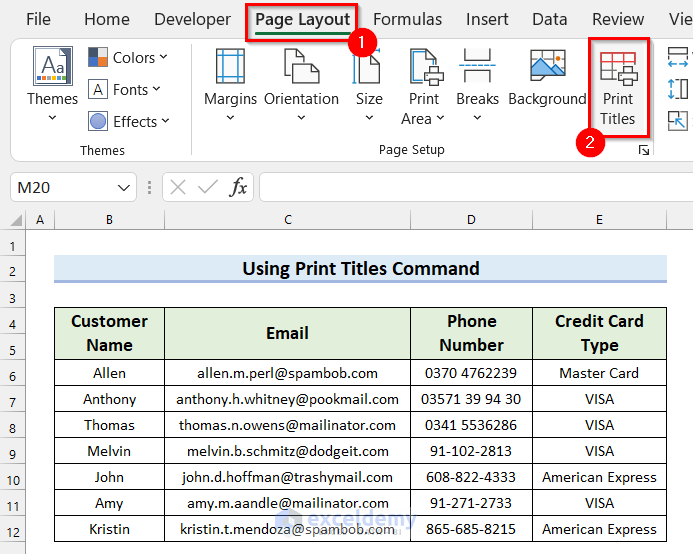
- First, click on Page Layout (if you are on a different tab).
- Then, you will see a number of options there. Click on Print Titles.
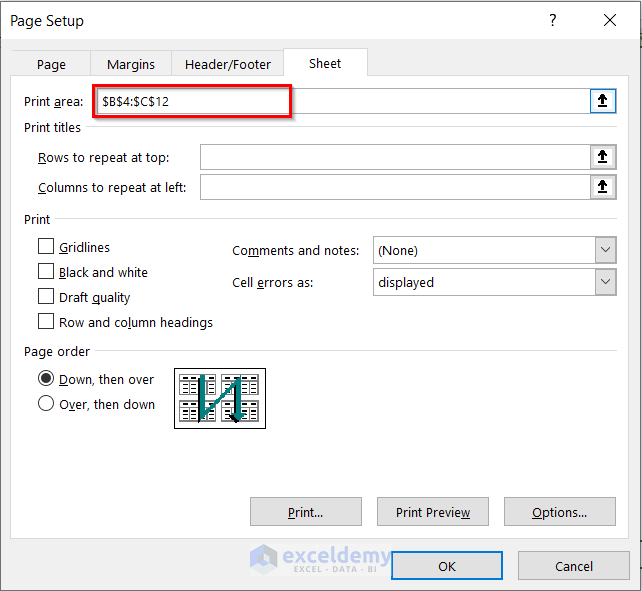
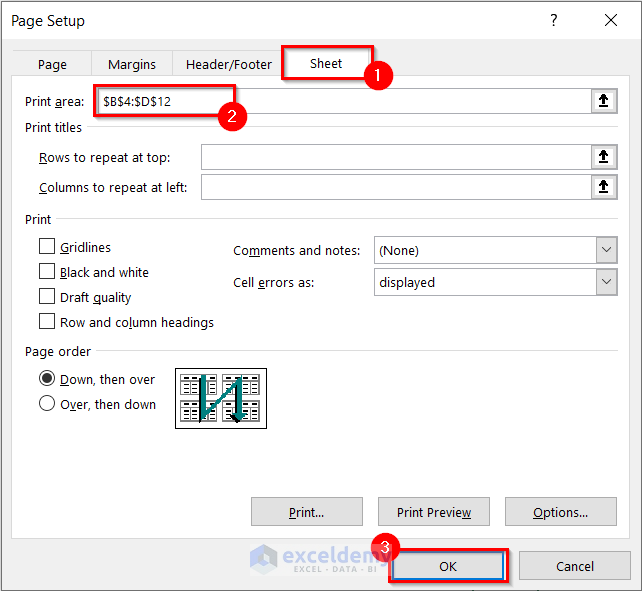
- After that, a new dialog box will emerge upon you (like the image below). In this dialog box, Enter your cell range in the Print area.
- Or, Click on the arrow.
- Then in the Page Setup – Print area dialog box, select the range of cells you want to print.
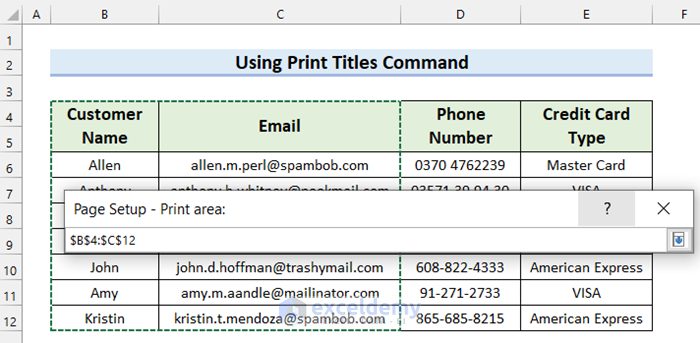
- Once you select the print area hit Enter or click on the arrow of this dialog box. Now you will see the Page Setup dialog box as follows.
- After that, you can check out the options you want to use from here on.
- You can directly print from here by clicking on Print, or just click on OK and save it for later.
- For the time being, I’m clicking OK. The printing area has been set.
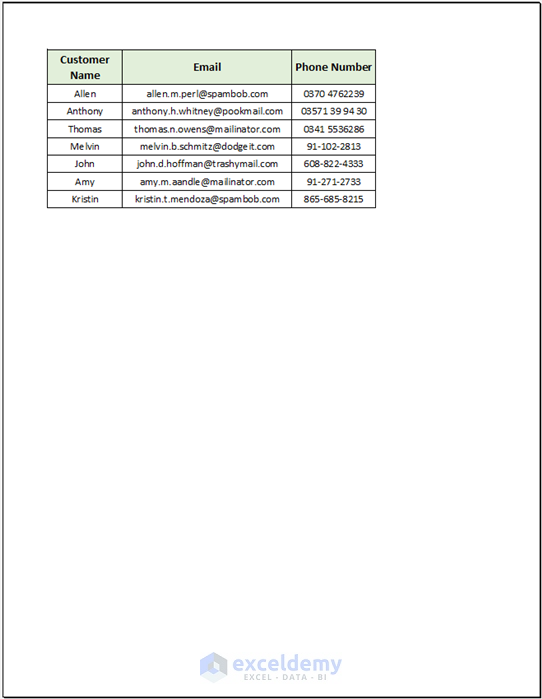
- Finally, to check if it works press Ctrl + P and you will be able to see the print preview.
4. Apply Page Setup Dialog Box to Print Specific Selection of Cells
Here, we will use the Page Setup dialog box to print selected cells in Excel. For this method, you will need the Page Setup group. Let’s see the steps.
Steps:
- In the beginning, go to the Page Layout tab.
- Then, select the dialog box option from Page Setup.
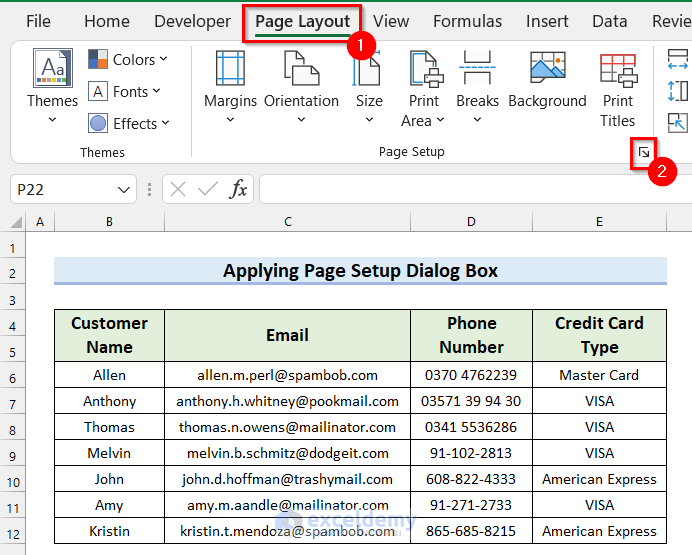
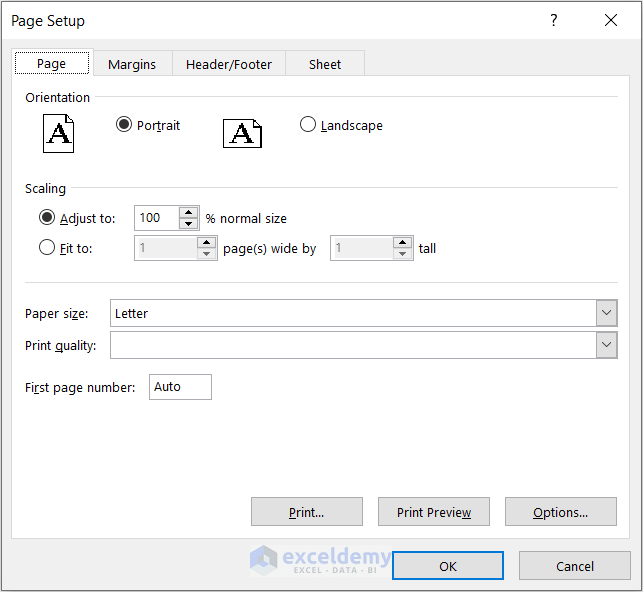
- Next, the Page Setup dialog box will appear.
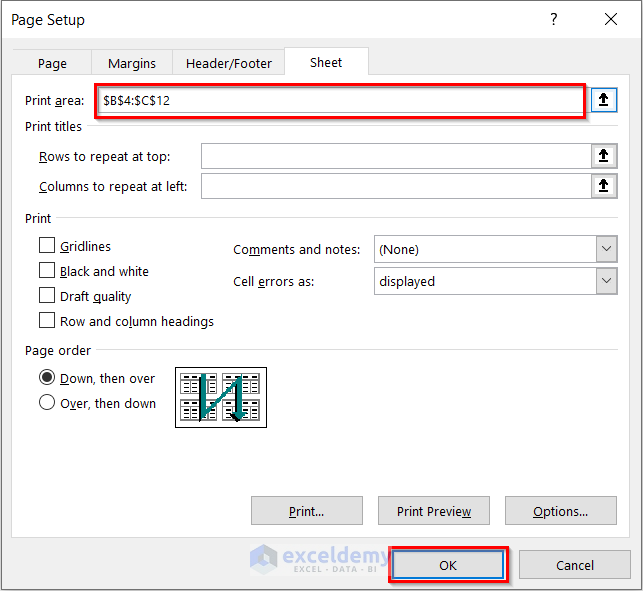
- Afterward, go to the Sheet tab.
- Then, select the Print Area.
- Finally, select OK and your selected cells will be set as Print Area.
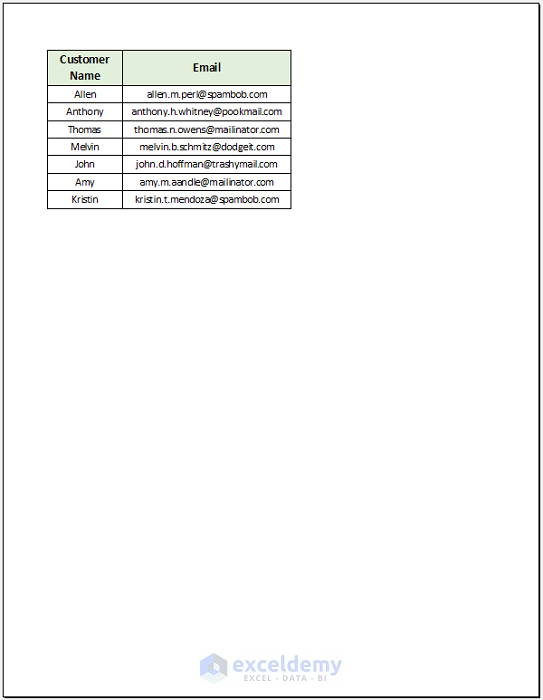
- Here, you can check the print preview to see if it works. Press Ctrl + P to see the print preview.
5. Set Print Area by Using Named Range in Excel
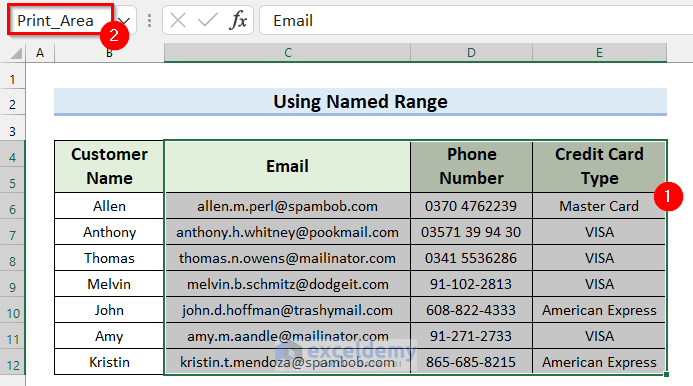
So far we have seen how to set the print area. After you have set the area, select the cells that have been included in your print area and have a look towards the Name Box, you can see something interesting here. Yes, once you have defined the print area, Excel will know the range and name it as Print_Area. From now on every time you select the range, the Name Box will show Print_Area as an active cell.
In this method, we will use this named range directly to print the selected cells in Excel. Let’s see the steps.
Steps:
- Firstly, select the cells.
- Secondly, in the Name Box write Print_Area.
As your print area has been set, the next time you print, this area will be selected by default.
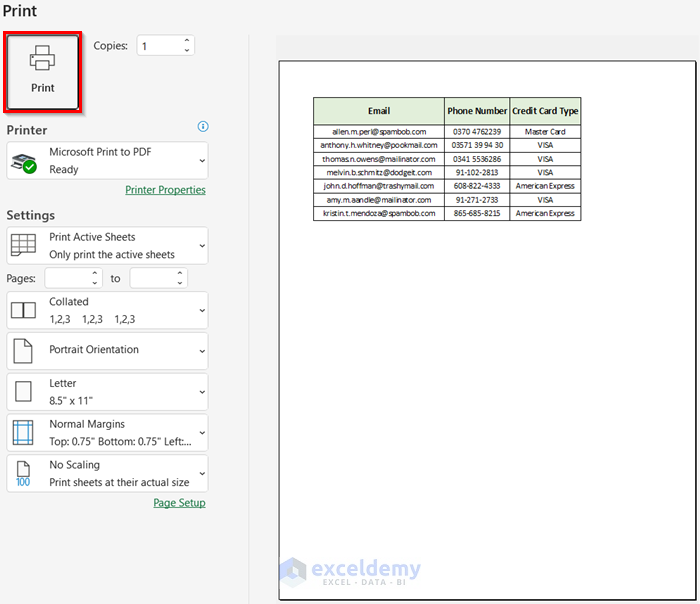
- Next, press Ctrl + P to see the print preview.
- Finally, you will see the preview area showing only the selected cells.
- Click “Print” to print the selected cells.
6. Use Page Break Preview to Print Selected Cells
In this method, we will use the Page Break Preview to print selected cells in Excel. Page Break Preview allows you to work with page breaks. Let’s see how you can use this to print selected cells.
Steps:
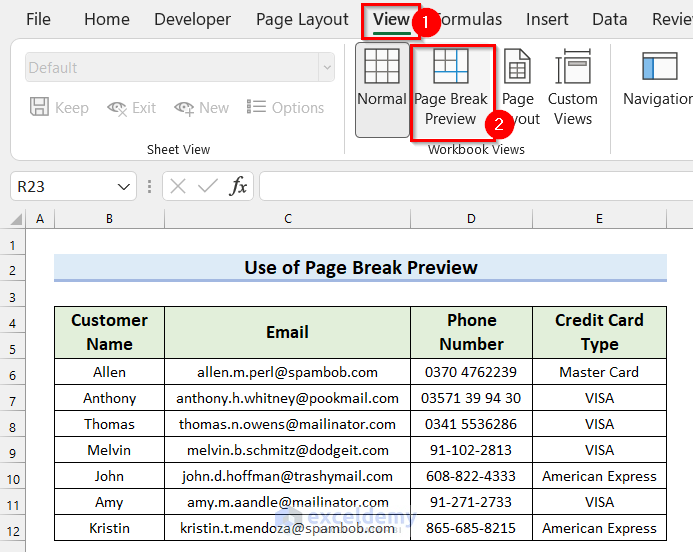
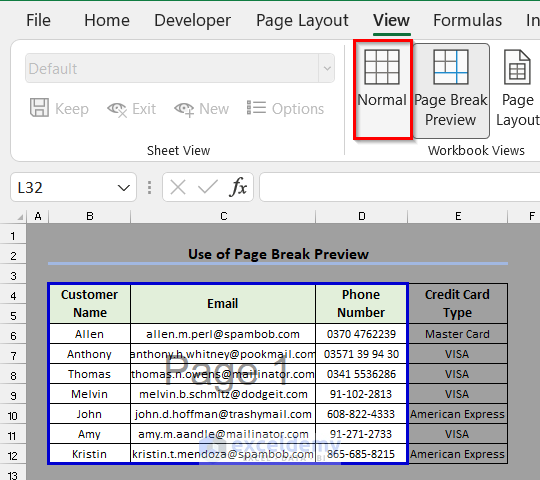
- In the beginning, go to the View tab.
- Then, select Page Break Preview.
- Afterward, click on the border and drag it like the following image.
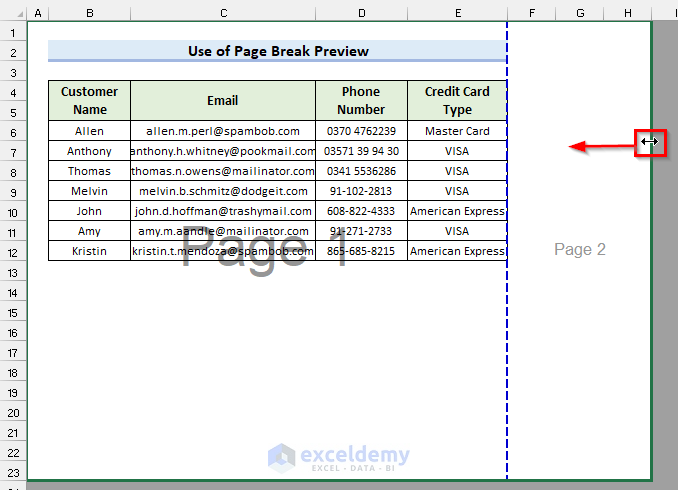
- Here, you can see that we have moved the border to our desired position.
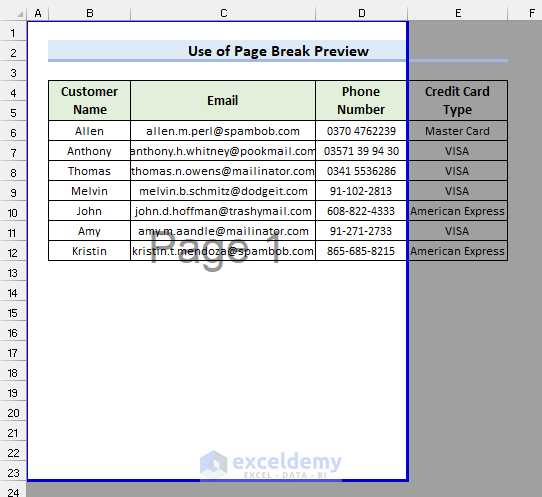
- After that, move the other borders to your desired positions.
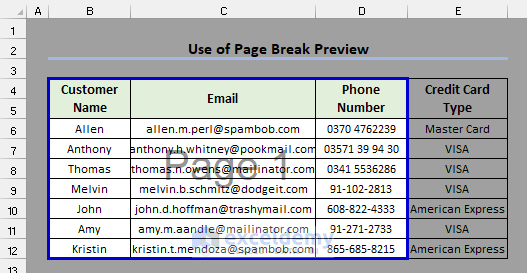
- Further, select Normal View to exit the Page Break Preview.
- Finally, your print area is selected. Now, press Ctrl + P to see the print preview.
- Here, you will see the preview area is showing only the selected cells. Click “Print” to wrap up the process.
Practice Section
Here, we have provided a practice sheet for you to practice how to print selected cells in Excel.
For your convenience, we have shared the practice workbook. You can download it from here.
Conclusion
So that’s all for today’s session. We’ve tried listing out 6 effective ways to print selected cells in Excel. Hope you will find this helpful. Feel free to comment if anything seems hard to understand. Let us know which of the options you prefer most or if you have your own way of printing a specific area or cells.
Related Articles
<< Go Back to Print in Excel | Learn Excel
Get FREE Advanced Excel Exercises with Solutions!
