While working on Microsoft Excel Sometimes we need to move cells quickly for the ease of working. You can move cells in excel very smoothly with the keyboard. In this article, I am going to share with you 3 easy methods to move cells with the keyboard. You don’t have to use the mouse either.
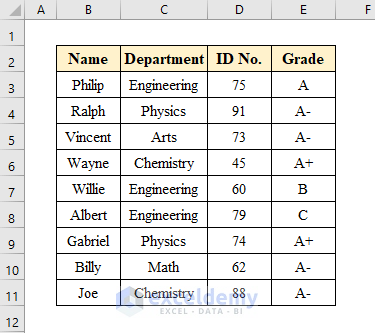
Suppose we have a dataset of some students’ Names, Departments, Id No., and Grade. In this article, we will move cells in this dataset using keyboard buttons and shortcuts.
1. Performing Copy-Paste Method with Keyboard to Move Cells in Excel
If you want to move your cell into a new location you can apply the copy paste method in excel.
Steps:
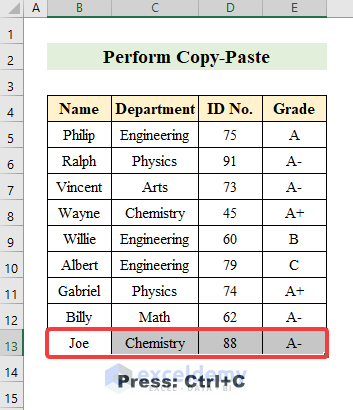
- Select a row. Here I have selected cell (B13) to (E13).
- Press Ctrl+C to copy.
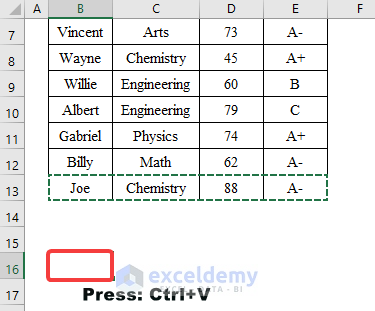
- Select a new cell where you want to paste.
- press Ctrl+V to paste.
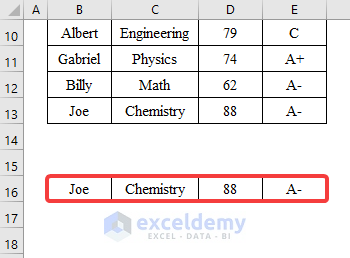
- You will see we have successfully moved the cell by applying copy-paste.
Read More: How to Move a Group of Cells in Excel
2. Inserting New Row or Column to Move Cells with Keyboard
By combining Ctrl and Shift keys you can insert new rows or columns in Excel. Follow the following steps below-
Steps:
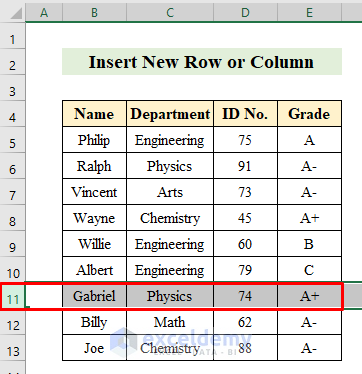
- Firstly select a row. Here I have selected row (11).
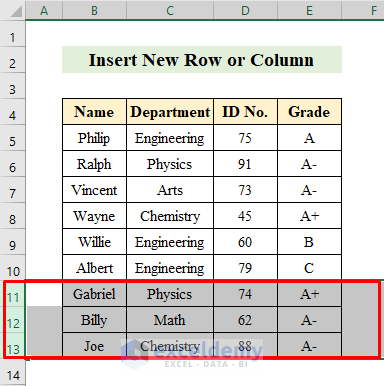
- Now holding the Shift key press the down arrow(↓) twice to select the 12th and 13th rows from the dataset.
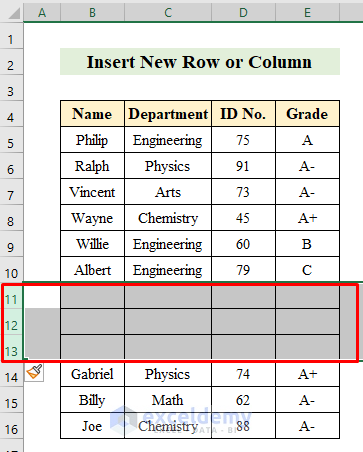
- While the rows are selected press: Ctrl+Shift+Plus sign(+) to insert new rows.
- Thus you can move cells by inserting new rows with the keyboard in Excel.
Read More: How to Move Cells in Excel with Arrow Keys
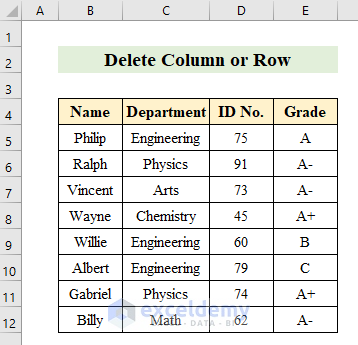
3. Deleting Column or Row in Excel to Move Cells with Keyboard
By deleting columns or rows with the keyboard you can also move cells with the keyboard in Excel. Follow the steps below-
Steps:
- Choose a row from the dataset. Here I have chosen the 13th
- Press the Ctrl+Minus sign(-) from the keyboard to remove the row.
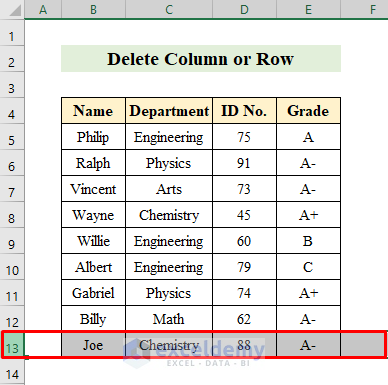
- As you can see the row has been removed. Thus by deleting rows, you can move cells with the keyboard in Excel.
Things to Remember
- When shifting between cells don’t forget to turn the Scroll key.
- You can check in the status bar whether the Scroll Lock is on or off.
Download Practice Workbook
Download this practice workbook to exercise while you are reading this article.
Conclusion
In this article, I have covered about 3 methods to moving cells with the help of a keyboard in Excel. I hope you have a clear view of moving cells with the help of a keyboard. If you find any problems regarding this don’t forget to let us know in the comment section below. Thanks!
Related Articles
- How to Move Filtered Cells in Excel
- How to Move Highlighted Cells in Excel
- How to Use the Arrows to Move Screen Not Cell in Excel
- Move and Size with Cells in Excel
- [Fixed!] Unable to Move Cells in Excel
- How to Make Excel Move Automatically to the Next Cell
- How to Move Cells without Replacing in Excel
<< Go Back to Move Cells | Excel Cells | Learn Excel
Get FREE Advanced Excel Exercises with Solutions!
