This tutorial will demonstrate how to move rows in Excel without replacing them. While dealing with lots of data, we have to move rows without replacing the proper data. The common problem that arises when moving rows and columns in Excel is that it replaces the existing data in the location. This article addresses this issue and provides 5 of the simplest methods for transferring rows in MS Excel without affecting the data in the destination.
Watch Video – Move Rows in Excel Without Replacing
How to Move Rows in Excel Without Replacing: 5 Easy Methods
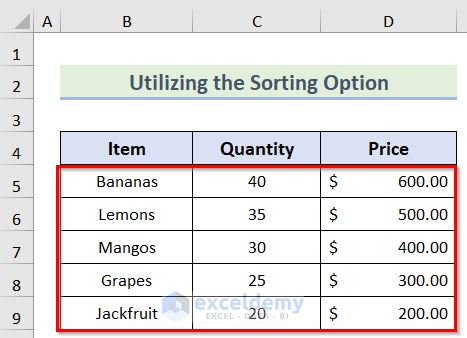
We’ll use a sample dataset overview as an example in Excel to understand easily. In this case, we have the Item in column B, the Quantity in column C, and the Price in column D. We will gonna use this dataset to describe the whole process. If you follow the steps correctly, you should learn to move rows in Excel without replacing them.

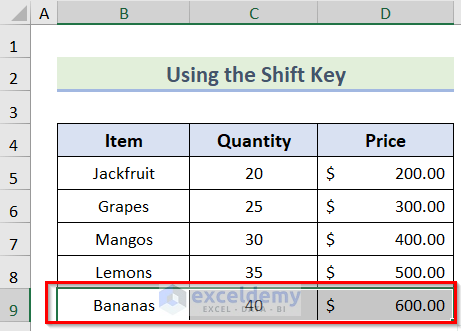
1. Using the Shift Key
In this case, our goal is to move rows in Excel without replacing files by using the Shift key. This is the fastest method. Follow these steps to apply this solution:
Steps:
- First, select the rows or columns you want to move.
- Next, hover your mouse cursor on the edge of your selection and wait for it to change into a 4-directional cross.
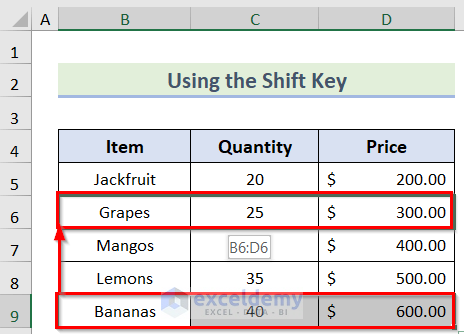
- Now, press and hold the Shift key and then left-click on it with your mouse and drag your selection to the desired location while holding the Shift key.
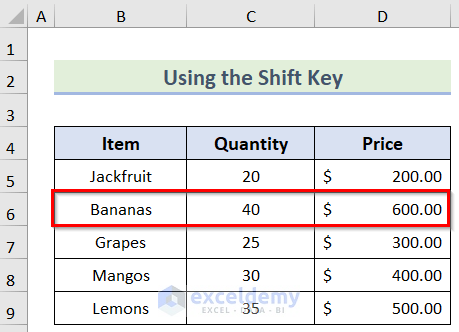
- Finally, you will get the desired result.
Read More: How to Rearrange Rows in Excel
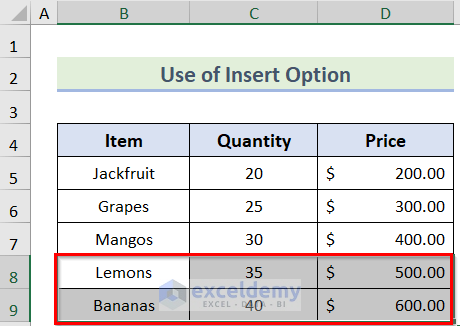
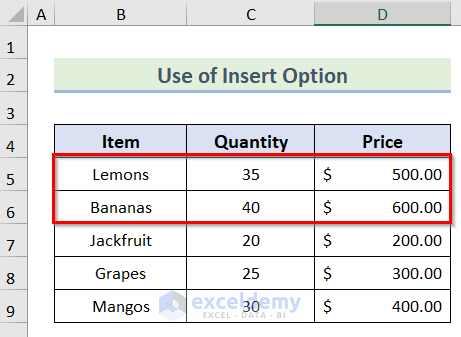
2. Use of Insert Option
Now, our aim is to move rows in Excel without replacing files by the use of the Insert option. This method is comparatively slower but easier. Follow these steps to apply this solution:
Steps:
- First, select the rows or columns you want to move.
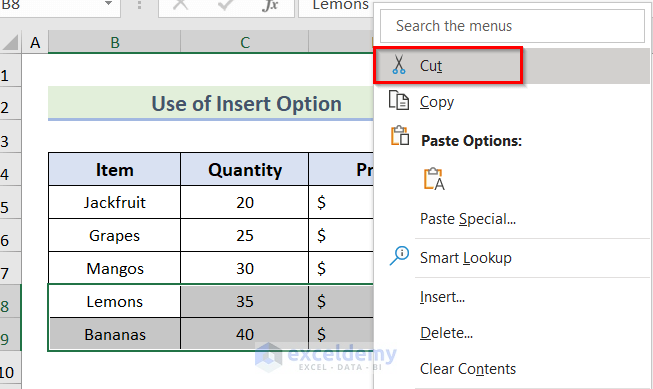
- Second, right-click on the selected cells and choose the Cut option.
- Third, go to the cell you want to move the data to and right-click on the cell. After that, select the Insert Cut Cells option to move the data.
- Last, you will get the desired result.
Read More: How to Move Rows Up in Excel
3. Utilizing the Sorting Option
We can also move rows in Excel without replacing files by utilizing the Sorting Option. This method is suitable for scenarios where multiple rows and columns need to be rearranged. Follow these steps to apply this solution:
Steps:
- To begin with, select the whole data range you want to sort.
- In addition, go to the Data > Sort & Filter > Sort options.
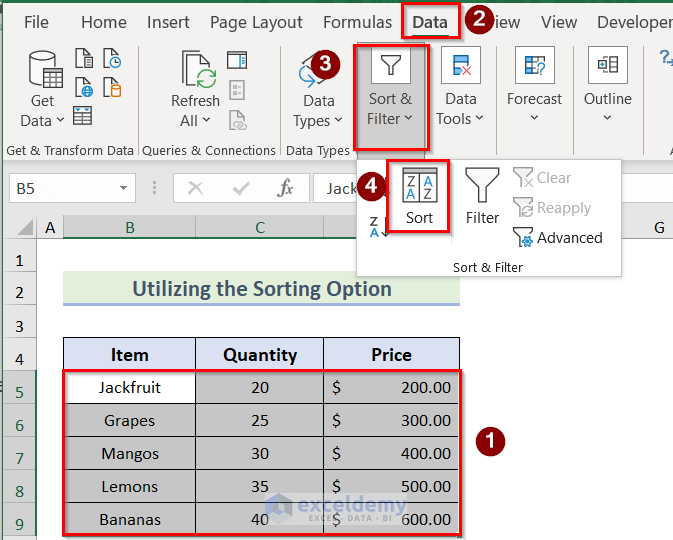
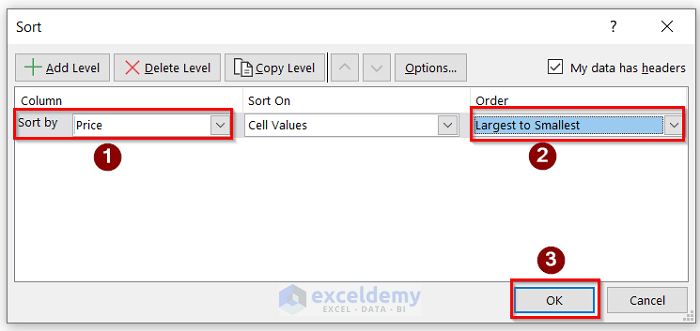
- Furthermore, in the Sort dialog box, select Sort by and Order accordingly and press OK.
- Finally, you will get the desired result.
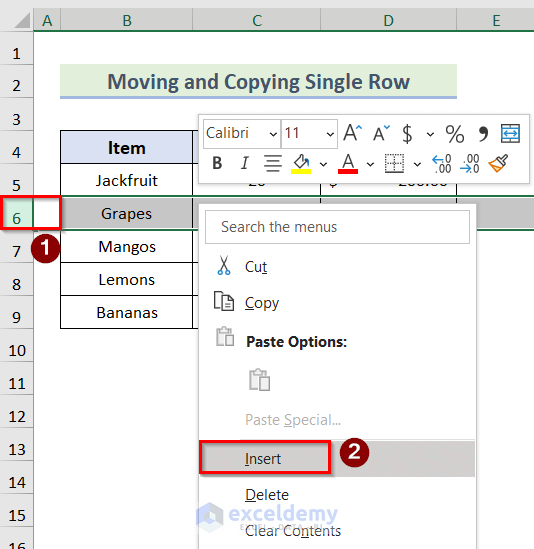
4. Moving and Copying Single Row
Next, our target is to move rows in Excel without replacing files by moving and copying a single row in Excel. Follow the below steps to learn this method.
Steps:
- Firstly, go to the row you want to move your data and right-click on the cell, and choose the Insert option.
- Secondly, press the Ctrl+X buttons on the desired row you want to move.
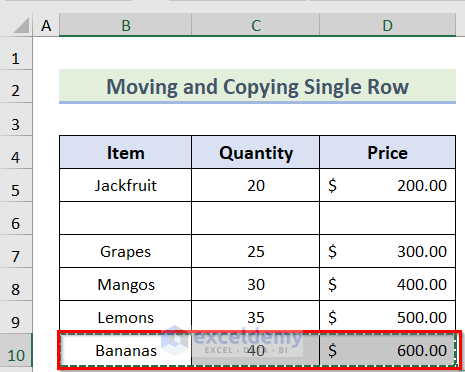
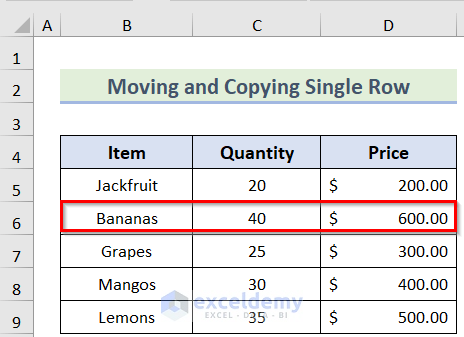
- Lastly, go to the newly inserted row and press the Ctrl+C buttons to get the desired result.
Read More: How to Move Rows Down in Excel
5. Moving and Copying Multiple Rows
We can also move rows in Excel without replacing files by moving and copying multiple rows in Excel. Follow the below steps to learn this method.
Steps:
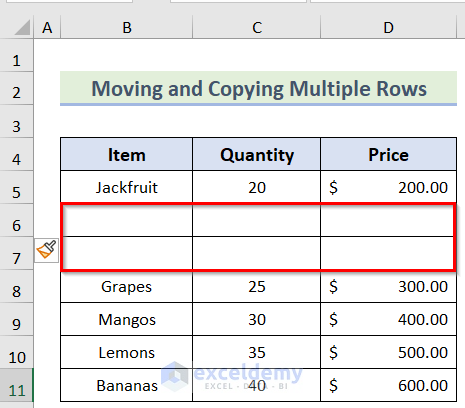
- To begin with, go to the row you want to move your data and right-click on the cell, choose the Insert option, and insert multiple new rows.
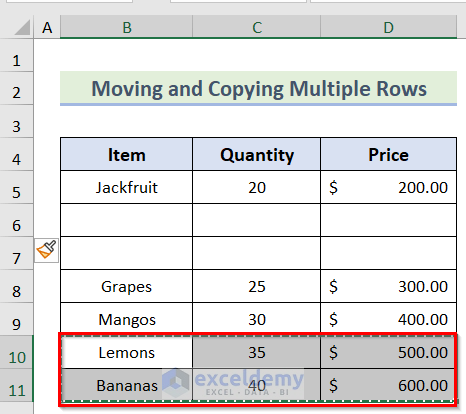
- Furthermore, press the Ctrl+X buttons on the desired rows you want to move.
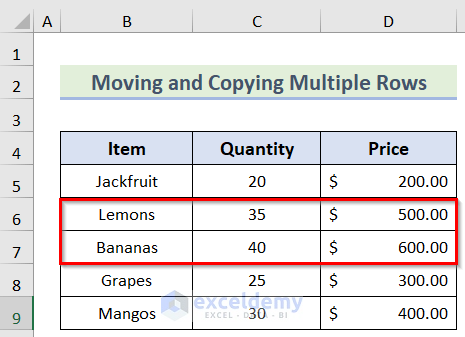
- Finally, go to the newly inserted rows and press the Ctrl+C buttons to get the desired result.
Things to Remember
- The first method is the easiest among all the methods.
- In the case of using the third method, you can also sort by choosing the Custom Sort option in the Sort dialog box.
- In the last two methods, remember to insert more rows before cutting the desired rows. Otherwise, it will replace the previous data.
You can download the practice workbook from here.
Conclusion
Henceforth, follow the above-described methods. Hopefully, these methods will help you to move rows in Excel without replacing them. We will be glad to know if you can execute the task in any other way. Please feel free to add comments, suggestions, or questions in the section below if you have any confusion or face any problems. We will try our best to solve the problem or work with your suggestions.
Related Articles
- How to Move Rows in Excel to Columns
- How to Move Every Other Row to Column in Excel
- Move Row to Bottom in Excel If Cell Contains a Value
- How to Move Row to Another Sheet Based on Cell Value in Excel
<< Go Back to Move Rows | Rows in Excel | Learn Excel
Get FREE Advanced Excel Exercises with Solutions!

First method does not work. Shift button doesn’t change anything. It still wants to replace data. I still cannot re-order my columns or rows without extra steps of creating new blank row and deleting old one.
The other method of first cutting the data, then right-click to “Insert cut cells” works. I still feel it’s more clunky than the google docs way of just dragging it, but at least there’s a way to do it at all.
Dear Jacob Smith
Thank you for your comment.
The first method works properly when you press the SHIFT key after selecting rows/columns.
Let me explain this elaborately.
Here, in the following dataset, we want to move rows 7 and 8.
To do so, first, we will select cells B7:D8.
After that, we will hover our mouse cursor to the edge of the selection and wait for it to change into a 4 directional cross.
At this point, press the SHIFT key.
Along with that, left-click on it with your mouse and drag your selection to the desired location.
A green line should appear to assist you to drop it at the desired location.
Here, we drag the selected rows to Row 3, and therefore, you can see a Green Line at Row 3.
In addition, you can see B4:D5 on the left side of the Green line which indicates the final location of the selected rows.
After that, we will release the mouse and SHIFT key.
As a result, you can see the movement of rows to a new location.
I hope that you can now use Method-1.
If you have any problems, you can always let us know in the comment section.
Regard
Afia Aziz Kona