If you are looking for some exclusive security tips for Microsoft Excel, then this article will be helpful for you. We have already covered worksheet level protection and workbook level protection extensively in a previous tutorial. We are now going to cover securing your Excel files using a password and encryption.
By using the stated tips of this article, you can protect your worksheets, workbooks, or files according to your necessity so that any unwanted changes will not occur to your data.
6 Tips for Ensuring Security of Microsoft Excel
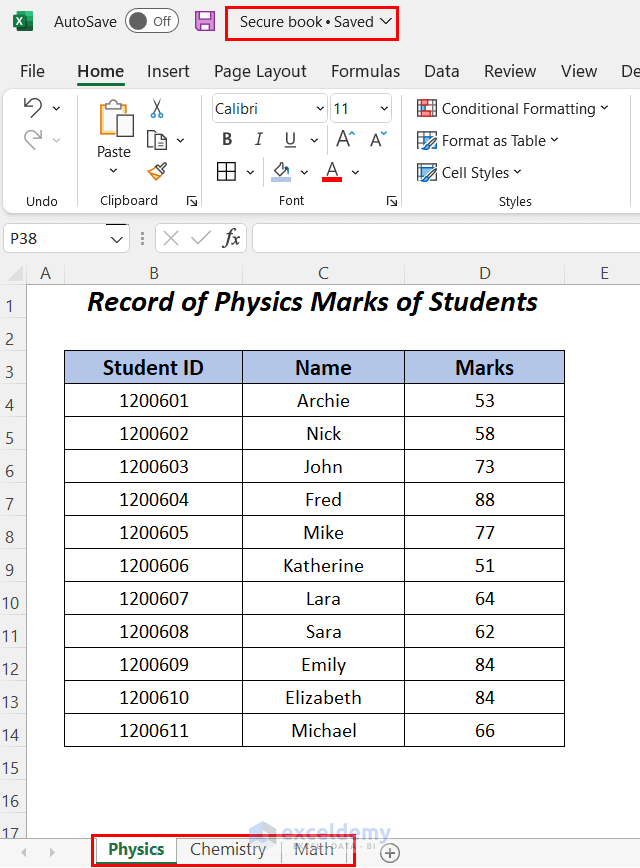
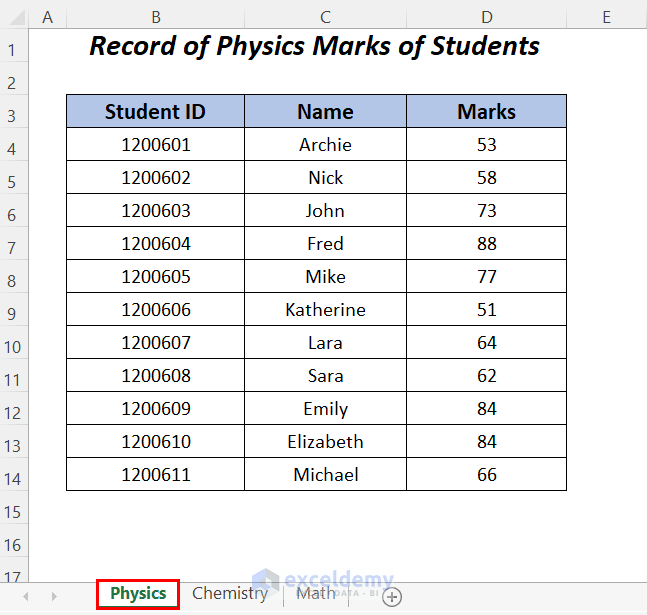
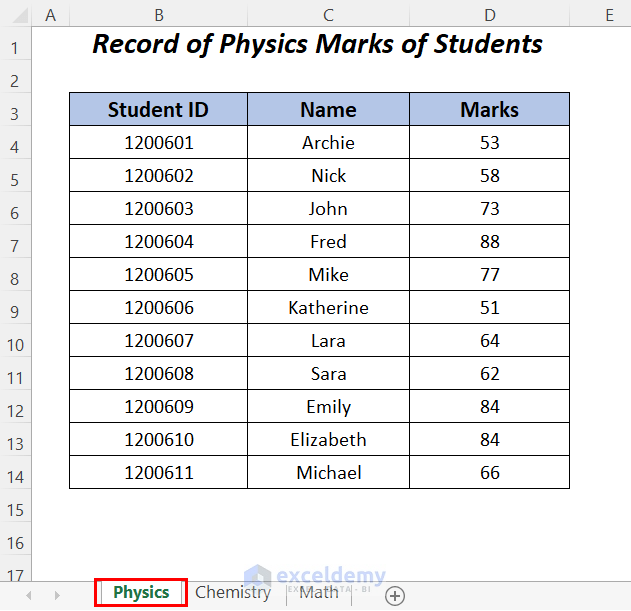
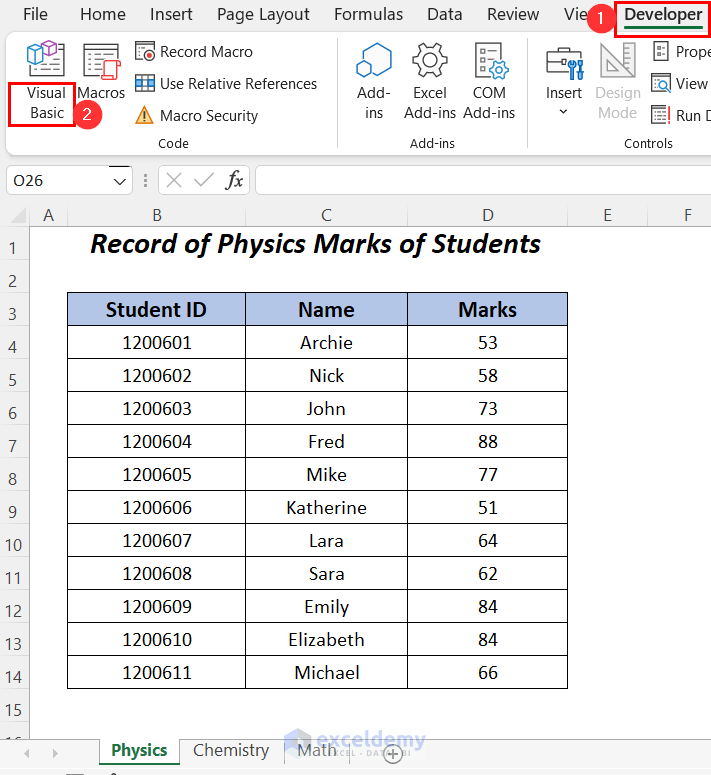
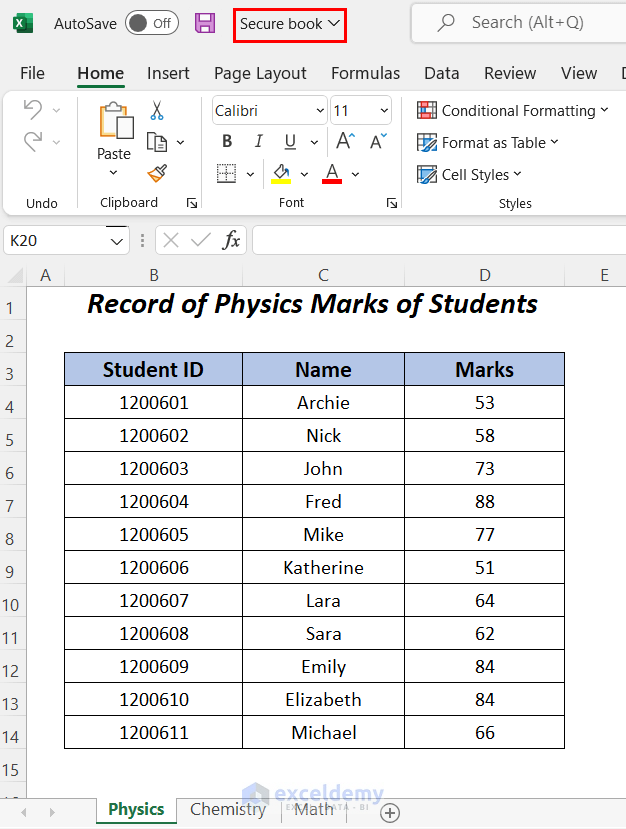
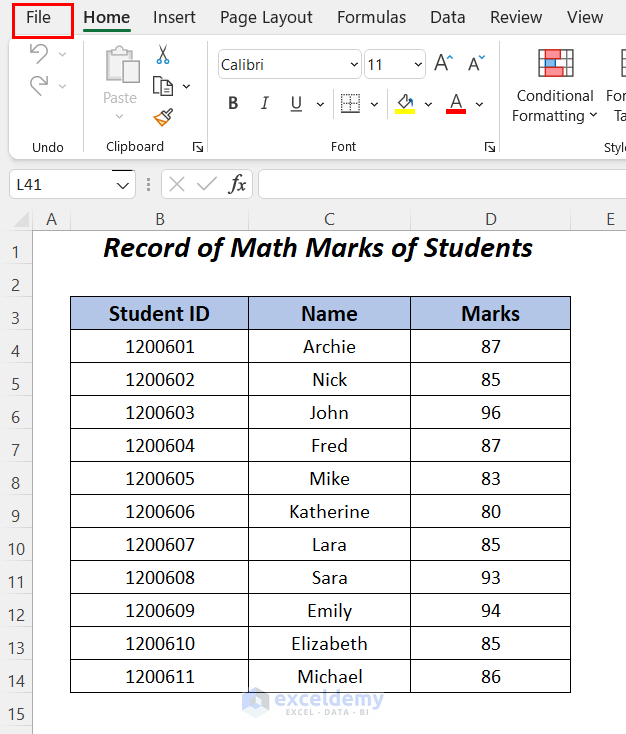
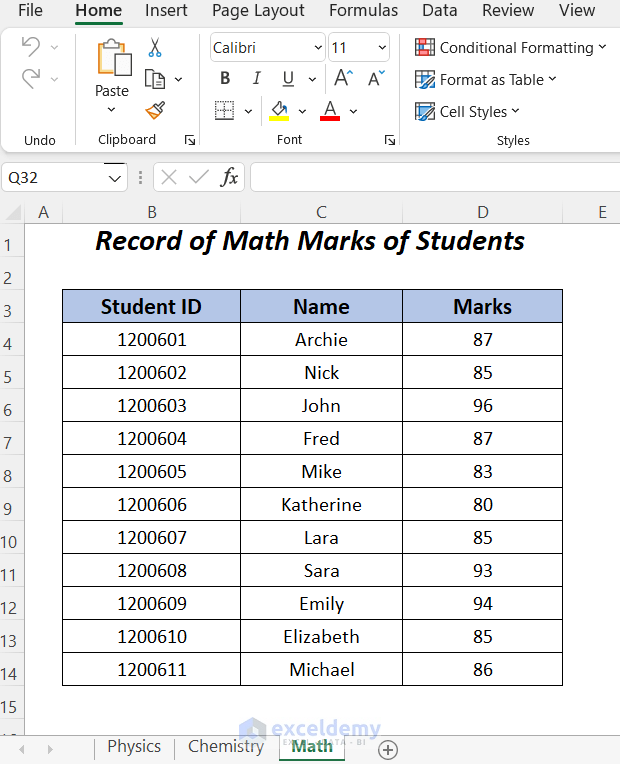
Here, we have the following workbook containing 3 worksheets having records of marks in 3 different subjects- Physics, Chemistry, and Math. By using this workbook including the worksheets we will demonstrate the following easy and short tips to ensure security in Microsoft Excel.
We have used Microsoft Excel 365 version for creating this article. However, you can use any other version at your convenience.
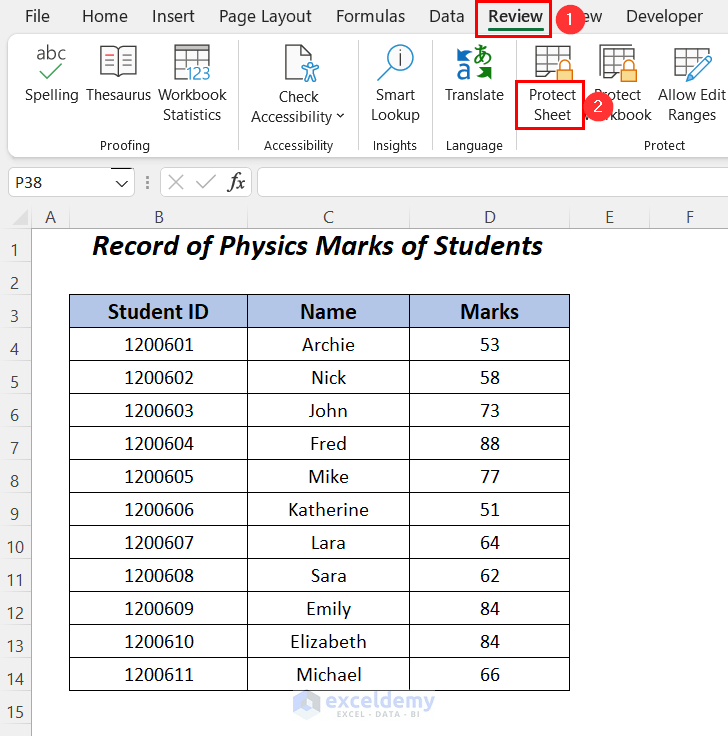
1. Protecting Worksheet Only for Microsoft Excel Security
Excel worksheets frequently contain certain information or data/formatting/functions which you would not want the users, viewing the workbook, to edit or change. Worksheet level protection happens at the cell level.
- Go to the Review tab >> Protect group >> Protect Sheet.
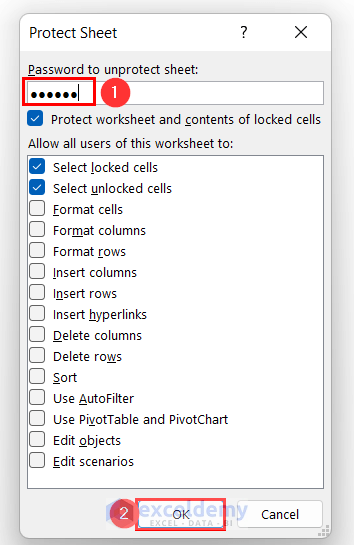
Afterward, the Protect Sheet wizard will open up.
- Set a password in the Password to unprotect sheet.
Here, the first two options will be selected automatically.
By default, all cells in one’s worksheet are locked. You can unlock certain cells or keep all the cells in your worksheet locked. When protecting your sheet you can choose whether or not to password protect the sheet, and exactly which permissions you will allow your users to have. You can also choose to uncheck both the Select locked cells option and the Select unlocked cells option and in this way, the user will not be allowed to even select the locked cells or unlocked cells in your worksheet. They will basically only be able to view the data in the worksheet.
- Finally, press OK.
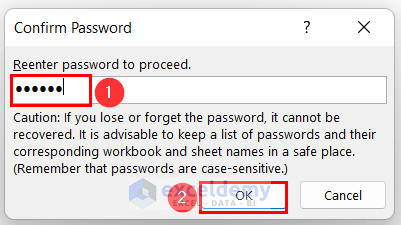
Again, you will have a Confirm Password dialog box.
- Retype the password in the Reenter password to proceed.
- Press OK.
To ensure the protection of the sheet, you can try to change the name of a student.
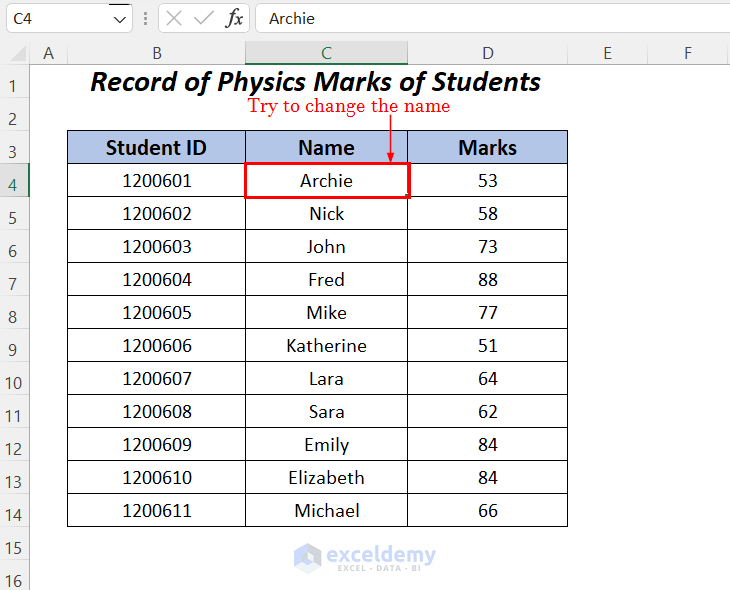
In return, you will get the following error message.

If you feel necessary to make any changes to this sheet then you can unprotect this sheet.
- Go to the Review tab >> Protect group >> Unprotect Sheet.
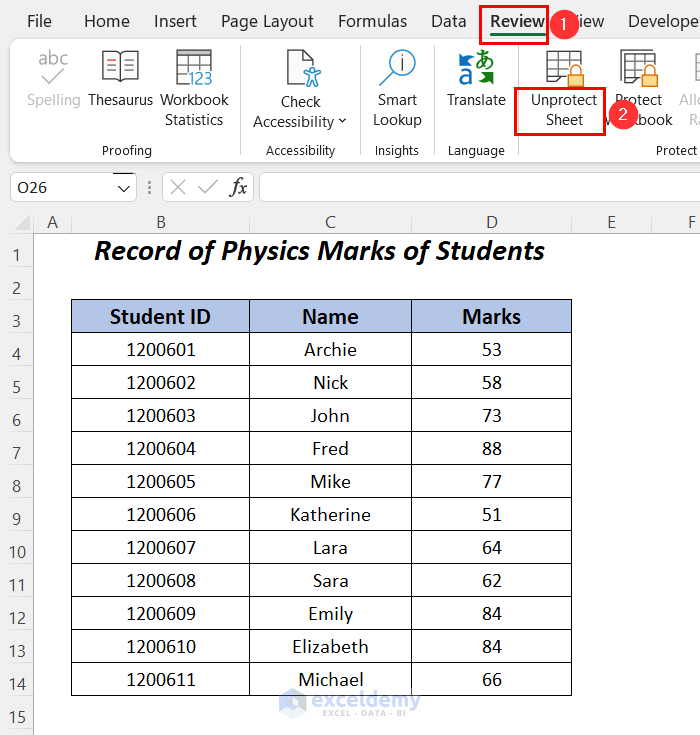
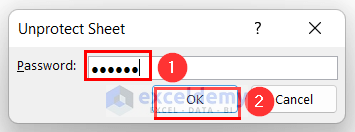
Later, the Unprotect Sheet wizard will open up.
- Type the password with which you protected your worksheet and press OK.
2. Tips for Microsoft Excel Security by Hiding Any Worksheet
In order to prevent users from deleting worksheets in your workbook, viewing hidden sheets, adding, moving, or renaming sheets – you have to protect your workbook or more accurately the structure of your workbook. Let’s say you would not like the average user to view this sheet. You can hide the sheet containing all your named ranges and then protect your workbook with a password in order to ensure that – that specific sheet is not viewable by the mainstream user.
You can follow this easy process to hide your sheet.
- Right-click on the sheet name (Physics sheet) which you want to hide.
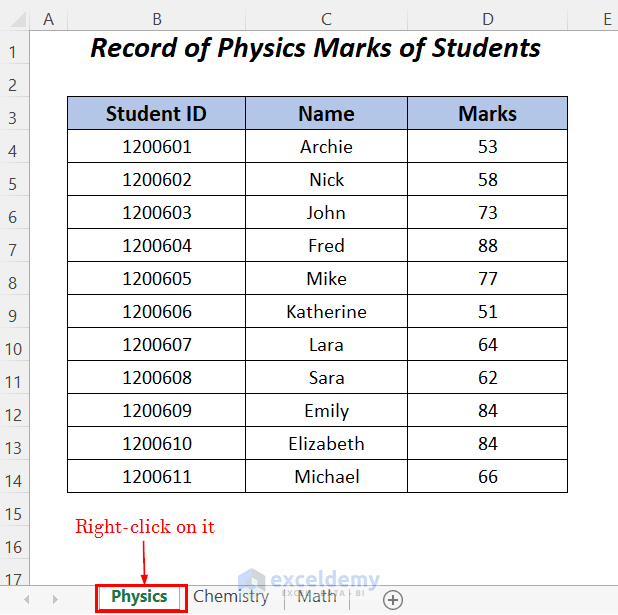
- Choose Hide.

Later, the sheet will be hidden, but you can bring this sheet again in this sheet tab.
- Just right-click on any sheet name and select the Unhide
- Choose the hidden sheet name and press OK in the Unhide dialog box.
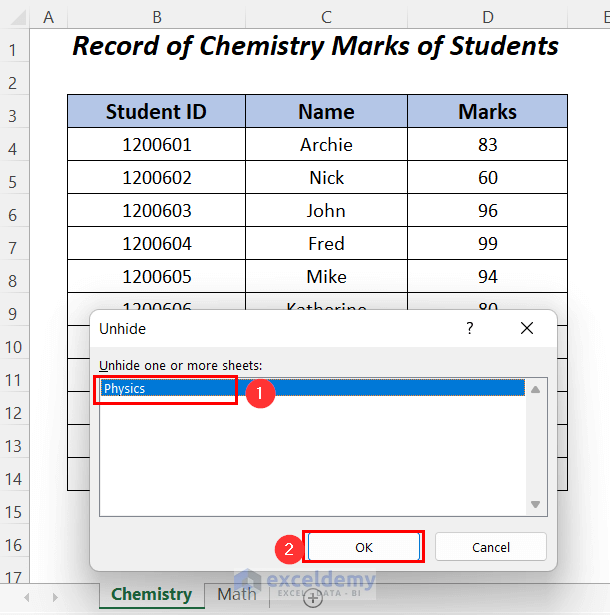
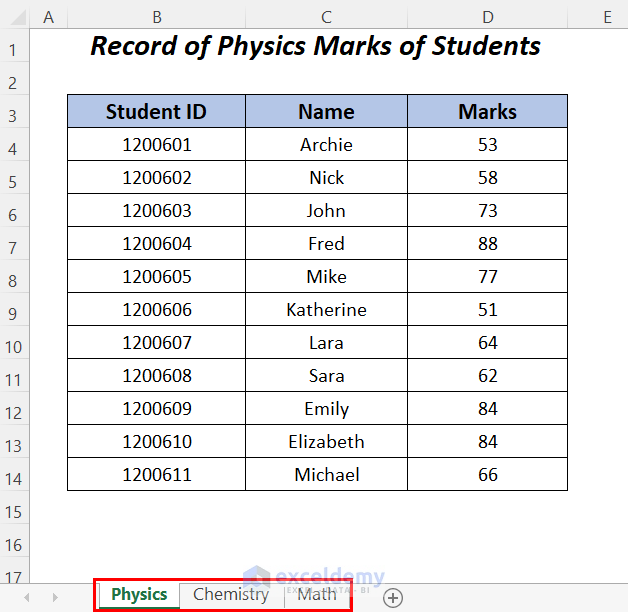
Then, the Physics sheet will reappear again.
If you want that the Physics sheet cannot be unhidden from the Excel user interface, then go to the Visual Basic Editor window.
- Go to the Developer tab >> Visual Basic.
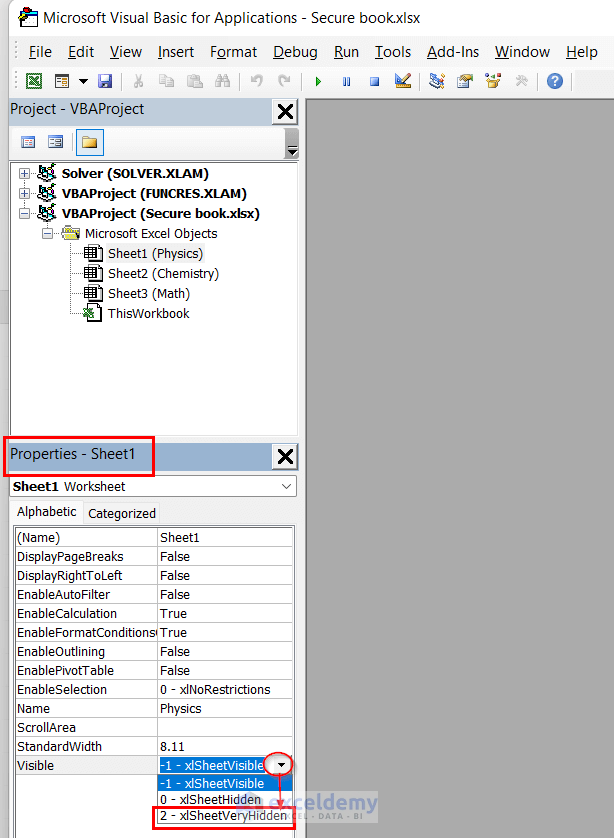
- In the newly opened window select the sheet name, Physics, and open its Properties
- Using the Properties Window change the Visible Property to xlSheetVeryHidden.
- Press ALT+F11 to close this window.
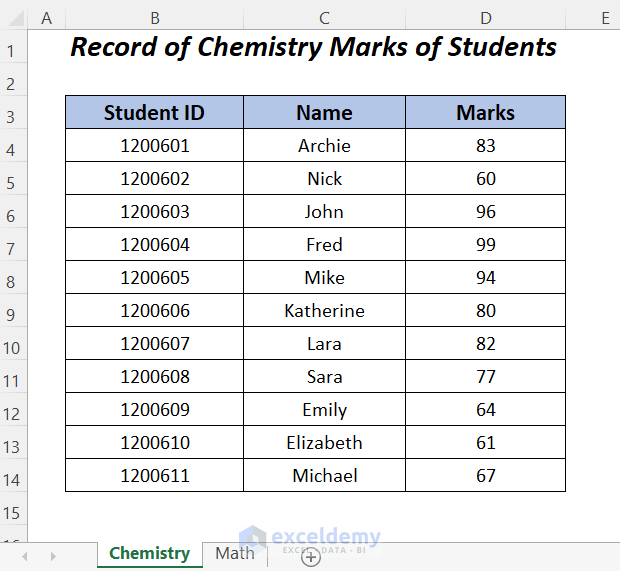
After returning the sheet, you will have no Physics sheet.
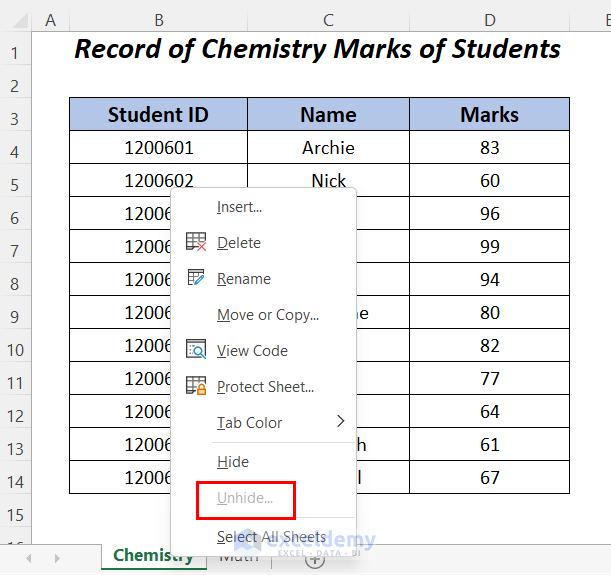
- If you try to unhide this sheet by right-clicking on any sheet, then you will see that the Unhide option is greyed out.
3. Tips for Microsoft Excel Security by Using Tools Feature While Saving Workbook
We will rename the following workbook while saving it as a new book to enable a security password for this sheet.
- After going to the File tab, select the Save As option and This PC as the location.
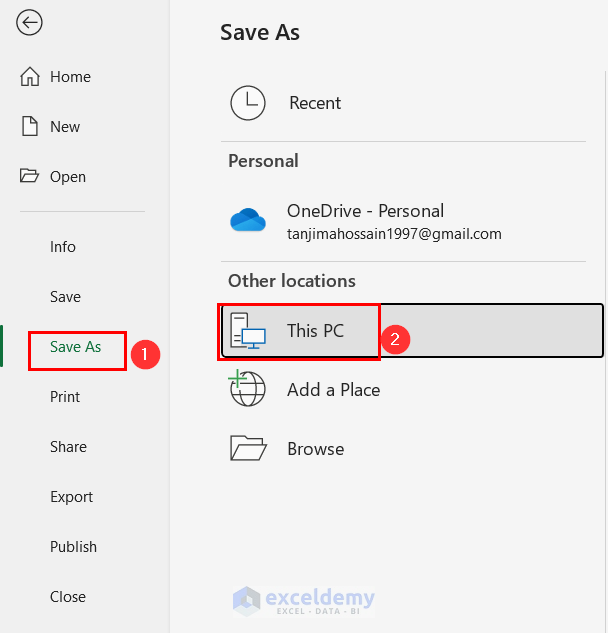
- Now, choose the File name, and the File type.
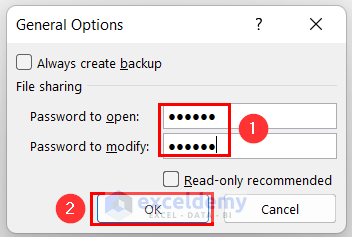
- Click on Tools and then select General Options.

Afterward, the General Options dialog box will appear.
- Enter a password to open and modify this workbook and then press OK.
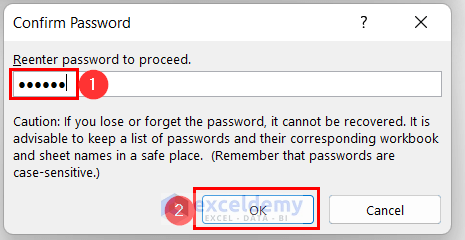
- In the Confirm Password dialog box type the password again, and finally press OK.
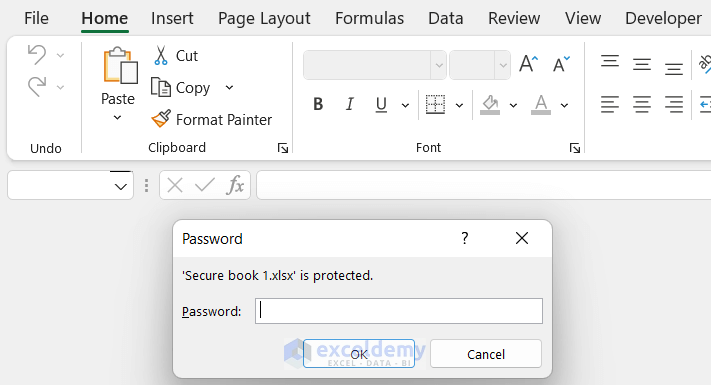
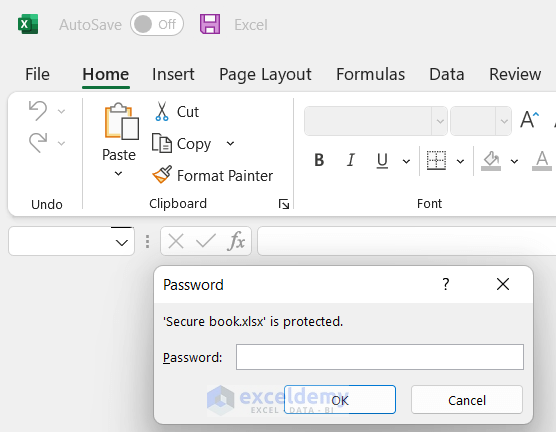
When you will try to open this workbook then the following prompt will appear and you have to enter the password to open it.
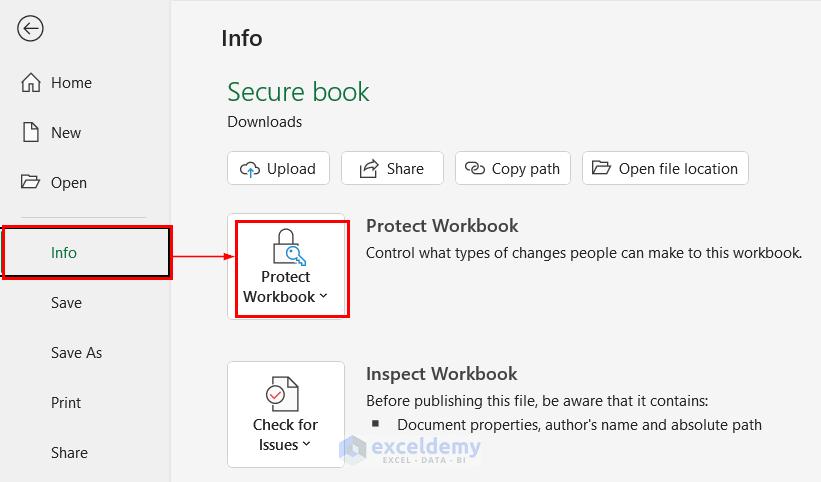
4. Using Protect Workbook Feature to Ensure Security of Microsoft Excel
Here, we will discuss different features of Protect Workbook to secure the following workbook.

- Go to the File
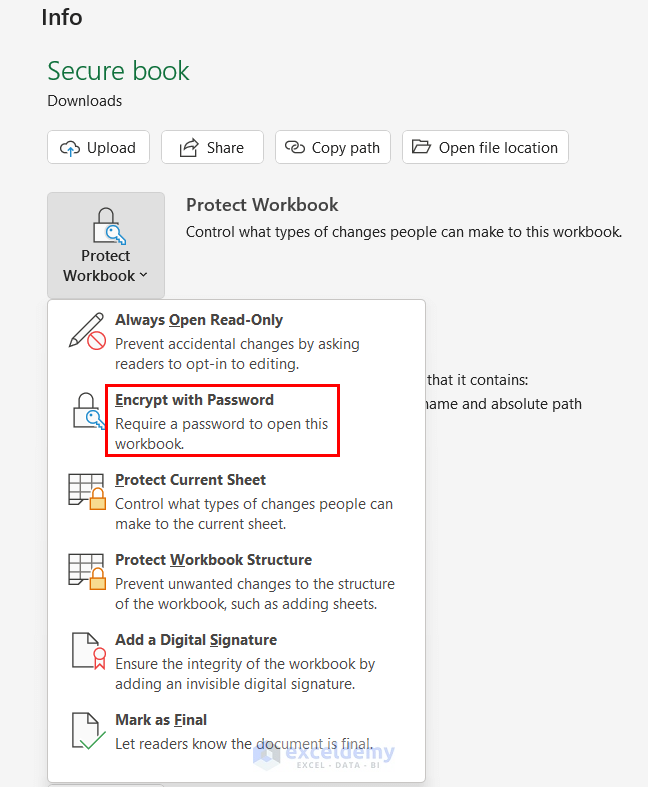
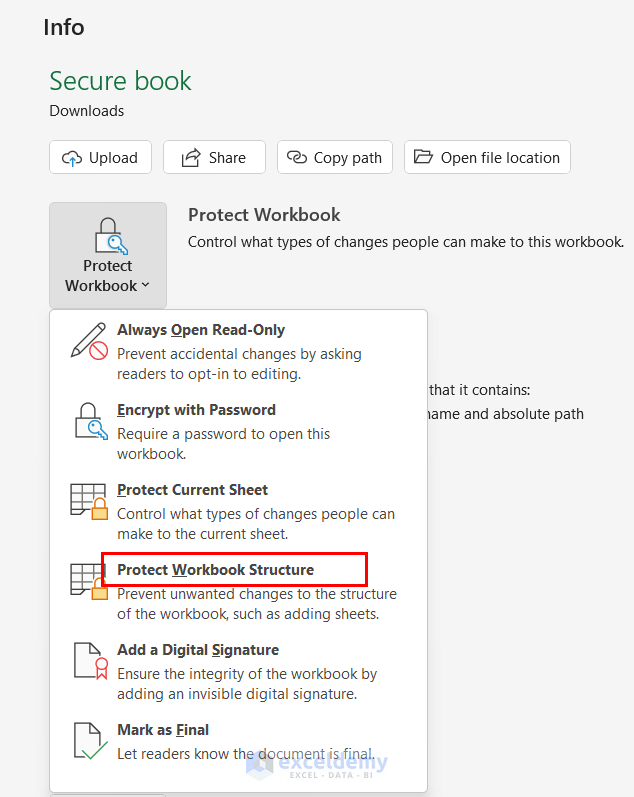
- Select the Info option to go to the features under Protect Workbook.
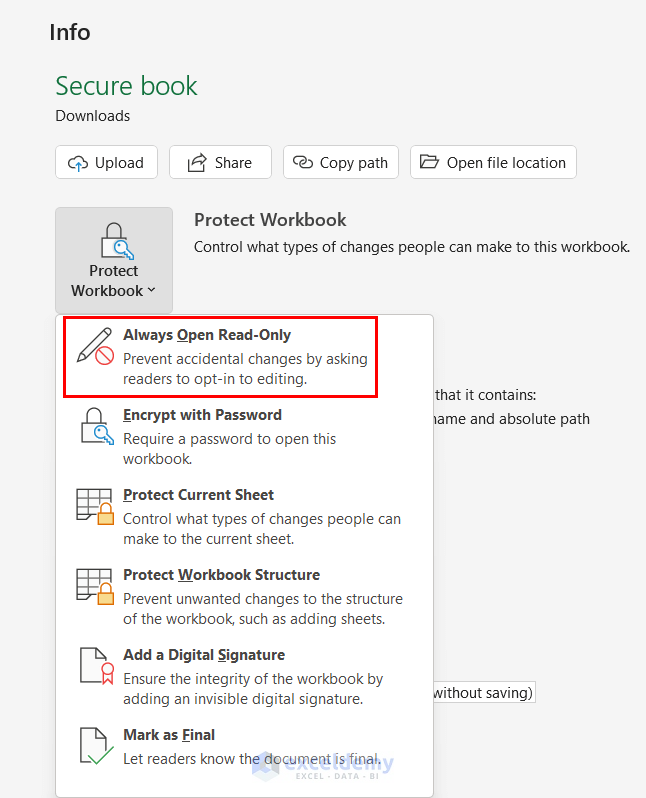
4.1. Always Open Read-Only Option
Here, we will prevent any unwanted changes by informing the readers if he/she really wants to edit any data.
- Choose Always Open Read-Only.
- Close the workbook and reopen it.

After opening the workbook, you will get the following warning message.
- By pressing Yes, you will open the workbook to read-only.
Then, the workbook will be opened like the following figure.
4.2. Encrypt with Password Option
Here, we will use a password to open the workbook.
- Choose Encrypt with Password.
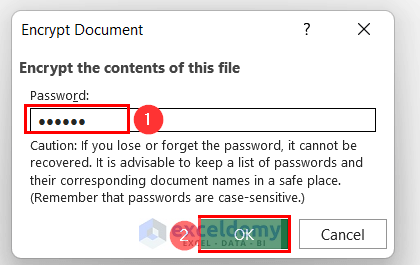
Then, the Encrypt Document dialog box will appear.
- Set the password and press OK.
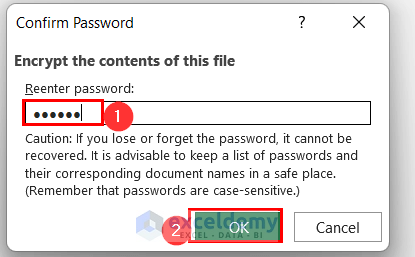
- In the Confirm Password wizard type the password again and press OK.
While opening this workbook, you will get the following message box where you have to put your created password to open up this workbook.
4.3. Protect Workbook Structure Option
The third option is basically similar to tip 1.
Here, we will fix the workbook structure, so that anyone cannot change the structure of this workbook.
- Choose Protect Workbook Structure.
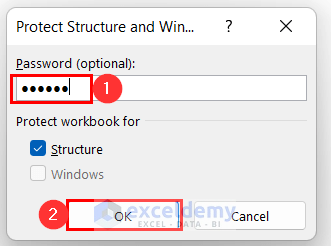
- Type your password and press OK.
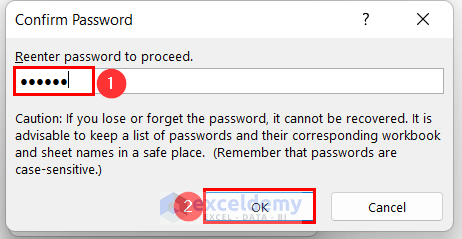
- Retype your password and press OK in the Confirm Password dialog box.
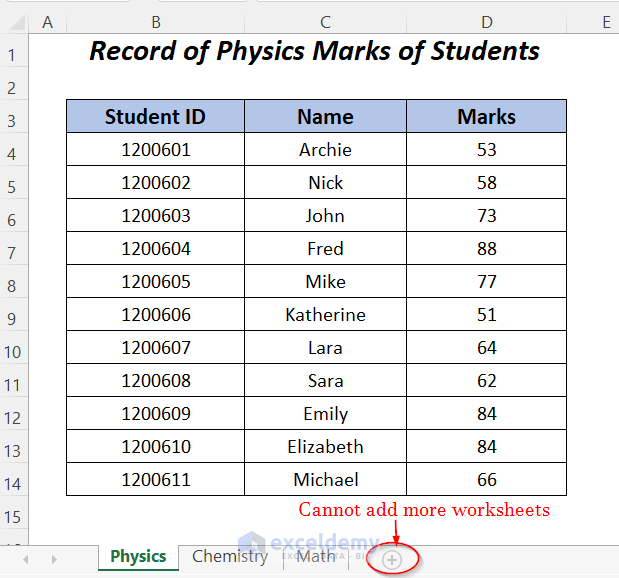
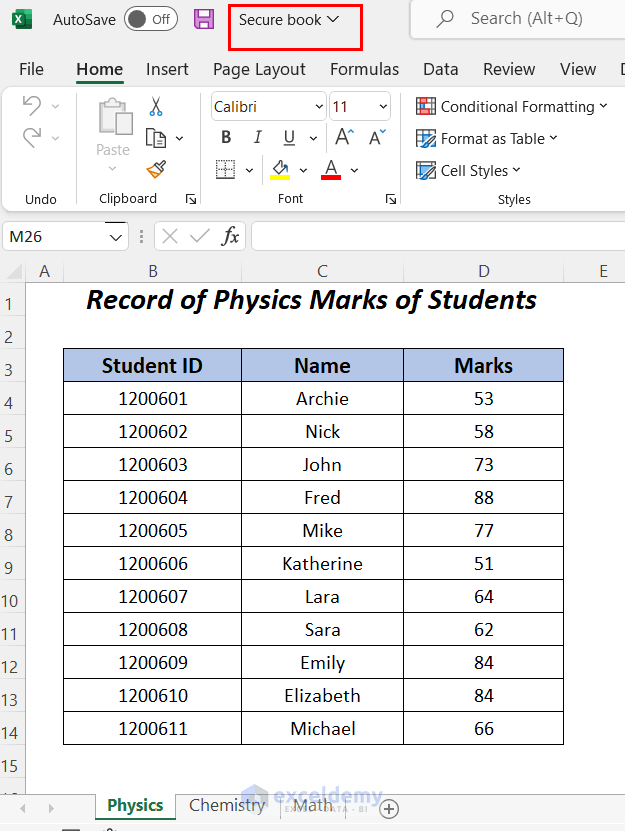
After fixing the structure, you will see that the plus symbol in the sheet tab is greyed out so you will not be able to add any more sheets.
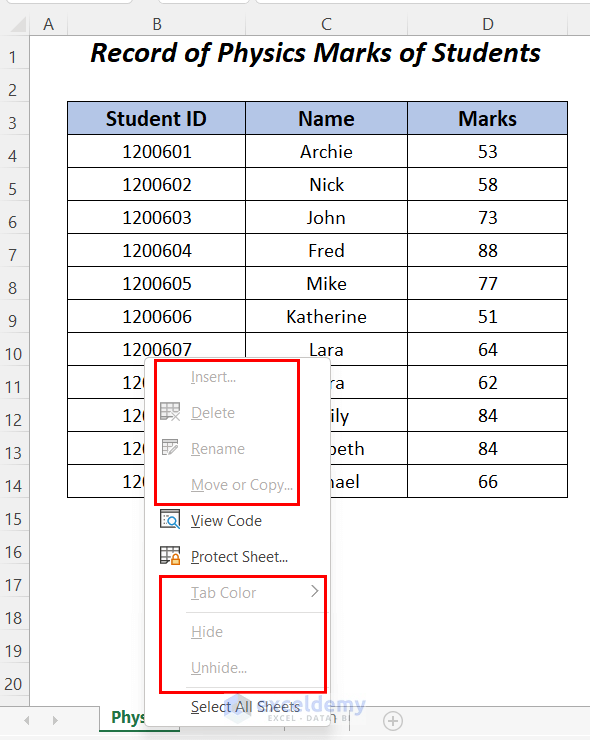
You will not be able to delete, move or copy, or do any other task with the sheets anymore.
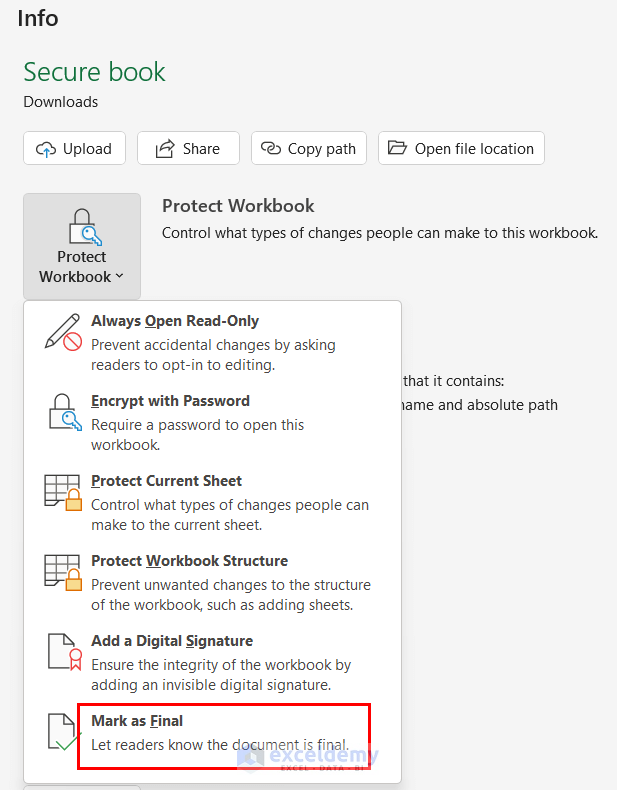
4.4. Mark as Final Option
We will notify everyone that the workbook is finalized, so you don’t have to change anything.
- Choose Mark as Final.
Then, Excel will send a warning message.
- Press OK
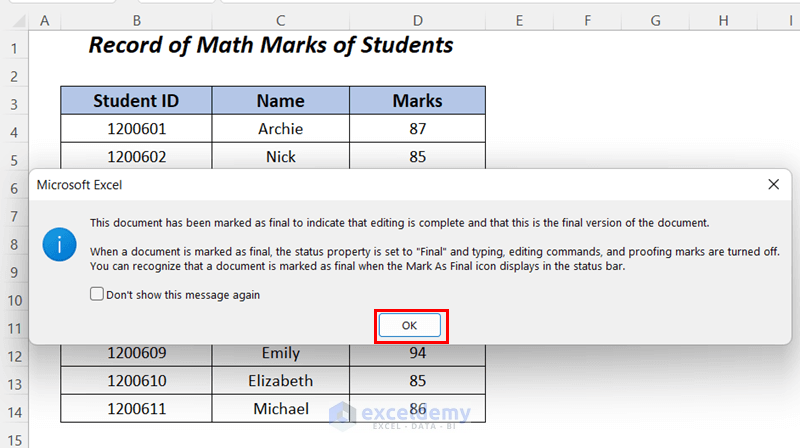
After closing your workbook, when you will open it again the following message will appear.
- Press OK.
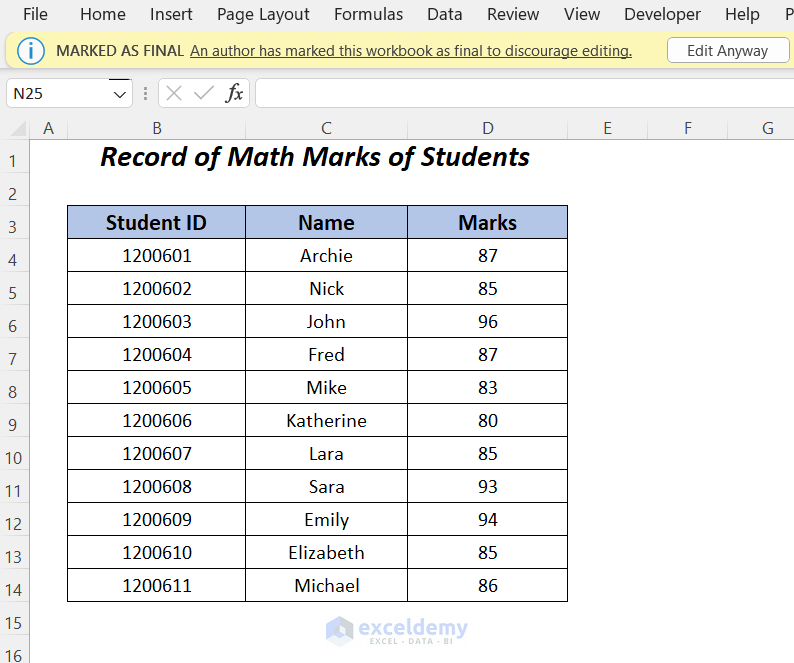
In this way, you will be able to see the contents but not able to change them unless you press the Edit Anyway option.
5. Utilizing Windows Encrypting File System for Securing Files
Here, we will protect the following workbook by using the windows in-built encrypting file system.
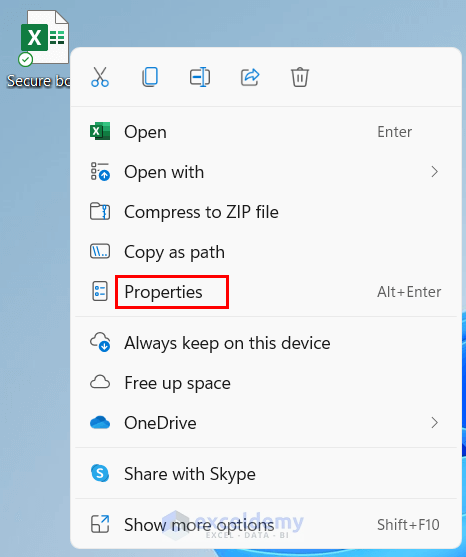
- Close the workbook and right-click on the icon of this workbook.
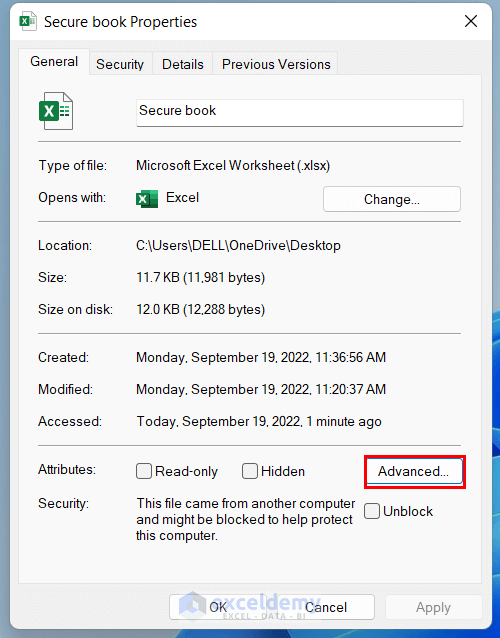
- Select the Properties
Afterward, the Secure book Properties wizard will appear.
- Choose Advanced.
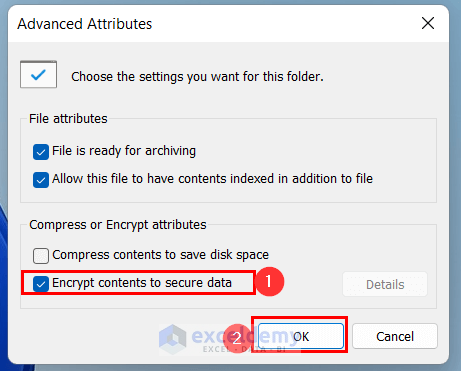
- Click on the Encrypt contents to secure data option and press OK.
In this way, you will be taken to the Secure book Properties wizard again.
- Click on Apply.

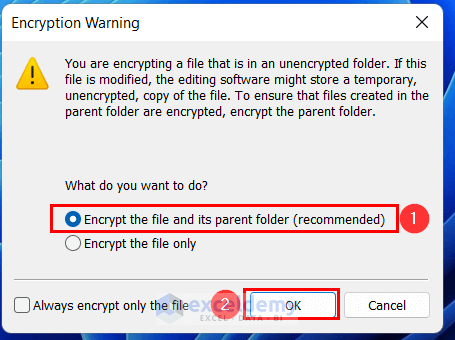
Then, a warning box named Encryption Warning will open up.
- Check the option Encrypt the file and its parent folder (recommended).
- Press OK.
Then, the Encryption File System will prompt the following dialog box to ask whether you want to create any backup or not.
As we don’t want it we are pressing Cancel.
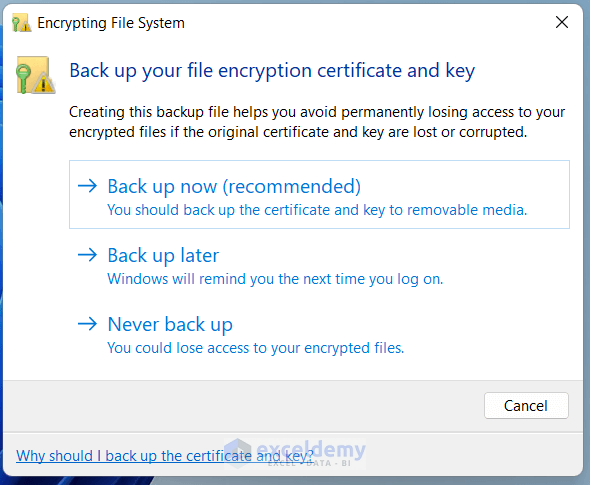
Then, your workbook will be protected and a lock symbol will appear beside your workbook icon.
6. Implementing 7-Zip Application
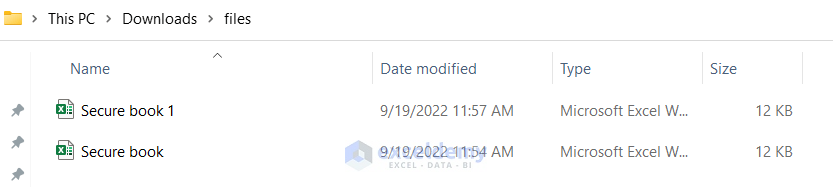
For securing multiple workbooks like the following two workbooks you can use the 7-Zip application easily. By clicking on this link download it and install it on your computer.
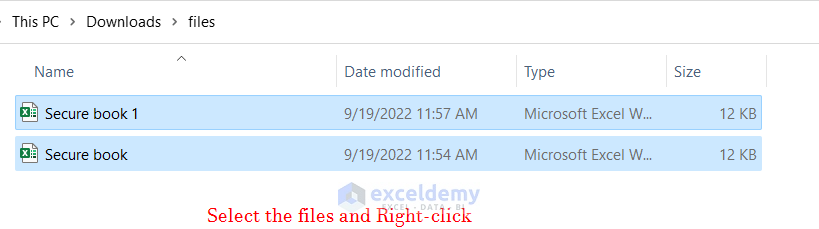
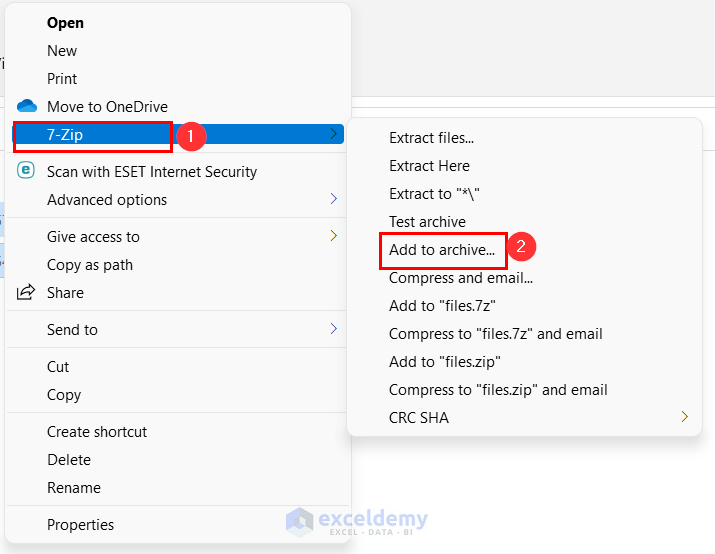
- Now, select the files and Right-click.
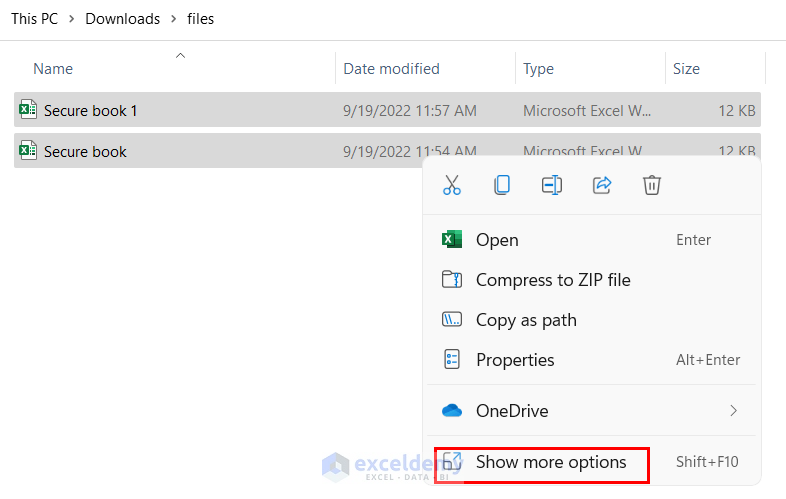
- Choose Show more options.
- Click on 7-Zip and then Add to archive.
After that, the Add to Archive dialog box will open up.
- Type and re-type the password and then press OK.
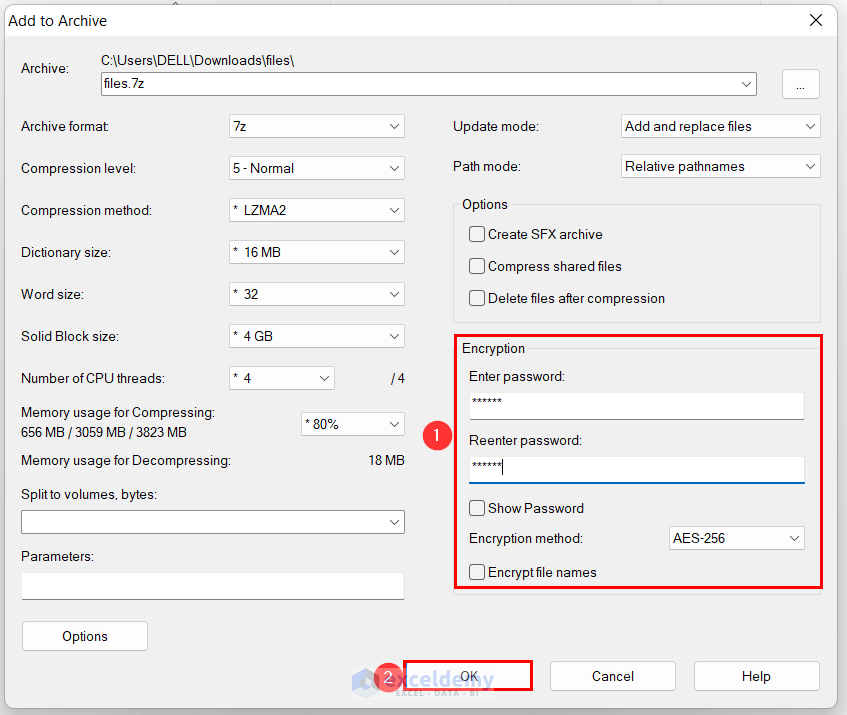
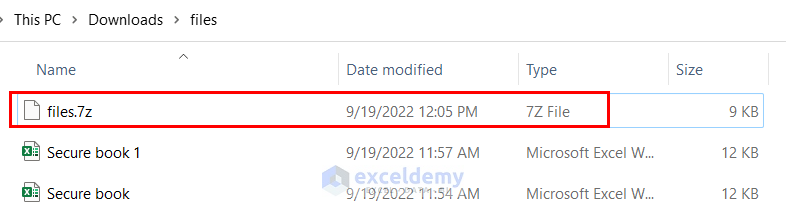
Afterward, the files will be zipped and you have to use the password to open the files then.
Debates Between Worksheet Level Protection and Workbook Level Protection
[Note: Thanks to commentator Agnius who added the following notes with respect to worksheet and workbook level protection:“This kind of protection can be easily breached by VBA and thus is not in any way safe. However, that is something one has to live with when facing a situation where user input is needed. A better way to save Excel files from unwanted editing is by encrypting them so that a person who does not know the password for the workbook cannot even open it, or can only open it as a read-only file. This kind of protection cannot be broken by VBA or any other means. It can be done by accessing the General Options in the Save As dialog window”].
It is indeed true that the protection offered by worksheet level and workbook level protection is elementary and rudimentary. However, my counter-point at the time is that it really depends on your security/editing needs. If the data needing to be protected from editing is not that sensitive and it’s a surface level protection required, that is more psychological than technological, then the worksheet and workbook level is fairly adequate. However, as mentioned worksheet and workbook level protection are not regarded as real security by most experts. So let’s dive into more advanced methods of safeguarding your Excel workbooks.
Security Hierarchy
Protecting one’s worksheet and workbook is not regarded as real security since this kind of protection is easily breached using VBA or password-cracking software. This kind of protection still allows users to view the workbook at hand for the most part. In fact, this is surface-level protection rather than true security. However, you do need to have at least a passing familiarity with it, if you intend to do certification exams and what it is used to do.
In addition, if you do forget the password you used to protect your worksheet/workbook, password-cracking software is easily available and you can use this to retrieve your password or use the VBA code.
Okay then onto the next level of true security, you can specify that your Excel workbook can only be opened if the user has the password- specified by using the Save As option.
When one encrypts the actual Excel file, one needs more advanced high-level password-cracking techniques – and it takes much longer.
The choice you make really depends on the type of data you are storing in your workbook, for non-sensitive data, and in the case where you want to stop users from accidentally deleting sheets and you want to hide formulas– use worksheet and workbook level protection. Once you have sensitive data such as salary data – use the encryption option rather. Only remember that if you do encrypt and forget your password, you won’t be able to access the data either. Also, remember for highly sensitive data – such as all the security codes to a biosafety facility, Excel would not be the go-to option for such storage purposes.
Review Section: Test your Understanding
- If you want to hide the formula in a certain cell, should you (after making sure the cell’s hidden option is checked in the Protection tab of the Format Cells…Dialog Box), protect your worksheet or protect your workbook?
- If your workbook does not contain sensitive data but you just want to stop users from accidentally deleting worksheets – what level of protection should you use?
- What does setting the visible property of a sheet to xlVeryHidden in the VBE do?
- What is the difference between using the Save As a method to set a password to open your workbook, and setting a password using encryption to open your workbook?
- Is the encryption method used, the same for all versions of Excel?
Conclusion
In this article, we tried to give the easiest 6 tips related to the security of Microsoft Excel. Hope you will find it useful. If you have any suggestions or questions, feel free to share them in the comment section.
<< Go Back to Excel Files | Learn Excel
Get FREE Advanced Excel Exercises with Solutions!
